When replacing damaged veneer, start by carefully measuring and marking the area to cut a clean replacement piece using a sharp utility knife or fine saw suited for the material. Clean the surface thoroughly, then apply an appropriate adhesive to both the veneer and substrate, pressing firmly with clamps or weights to guarantee a secure bond. After the glue sets, trim any excess and sand the edges smoothly for a seamless finish. Keep going to discover more tips for a flawless repair.
Key Takeaways
- Accurately measure and mark the damaged area before cutting the replacement veneer for a precise fit.
- Use a sharp utility knife for wood veneer or appropriate tools for laminate to ensure clean, smooth cuts.
- Apply an even layer of suitable adhesive on both the veneer and the substrate, then press firmly with clamps or weights.
- Allow the adhesive to fully set before trimming excess veneer with a sharp knife and smoothing edges with fine sandpaper.
- Match finishing techniques to veneer type, carefully blending trimmed edges for a seamless, professional appearance.
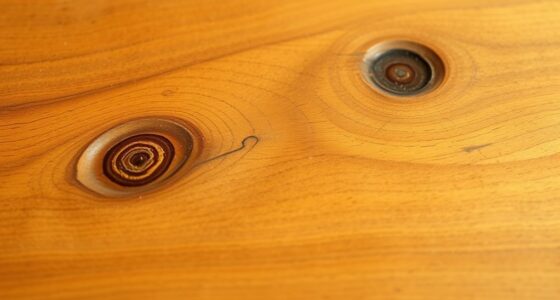
Have you noticed cracks, chips, or peeling on your veneer? When damage occurs, replacing the affected section becomes essential to restore your surface’s appearance and functionality. The first step is understanding the different veneer types you might be working with, as this influences your choice of tools and techniques. Veneers can be wood, laminate, or composite, each requiring specific handling. Wood veneer, for instance, is thin slices of natural wood glued onto a substrate, while laminate veneer involves synthetic materials. Recognizing your veneer type helps you select the right adhesive and cutting tools, ensuring a seamless repair.
Identifying your veneer type is essential for choosing the right tools and techniques.
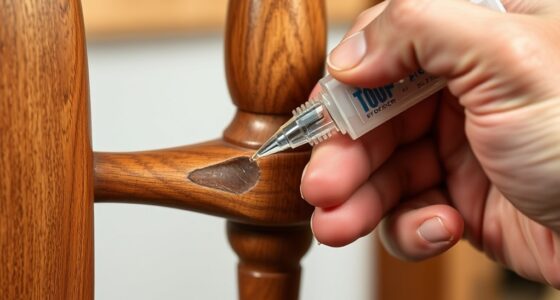
Choosing the correct adhesive is critical. The adhesive selection depends largely on the veneer type and the surface you’re working on. For wood veneers, a high-quality wood glue or contact cement works best because they bond well and allow some repositioning during application. Laminate veneers often require specialized contact adhesives designed for synthetic surfaces. No matter the type, avoid using subpar glues, as they can lead to further peeling or failure over time. Proper adhesion guarantees that your replacement piece will stay securely in place, creating a smooth, natural look.
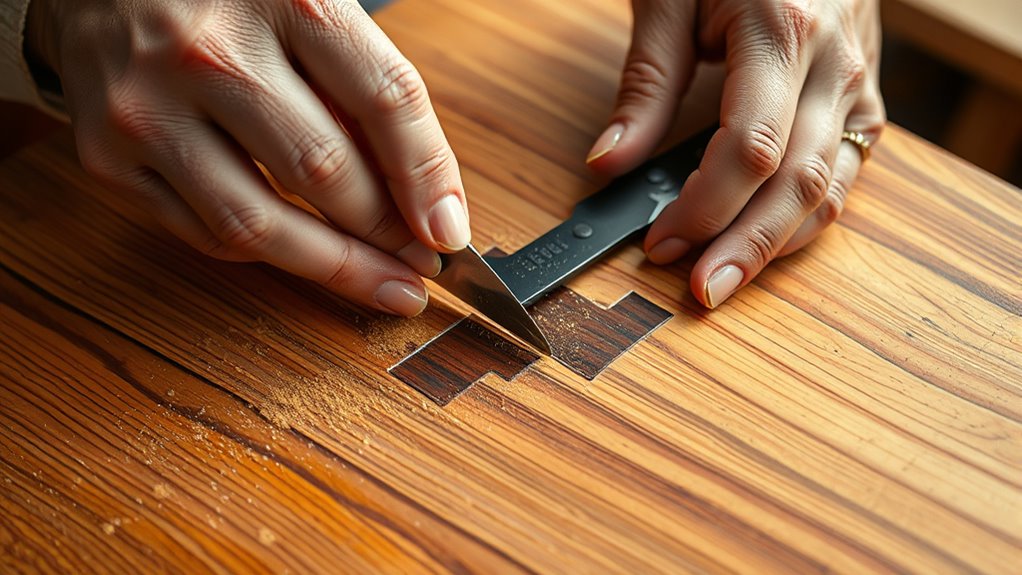
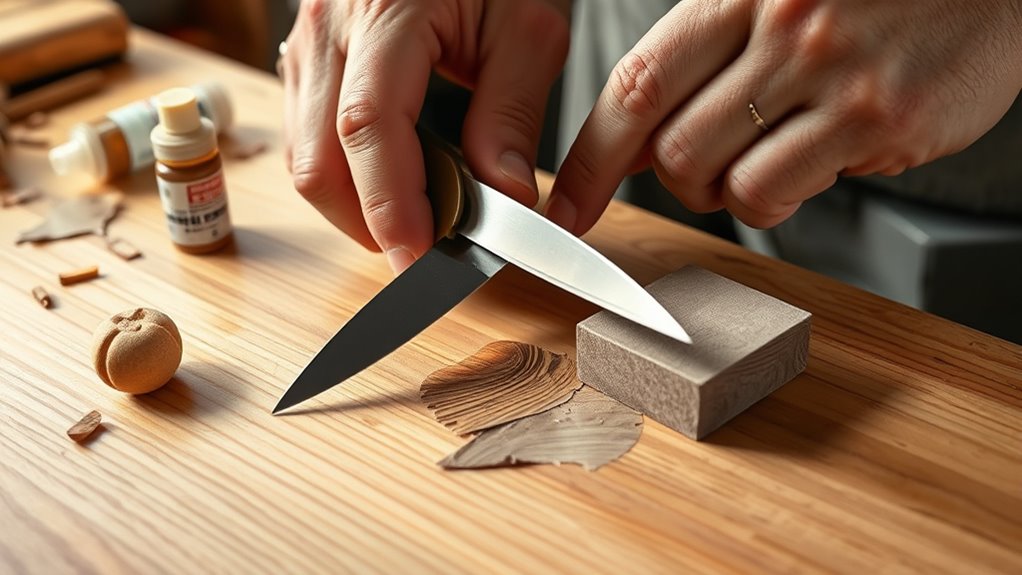
Once you’ve identified the veneer type and chosen the right adhesive, you can proceed to cutting. Measure carefully to match the damaged area, then mark your replacement piece with a pencil for precision. Use a fine saw or utility knife suited for the veneer material—wood veneers respond well to a sharp utility knife, while laminate veneers might require a more robust cutting tool. Take your time to cut carefully along your markings, maintaining straight, clean edges. Proper cutting ensures your new veneer fits snugly into the existing surface, avoiding gaps or uneven seams that can compromise the repair’s appearance.
Before gluing, prepare the surface by cleaning it thoroughly, removing dust, grease, or old adhesive residue. Apply your chosen adhesive evenly on both the back of the veneer piece and the substrate, following the manufacturer’s instructions. Press the new veneer into place with even pressure, using clamps or weights if necessary to ensure full contact. Be sure to align the edges precisely to match the surrounding surface, preventing misalignment that could be noticeable once finished.
Finally, trim any excess veneer after the adhesive sets, using a sharp utility knife or fine sandpaper for a smooth finish. Carefully sand the edges to blend the repair seamlessly with the existing veneer. Additionally, understanding the types of veneers involved can help you select the appropriate finishing techniques. With patience and attention to detail during cutting, gluing, and trimming, you’ll achieve a professional-looking repair that restores your surface’s beauty and durability.
Frequently Asked Questions
How Do I Prevent Veneer From Cracking During Removal?
To prevent veneer from cracking during removal, you should use gentle veneer removal techniques, such as carefully prying with a putty knife or specialized tools. Apply heat or solvent to loosen the adhesive, reducing stress on the veneer. Always work slowly and evenly, avoiding forceful prying. Cracking prevention methods also include supporting the veneer with a thin plastic sheet during removal, which helps distribute pressure and minimizes the risk of cracks.
What Types of Glue Are Best for Veneering?
Think of veneering adhesives as the backbone of your project—you want strength and flexibility. The best types of glue for veneering are PVA (polyvinyl acetate), contact cement, and epoxy. PVA glues are easy and clean, perfect for most projects. Contact cement offers instant adhesion, ideal for large surfaces. Epoxy provides exceptional strength for demanding applications. Choose your adhesive based on your project’s needs, ensuring a durable, seamless finish.
Can I Reuse Existing Veneer Scraps?
Yes, you can reuse existing veneer scraps if they’re stored properly. Keep your veneer storage dry and flat to prevent warping or damage. When reusing scraps, check for any cracks, warping, or damage that might compromise their appearance or adhesion. Scrap reusability depends on how well you’ve preserved them; if they’re in good shape, they can be excellent for small repairs or decorative accents, saving you money and effort.
How Do I Match Veneer Grain and Color?
To match veneer grain and color, start by examining the existing veneer pattern closely, noting the grain direction and unique features. Use a color matching guide or compare different veneer samples under natural light to find a close match. When selecting new veneer, choose pieces with similar grain patterns and color variations. Always test a small section first to guarantee the pattern and hue blend seamlessly with your existing surface.
How Long Does the Repair Process Typically Take?
You might find it surprising, but the repair process usually takes about 2 to 3 hours, depending on the size of the damage. The actual repair time involves cutting, gluing, and trimming, while the drying period can add several hours or overnight for the adhesive to set completely. Planning ahead guarantees you allow enough time for the drying period, so your veneer repair looks seamless and durable.
Conclusion
Replacing damaged veneer isn’t just about cutting and gluing; it’s about restoring beauty and durability. Some believe that veneer can be permanently repaired with the right techniques, but research shows that underlying issues like moisture can cause future damage. By understanding these factors and following proper steps, you guarantee a lasting fix. So, trust the process—properly replaced veneer can look seamless and stand the test of time, proving that careful craftsmanship truly pays off.