
To repair deep gouges, start by thoroughly cleaning and lightly sanding the area to guarantee proper adhesion. Choose a compatible filler and apply it in thin layers, pressing it firmly into the gouge and smoothing it out. Once dry, sand the surface smooth and match the texture with fine-grit sandpaper or tools. Carefully blend the color using matching paint, stain, or touch-up products to make the repair nearly invisible. Continuing with these steps will help you achieve a seamless finish.
Key Takeaways
- Thoroughly clean and sand the gouge to ensure proper adhesion and a rough surface for filler application.
- Apply thin, layered filler with a putty knife, allowing each layer to dry fully before adding more.
- Sand the dried filler smoothly and match the surface texture using fine-grit sandpaper or texturing tools.
- Stain or paint the repair area with a matching color, applying thin coats and allowing full drying between layers.
- Inspect the finish, ensuring seamless blending and uniform texture and color for a nearly invisible repair.

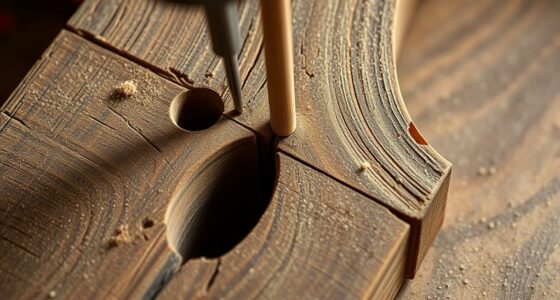
Deep gouges can be frustrating to repair, but with the right approach, you can restore your surface to look nearly new. The key to a successful fix lies in understanding how to blend the filler seamlessly with the surrounding area. Texture matching is essential here—you want your repair to be invisible, so matching the surface’s texture is just as important as selecting the right filler. Before you start, proper material prep sets the foundation for a smooth repair. Clean the area thoroughly to remove dirt, grease, and loose debris, and then sand the gouge lightly to create a slightly rough surface. This helps the filler adhere better and prevents bubbles or cracks later on. Make sure to remove any dust after sanding; a clean surface ensures your filler bonds properly and results in a more polished finish.
When you’ve prepped the material, choose a filler that’s compatible with your surface—whether it’s wood, drywall, or metal. Applying the filler in thin layers, you want to build it up gradually rather than trying to fill the entire depth at once. Use a putty knife to press the filler into the gouge, smoothing it out as much as possible. Once it’s dry, typically following the manufacturer’s recommended time, you’ll need to sand again to achieve a flush surface. Be cautious not to oversand, as that can create uneven spots or expose the filler beneath. After sanding, inspect the texture. If the surface feels too smooth or rough compared to the surrounding area, use fine-grit sandpaper or a texturing tool to imitate the existing surface pattern. This step is vital to ensure your repair blends in seamlessly. Understanding the importance of texture matching can make the difference between a noticeable repair and one that is virtually invisible.
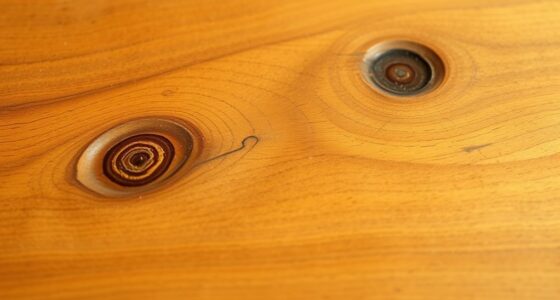
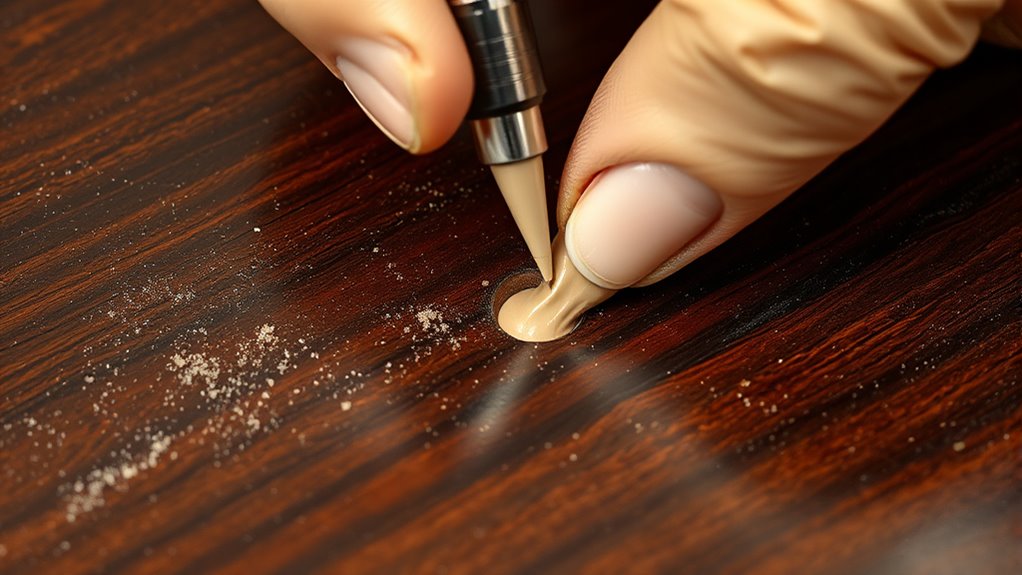
Color matching is the final step in making your repair invisible. Use a matching paint, stain, or touch-up pen to blend the filled area with the rest of the surface. If you’re working on wood, consider staining the filler before sealing it with paint or varnish to match the surrounding grain and color. Patience is key here—apply thin coats and allow each layer to dry completely before adding the next. This careful approach prevents uneven coloration or visible brush strokes. When everything is dry and the color matches well, give the surface a light sanding or buffing to blend the edges further. With careful texture matching, proper material prep, and patience in finishing, your deep gouge repair will look professional and nearly undetectable.
Frequently Asked Questions
Can Deep Gouges Be Repaired on All Types of Surfaces?
Deep gouges can’t be repaired on all surfaces due to surface compatibility issues. Some materials, like certain plastics or delicate finishes, might not hold filler well or could get damaged further. You should consider repair limitations, as deeper damage may require professional intervention or replacement. Always test the filler on a small area first, and verify it’s suitable for your specific surface to achieve the best results.
How Long Does the Filler Need to Cure Before Painting?
You should let the filler cure for at least 24 hours before painting, depending on the product’s drying time. Proper surface preparation is essential; make sure the filler is fully dry and sanded smooth. Rushing this step can cause paint to peel or crack later. Always check the manufacturer’s instructions for specific drying times, as some fillers may require longer to cure properly for the best results.
What Tools Are Best for Applying Filler Into Deep Gouges?
Applying filler is like sculpting clay—you need the right tools for precision. You should use a spatula or putty knife for deep gouges, allowing you to press the filler firmly into the damage. For smaller areas, brush tools work well to smooth out edges. Mastering spatula techniques ensures a seamless repair, giving you control over the application and helping achieve a professional finish.
Is Professional Help Necessary for Very Deep Damages?
You might consider professional help for very deep damages because DIY safety can be compromised if you’re unsure about handling fillers and color matching. Professionals guarantee proper repair, saving you from costly mistakes. While DIY may seem cheaper initially, the cost comparison often favors experts when factoring in potential rework. If you’re inexperienced, hiring a pro reduces risks and guarantees a seamless finish, making it a smart choice for deep gouges.
How Can I Prevent Future Gouges From Occurring?
Imagine your surfaces as delicate canvases, shining with beauty. To prevent future gouges, you gotta practice surface protection—use felt pads on furniture, avoid dragging sharp objects, and keep your space clutter-free. Regularly applying protective coatings helps shield against scratches. Think of it as giving your surfaces a sturdy armor, so they stay pristine longer. With these habits, you’ll keep your surfaces looking flawless and avoid costly repairs down the line.
Conclusion
Now that you know how to repair deep gouges with filler and color matching, you might think the job’s done. But remember, a perfect finish isn’t just about filling gaps—it’s about blending seamlessly with the surrounding surface. Think of your repair as a puzzle; each piece must fit just right. With patience and attention to detail, you’ll turn a damaged surface into a nearly invisible masterpiece, proving that small fixes can make a big difference.