
To patch holes and knots in solid wood furniture, start by choosing the right filler—latex for small flaws and epoxy for larger areas. Clean and dry the surface first, then press the filler into the damage with a putty knife, ensuring it’s flush with the surface. Once dry, sand smooth and match the finish with stain or paint. For prominent knots, filling or replacing may be necessary for a seamless look—learn more about perfecting your repair.
Key Takeaways
- Select the appropriate filler (latex for small holes, epoxy for large damage) compatible with wood type.
- Clean, dry, and remove debris from the damaged area before applying filler.
- Use a putty knife to fill holes or knots completely and flush with the surface.
- Sand the dried filler smoothly with fine-grit sandpaper to blend seamlessly.
- For large or damaged knots, consider removing and replacing them with wood patches for a natural look.
Have you ever noticed unsightly holes or knots in your wood furniture that detract from its appearance? These imperfections can make even the most beautiful pieces look worn or neglected. Luckily, you can fix these issues yourself with some simple tools and techniques. The key is to understand how to properly use wood filler and perform knot repair to restore your furniture’s smooth, polished look.
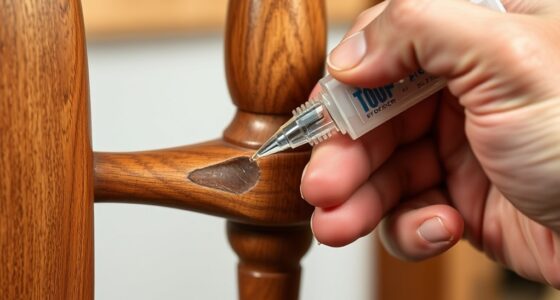
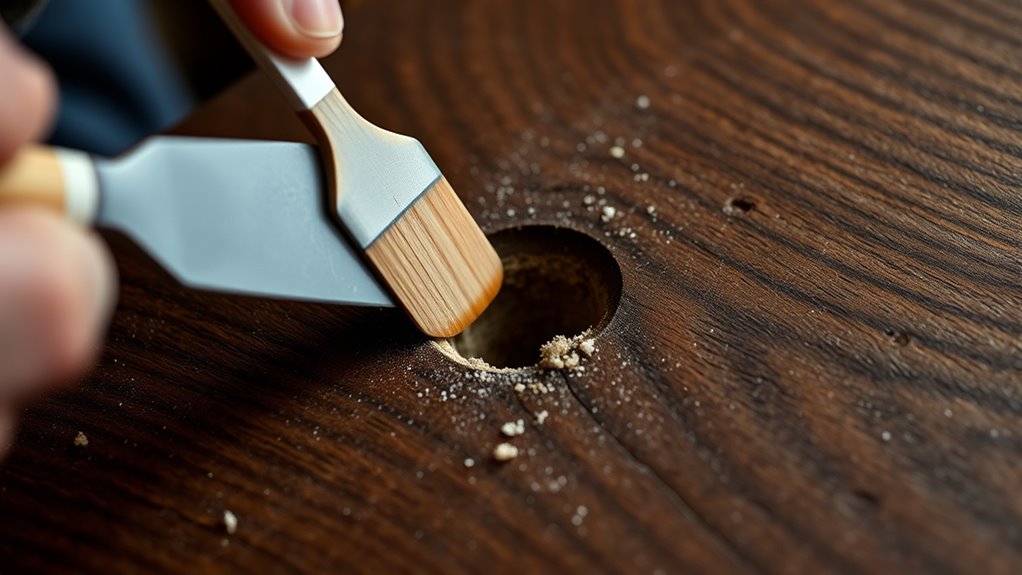
When dealing with holes or small cracks, the first step is to select the right wood filler. There are different types available, including epoxy, latex, and solvent-based fillers. For small holes or surface cracks, a latex or water-based wood filler works well because it’s easy to apply and sand. For larger holes or deeper damage, epoxy fillers provide more strength and durability. Before applying the filler, make sure the area is clean and dry, removing any loose debris or dust. Using a putty knife, press the filler into the hole or crack, ensuring it’s completely filled and flush with the surrounding surface. Once you’ve filled the imperfection, let it dry thoroughly according to the manufacturer’s instructions. Sand the area smooth with fine-grit sandpaper, blending it seamlessly into the rest of the wood.
Additionally, understanding spiritual guidance can help you approach repairs with patience and mindfulness, ensuring a better outcome. Sand the area smooth with fine-grit sandpaper, blending it seamlessly into the rest of the wood.
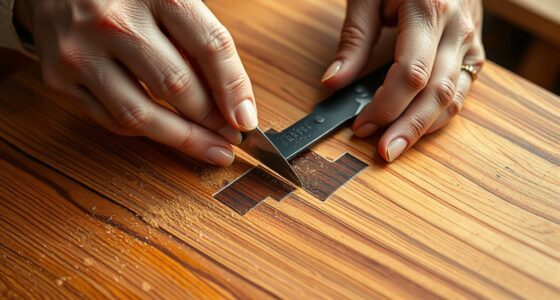
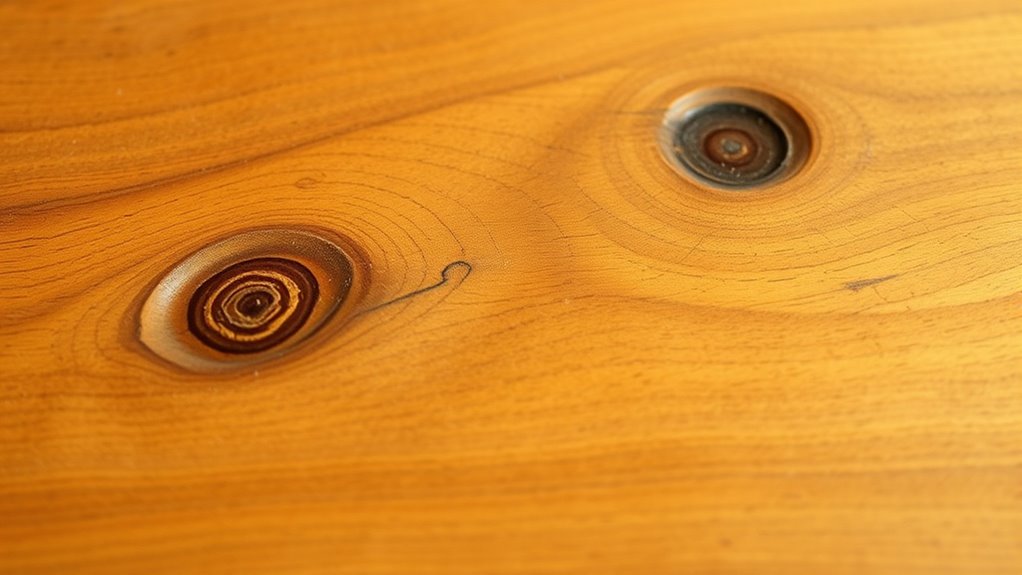
Knot repair, however, requires a slightly different approach. Knots are natural parts of wood, but they can loosen or crack over time, creating unsightly blemishes. To repair a loose or damaged knot, start by removing any loose fibers or splinters. If the knot has fallen out or is heavily damaged, you may need to fill the void with wood filler designed for knot repair. Use a putty knife to pack the filler into the knot area, making sure it adheres well and fills all gaps. After it dries, sand it smooth, then match the finish with stain or paint if needed. For large or prominent knots, you might consider removing the damaged knot entirely and replacing it with a wood patch, then finishing to match the surrounding grain.
Gorilla All Purpose Wood Filler, Natural Color, 6 Ounce Tube (Pack of 1) – Water Resistant for Indoor or Outdoor Projects and Repairs
Gorilla tough: Gorilla Wood Filler is the go-to product for strong water resistant repairs on cracks, gouges and…
As an affiliate, we earn on qualifying purchases.
As an affiliate, we earn on qualifying purchases.
Frequently Asked Questions
Can I Use Household Glue for Large Knots?
You shouldn’t use household glue for large knots; instead, opt for a proper wood glue combined with a knot filler. Wood glue provides a strong bond, while a quality knot filler helps fill in the knot’s space, creating a seamless look. Household glue may not adhere well or last over time, especially on larger knots. Using these specialized products guarantees your repair is durable and visually appealing.
How Do I Prevent Future Cracking After Patching?
To prevent future cracking, you need to master the delicate dance of wood expansion and contraction. Keep your furniture in a stable climate—avoid humidity swings and extreme temperatures. Use proper sealing techniques and allow patches to fully cure, so the wood doesn’t stress or crack as it adjusts to environmental changes. By controlling moisture and temperature, you guarantee your repairs last and your furniture stays beautiful over time.
Is It Necessary to Sand After Applying Filler?
Yes, you should sand after applying filler to guarantee a smooth, even surface. Use gentle sanding techniques with fine-grit sandpaper to blend the filler seamlessly with the surrounding wood. Choose the right filler type—wood filler or epoxy—based on your project. Sanding helps remove excess filler, smooth out ridges, and prepare the surface for finishing, resulting in a professional-looking repair that’s both durable and visually appealing.
Can I Match the Color of Patched Areas Precisely?
You can absolutely achieve a close color match on patched areas; with patience, your efforts will blend seamlessly. Start by carefully selecting a stain that closely resembles your wood’s original hue, then use gentle stain blending techniques around the repair. Keep in mind, subtle nuances in color are natural, but with precise color matching and careful stain blending, your furniture will look beautifully restored, almost as if the patch was never there.
How Long Should I Wait Before Using the Furniture?
You should wait at least 24 to 48 hours before using your furniture, allowing the patching compound to dry completely. During this drying time, the curing process takes place, guaranteeing the material hardens and bonds properly with the wood. Avoid heavy use or placing objects on the patched area until you’re confident it’s fully cured. This patience helps prevent cracks or damage and ensures a smooth, durable finish.

Abatron WoodEpox Kit – 2 Pint – 2-Part Structural Epoxy Adhesive Filler – Wood Filler Putty
REPAIR DAMAGED WOOD: Fills and rebuilds missing sections to help restore windows, doors, trim, columns, posts, and other…
As an affiliate, we earn on qualifying purchases.
As an affiliate, we earn on qualifying purchases.
Conclusion
Now that you know how to patch holes and knots, your furniture will look as good as new. Did you know that over 70% of homeowners spend time repairing or restoring their wooden furniture each year? By mastering these simple techniques, you can save money and extend the life of your pieces. So go ahead—fix those imperfections and enjoy beautiful, durable furniture that stands the test of time. Your effort will definitely pay off!

DAP Plastic Wood All Purpose Latex Wood Filler, White, 6 Oz – Packaging may vary
Repairs cracks, gouges + holes
As an affiliate, we earn on qualifying purchases.
As an affiliate, we earn on qualifying purchases.

Mohawk Knot Filler Repair Kit
Fast, easy application
As an affiliate, we earn on qualifying purchases.
As an affiliate, we earn on qualifying purchases.