To craft Adirondack chairs that are both comfortable and stylish, start by choosing durable woods like cedar or teak, sanding all surfaces smoothly for a cozy feel. Apply weatherproof stain or sealant properly, letting each coat dry thoroughly to protect against the elements. Focus on thoughtful design details, such as a contoured seat and wide armrests, to enhance comfort. Keep refining your work, and you’ll create a beautiful, long-lasting outdoor chair that invites relaxation—more tips await to perfect your project.
Key Takeaways
- Choose ergonomic designs with a gently sloped backrest and wide seat for optimal comfort.
- Incorporate rounded edges and smooth surfaces through proper sanding to enhance comfort and safety.
- Use weatherproof stain or sealant to preserve the wood and maintain a smooth, comfortable finish over time.
- Opt for adjustable features like footrests or armrest cushions to customize comfort levels.
- Focus on balanced proportions and sturdy construction to ensure durability and a relaxing sitting experience.

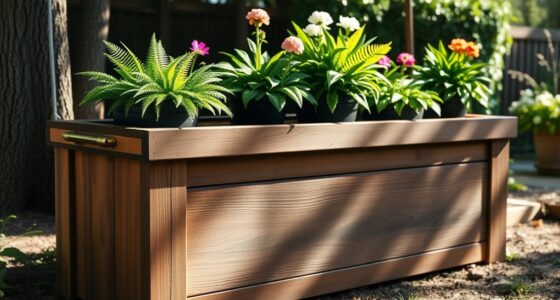
Creating your own Adirondack chair can be a rewarding project that combines craftsmanship with comfort. The first step to achieving a durable, attractive result is choosing the right wood. You want a material that withstands outdoor conditions while being easy to work with. Popular options include cedar, teak, and redwood because they’re naturally resistant to moisture and pests. If you prefer a budget-friendly choice, pressure-treated pine can also work, but keep in mind it may require more maintenance over time. When selecting your wood, look for straight grains and minimal knots, as these contribute to stability and ease of assembly. Proper wood selection guarantees your chair’s longevity and helps prevent warping or splitting down the line.
Choosing durable wood like cedar, teak, or redwood ensures your Adirondack chair withstands outdoor conditions beautifully.
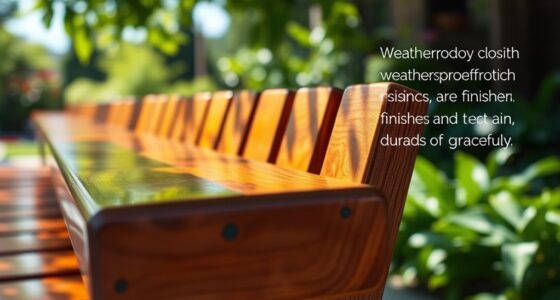
Once you’ve picked your wood, the next important aspect is applying finishing techniques that protect and enhance your Adirondack chair. Start by sanding all surfaces thoroughly, removing rough edges and splinters. Use medium-grit sandpaper to smooth the wood, then finish with fine grit for an ultra-smooth surface. Sanding is vital because it allows your stain or sealant to penetrate evenly, resulting in a more beautiful and long-lasting finish. After sanding, wipe the dust away with a damp cloth and let it dry completely before moving to the next step.
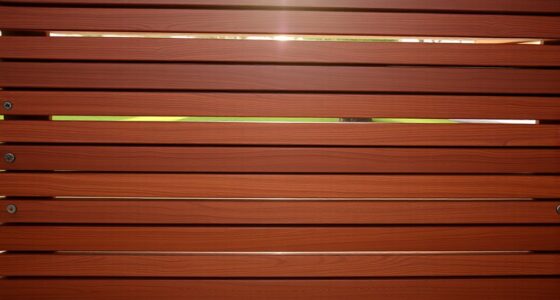
When you’re ready to finish your chair, consider applying a weatherproof stain or sealant designed for outdoor furniture. These products penetrate the wood, providing protection against UV rays, moisture, and temperature fluctuations. Use a brush or sprayer to apply the finish evenly, following the manufacturer’s instructions. Multiple coats may be necessary for maximum protection; make sure each coat dries completely before applying the next. For added durability, you can also apply a clear polyurethane topcoat, especially on the flat surfaces that see the most wear. Remember, the key to a long-lasting finish is proper application and regular maintenance, such as cleaning and re-sealing every couple of years.
Finally, don’t rush the finishing process. Take your time to ensure each step is done carefully. The right wood choice combined with proper finishing techniques will give your Adirondack chair a beautiful appearance and a sturdy lifespan. When you sit back and relax in your handcrafted creation, you’ll appreciate the effort you put into selecting the best materials and protecting them with thoughtful finishing. Your attention to detail in these initial stages will pay off in a comfortable, durable chair that becomes a treasured part of your outdoor space for years to come. If you’re interested in upgrading your outdoor furniture, exploring different wood and finish options can further enhance the longevity and appearance of your handcrafted chair.
Frequently Asked Questions
What Are the Best Wood Types for Durability?
You should choose cedar, teak, or redwood for durability, as they resist weather and rot. These woods have tight, attractive grain patterns that hold finishes well, helping your chair last longer. Cedar and redwood are affordable options with natural oils that fend off pests, while teak offers exceptional longevity with a rich grain. Applying a good finish enhances durability and highlights the wood’s natural beauty, ensuring your Adirondack chair stays sturdy and attractive.
How Can I Customize the Chair’s Design?
Did you know that personalized paint options can increase your chair’s uniqueness by 40%? To customize your Adirondack chair’s design, consider adding personalized paint options with vibrant colors or patterns. You can also make ergonomic design modifications, such as adjusting the seat angle or adding lumbar support, to enhance comfort. These tweaks let you create a stylish, comfortable piece that reflects your personality and fits your needs perfectly.
What Safety Precautions Are Recommended During Construction?
You should always wear protective gear like goggles, gloves, and a dust mask to protect yourself during construction. Keep your workspace clean and well-lit to guarantee safety. Use tools properly, following the manufacturer’s instructions, and stay focused on your task. Make sure power tools are in good condition, and unplug them when not in use. Prioritizing workspace safety and protective gear helps prevent accidents and injuries while building your Adirondack chair.
How Do I Ensure the Chair Is Weather-Resistant?
To guarantee your Adirondack chair is weather-resistant, start by applying weatherproofing finishes like outdoor paint or stain designed for outdoor furniture. Once dry, use protective sealants to create a durable barrier against moisture and UV rays. Reapply these sealants annually or after heavy rain. Regular maintenance with these finishes keeps your chair looking great and protected from the elements, extending its lifespan considerably.
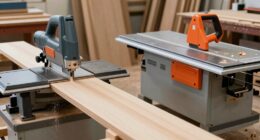
What Tools Are Essential for Crafting Adirondack Chairs?
You’ll need essential tools like a saw, drill, clamps, and a sander to craft your Adirondack chair. Don’t forget safety gear! As you work, consider ergonomic factors for comfort, and choose wood stain options that enhance weather resistance. These tools help you shape and assemble the chair precisely, ensuring it’s both durable and comfortable. Proper tools and finishes make your project easier and result in a beautiful, long-lasting piece.
Conclusion
Now that you’ve mastered the art of crafting Adirondack chairs, your backyard transforms into a cozy oasis. Think of your finished piece as a welcoming embrace, inviting friends and family to sit and soak in the sunshine. With your newfound skills, each chair becomes a sturdy vessel of comfort and style—like a gentle wave gently rocking on a peaceful lake. Your DIY journey has turned simple wood into a timeless piece that welcomes relaxation and joy.