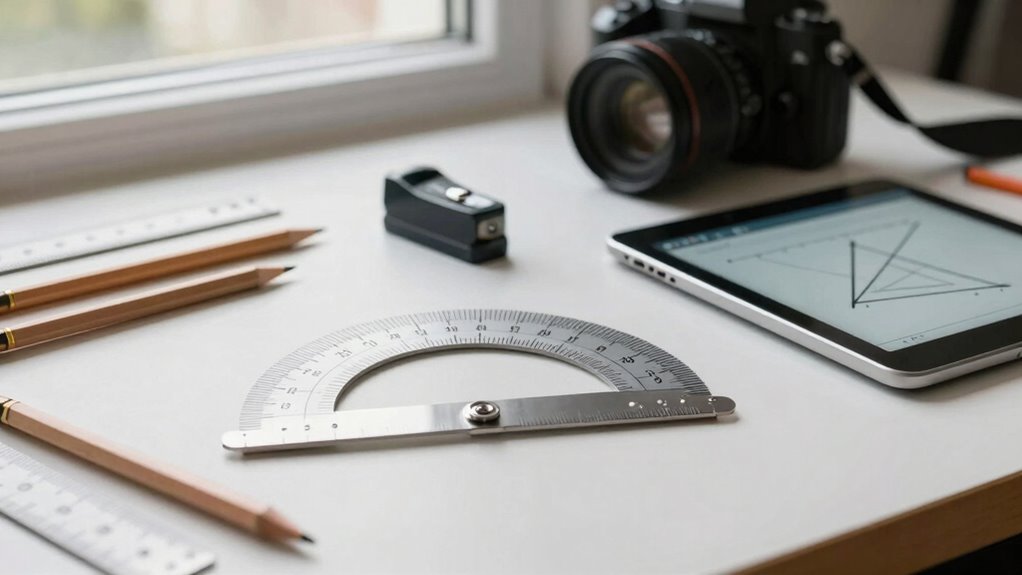

To transfer angles without losing your mind, use simple tools like a protractor, ruler, or straight edge for accuracy. Create reference points or guide lines, and hold a pencil or straight edge at arm’s length to compare angles visually. Lightly sketch initial shapes before refining, and use layered washes or color adjustments to maintain precision. Practicing these techniques helps develop confidence and patience, making the process smoother—if you want to master these strategies, there’s more to uncover.
Key Takeaways
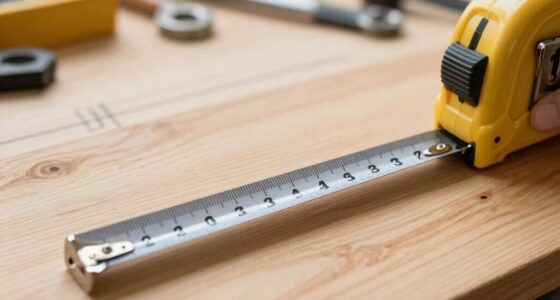
- Use simple tools like protractors or rulers for accurate angle measurement and transfer.
- Create reference lines and points to guide precise angle comparison and placement.
- Practice sighting techniques by holding a pencil at arm’s length for reliable angle matching.
- Sketch initial angles lightly, then refine with layered color washes or brushwork.
- Stay organized, patient, and consistent to build confidence and reduce transfer errors.

Have you ever needed to replicate an angle from one drawing or surface to another? If so, you know it can be tricky, especially when precision matters. Transferring angles accurately requires a clear method and a steady hand. One effective way is to use simple tools like a protractor or a ruler, but if you’re working with freehand sketches or irregular shapes, you’ll need more nuanced techniques. A common approach involves creating a reference point or line, then measuring the angle carefully and transferring it onto the new surface. This process can be made easier if you understand some basic principles of color mixing and brush techniques, particularly if you’re working with paint or mixed media, where transferring angles isn’t just about geometry but also about visual harmony.
Mastering angle transfer techniques enhances precision and harmony in both drawing and painting projects.
When it comes to color mixing, it’s important to keep your palette organized so that you can quickly adjust your shades and maintain consistency. This is especially true if you’re trying to match tones or hues when transferring an angle in a painted composition. Use your brush techniques to create clean, precise lines and marks, which can serve as guides during your transfer process. For example, a fine-tipped brush lets you mark small measurement points or draw delicate lines that help replicate the angle accurately. You might even sketch the initial angle lightly with a pencil or a thin wash of color, then refine it with your brush, adjusting as needed. This layered approach ensures your transfer is both precise and adaptable.
To make the transfer smoother, you can use a technique called “sighting,” where you hold a pencil or a straight edge at arm’s length to compare angles directly. This simple method allows you to see if your angle matches the original before marking it onto your new surface. When working with paint, you can also use a small, angled brush to gently trace the transferred lines, ensuring the shape and angle stay consistent. If you need to shift the angle slightly, adjust your brush strokes accordingly, blending or refining the edges to keep everything seamless. Developing a good understanding of measurement techniques can further improve your accuracy and confidence during the transfer process. Additionally, practicing these techniques regularly will help you develop a more intuitive sense of angles, making future transfers even more straightforward. Moreover, understanding how to utilize visual aids effectively can significantly enhance your precision and reduce frustration.
Furthermore, incorporating proper tools and techniques can help ensure your angles are transferred with minimal errors, saving you time and effort. Ultimately, transferring angles without losing your mind boils down to patience and practice. By mastering your color mixing to keep your palette ready and honing your brush techniques for precision, you’ll find it becomes easier to replicate angles accurately. Whether you’re working on a detailed drawing or a nuanced painting, these methods help you stay focused, minimize mistakes, and achieve professional results without the frustration. With time, these skills will become second nature, making the process smoother and more intuitive every time you need to transfer an angle.
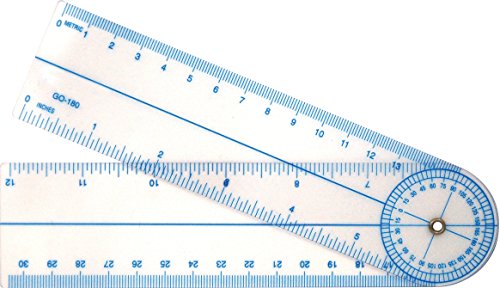
Westcott 7-Inch Goniometer Quick Angle Protractor Measuring Tool (GO-180)
- Clear Protractor Ruler: Includes inch and metric scales
- Accurate Angle Measurement: Rotating legs and extendable arms for precision
- Easy to Read: Translucent plastic design for clear visibility
As an affiliate, we earn on qualifying purchases.
As an affiliate, we earn on qualifying purchases.
Frequently Asked Questions
What Tools Are Best for Transferring Angles Accurately?
You should use precise tools like a combination square or a protractor for angle measurement, ensuring accuracy. A marking tool such as a sharp pencil or a fine-tip pen helps transfer the angles cleanly. For more complex angles, a digital angle finder can be invaluable. These tools help you mark angles accurately without guesswork, making your project easier and more precise. Always double-check your measurements before making cuts or adjustments.
How Do I Transfer Angles on Curved Surfaces?
Did you know that 37% of DIYers struggle with transferring angles on curved surfaces? To do this accurately, start with precise angle measurement tools like digital protractors. Use flexible surface calibration techniques, such as marking the curve’s key points, then connect these with a flexible ruler or contour gauge. This helps you maintain the original angle, ensuring your transfer is accurate despite the surface’s curvature.
Can I Transfer Angles Without Prior Markings?
Yes, you can transfer angles without prior markings by relying on accurate angle measurement and marking techniques. Use a protractor or digital angle finder directly on the surface to measure the angle precisely. Then, transfer this measurement by carefully marking the key points. This method eliminates the need for pre-existing markings, ensuring your transferred angles are accurate and save you from unnecessary guesswork or frustration.
How Do I Correct Errors During Angle Transfer?
When errors happen during angle measurement or marking techniques, don’t panic. Carefully recheck your original angle with a protractor, then adjust your markings accordingly. Use a sharp pencil or fine marking tool for precision, and double-check before making final cuts or connections. If needed, erase gently and re-mark. Staying calm guarantees you correct mistakes accurately, preserving your project’s integrity and preventing frustration from spiraling out of control.
Are There Specific Techniques for Transferring Large Angles?
Yes, for transferring large angles, you should use a protractor or a large-angle transfer tool to guarantee precise angle measurement. Mark the angle carefully, then double-check transfer accuracy by measuring again before drawing the final line. To prevent errors, use a straightedge or a ruler for accuracy, and work slowly to maintain control. These techniques help you maintain transfer accuracy, especially with bigger angles, minimizing mistakes.
Conclusion
Now that you’ve learned how to transfer angles with precision, you’re ready to tackle your projects confidently. Remember, patience and practice are your best friends—they help you avoid rushing and making mistakes. Think of it like walking a tightrope; stay balanced and steady, and you’ll reach your goal without losing your mind. Keep these tips in mind, and soon transferring angles will become second nature, saving you time and frustration every step of the way.