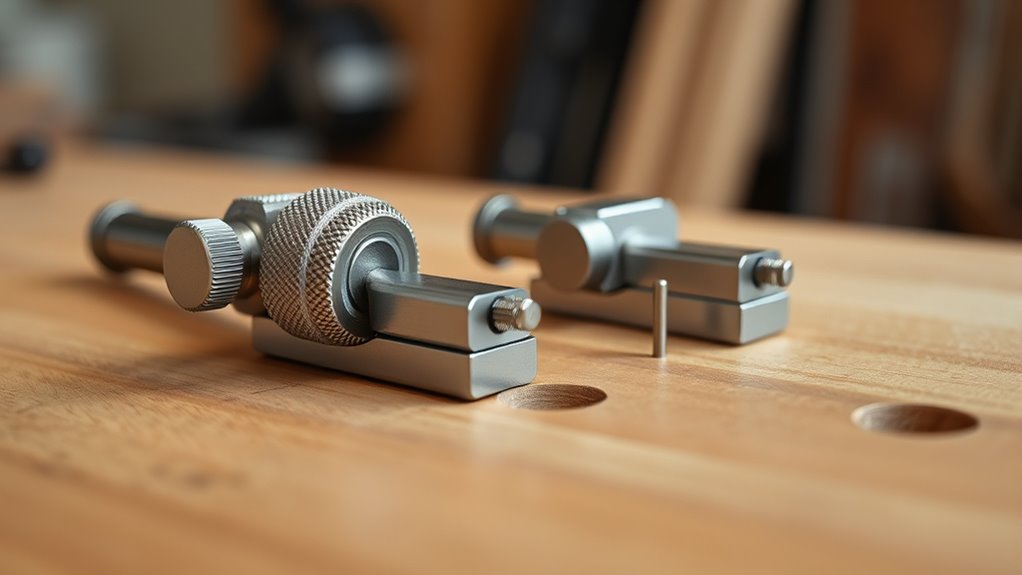
When choosing between wheel and pin marking gauges, you’ll find that wheel gauges are great for curved or irregular surfaces since their rotating wheel can follow the shape easily. Pin gauges are simple and precise for straight lines, using a sharp pin to scribe directly into the wood. To set them up, adjust the wheel’s position or tighten the pin distance with the screw, ensuring consistent markings every time. Keep exploring to master these setup techniques for perfect results.
Key Takeaways
- Wheel gauges feature a rotating wheel for marking curved or irregular surfaces, while pin gauges use a sharp pin for straight lines.
- Calibration of wheel gauges involves adjusting the wheel’s position relative to the pin for precise measurements.
- Pin gauges are set by loosening the locking screw and adjusting the pin-to-edge distance before tightening.
- Regularly verify calibration by measuring the marked line against the desired measurement to ensure accuracy.
- Modern gauges often include graduated scales or calibrated screws to simplify setup and improve precision.
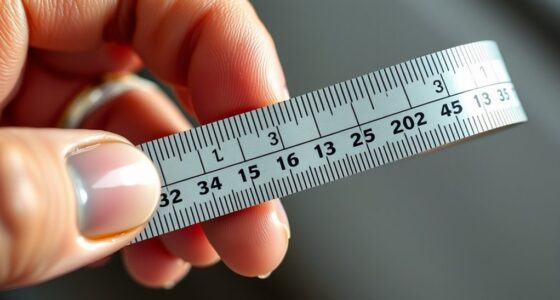
A marking gauge is an essential woodworking tool that helps you draw accurate lines parallel to the edge of a piece of wood. Whether you’re marking out joinery or setting measurements, understanding the different types and how to calibrate them is crucial for precision. When it comes to calibration techniques, you’ll find that each type of marking gauge, especially wheel and pin gauges, requires specific adjustments to guarantee accuracy. Historically, marking gauges have evolved from simple wooden tools to sophisticated metal devices, reflecting advancements in manufacturing and materials. This development has led to more reliable and durable tools, which in turn has impacted how calibration techniques are applied today.
Wheel gauges feature a rotating wheel that runs along the edge of the wood, making it easier to produce consistent lines on curved or uneven surfaces. To calibrate a wheel gauge, you typically adjust the position of the wheel relative to the marking pin, ensuring the wheel’s circumference matches the desired measurement. This process involves measuring the distance from the wheel to the pin, then fine-tuning the adjustment screw until your markings are precise. Pin gauges, on the other hand, use a sharp pin to scribe a line directly into the wood. Calibration here involves setting the distance between the pin and the edge of the gauge body, often by loosening a locking screw, moving the pin to the correct measurement, and then tightening it firmly.
Understanding the historical development of marking gauges also helps you appreciate their design improvements. Early gauges were simple wooden devices with a fixed pin or knife, which lacked the precision needed for complex joinery. Over time, metal components and adjustable features were introduced, allowing for more accurate settings and easier calibration. Today’s modern gauges incorporate graduated scales or calibrated screws, making it straightforward to set and verify measurements. Recognizing these design changes can help you select the right tool and calibrate it properly for your projects.
In practice, regular calibration checks are essential to maintaining accuracy. For wheel gauges, rotate the wheel to verify that the line matches your measurement, adjusting as necessary. For pin gauges, double-check the distance between the pin and the edge before each use. With consistent calibration techniques and an understanding of their historical development, you’ll guarantee your marking gauges provide reliable, precise results every time. Properly calibrated tools contribute considerably to the quality of your woodworking, making your projects both precise and professional-looking.

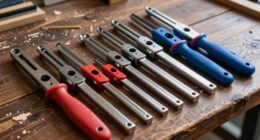
Clarke Brothers Wheel Marking Gauge – Woodworking Marking Scriber Kit With 2 Replacement Cutters – Wood Marking Tools With Graduated Inch & MM Scale – Solid Metal Bar Wood Scribe Tool For Carpenter
✅ PATENT PENDING – ROLL STOP FENCE WITH FLAT SPOT – woodworking tasks with a high-end wheel marking…
As an affiliate, we earn on qualifying purchases.
As an affiliate, we earn on qualifying purchases.
Frequently Asked Questions
How Do I Choose Between a Wheel and Pin Marking Gauge?
You should choose a wheel marking gauge if you need to mark long, consistent lines quickly, thanks to its smooth, easy setup and comparison benefits. Opt for a pin gauge when working on delicate, detailed edges or narrow lines, as it offers better precision. Consider setup considerations like adjusting the wheel for speed or fine-tuning the pin for accuracy. Your choice depends on the project’s detail level and marking speed needed.
Can Marking Gauges Be Used for Metalworking Projects?
Think of a marking gauge as a versatile artist’s tool, ready to sketch precision lines on different canvases. Yes, marking gauges can be used for metalworking projects. They work well with metalworking tools, especially when you choose the right marking gauge materials like hardened steel or brass. Just make certain your gauge’s pin or wheel is suitable for metal, and you’ll get accurate, clean marks on your metal surfaces.
What Maintenance Is Required for Long-Lasting Accuracy?
To keep your marking gauge accurate, you need to perform regular tool maintenance, like cleaning it after use and applying light oil to prevent rust. Check the calibration techniques periodically, ensuring the wheel or pin moves smoothly and stays aligned. Adjust the calibration as needed to maintain precision. Proper maintenance and calibration help your tool stay reliable, providing consistent marks for your projects over time.
Are Digital Marking Gauges Available and More Effective?
Imagine you’re marking intricate furniture pieces, and a digital gauge makes the job easier. Digital marking gauges with electronic marking are more effective because they offer precise, consistent measurements and easy adjustments. They often include digital readouts for quick setup, reducing errors. While more expensive, they save time and improve accuracy, especially on complex projects. So, yes, digital gauges are available and can be a valuable upgrade for your woodworking toolkit.
How Do I Calibrate a Marking Gauge for Precise Measurements?
To calibrate your marking gauge for precise measurements, start with calibration techniques like comparing it against a known accurate ruler or gauge block. Adjust the marking point or wheel until it matches the standard, ensuring measurement accuracy. Regularly check calibration, especially after heavy use or impacts. This process helps maintain consistent, accurate markings, so your woodworking projects stay precise and professional-looking every time.
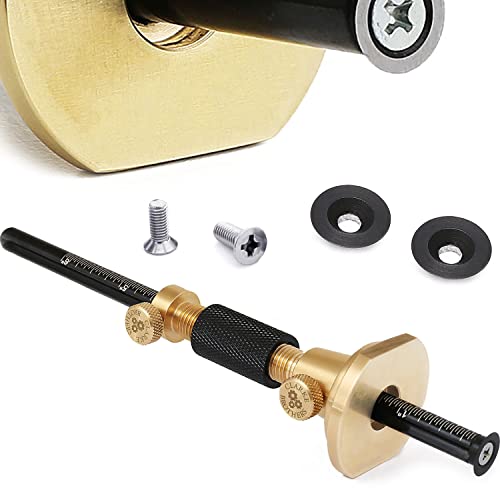
Clarke Brothers Wheel Marking Gauge Kit – 7" Brass Marking Tool with Anti-Roll Fence, Micro-Adjuster, Metric/Imperial Ruler, 2 Extra Cutters & Bolts, Woodworking Scribe Tool
PATENT PENDING – PRECISE & ACCURATE MARKINGS – Achieve flawless scribe lines every time with our wheel marking…
As an affiliate, we earn on qualifying purchases.
As an affiliate, we earn on qualifying purchases.
Conclusion
Ultimately, choosing between wheel and pin marking gauges depends on your project needs. While some might worry about accuracy, both types can deliver precise results when used correctly. Don’t let the fear of complexity hold you back—practice makes perfect. With a little patience, you’ll find that mastering either gauge enhances your woodworking skills and ensures cleaner, more accurate cuts. So go ahead, experiment, and discover which gauge works best for you!

Woodworking Marking Ebony Mortise 8 Inch Carpenter Scraper Scriber
The slideway is made of brass, which is not easy to rust, accurate marking and more .
As an affiliate, we earn on qualifying purchases.
As an affiliate, we earn on qualifying purchases.
Clarke Brothers Wheel Marking Gauge – Woodworking Marking Scriber Kit With 2 Replacement Cutters – Wood Marking Tools With Graduated Inch & MM Scale – Solid Metal Bar Wood Scribe Tool For Carpenter
✅ PATENT PENDING – ROLL STOP FENCE WITH FLAT SPOT – woodworking tasks with a high-end wheel marking…
As an affiliate, we earn on qualifying purchases.
As an affiliate, we earn on qualifying purchases.