To gauge board flatness, place the gauge on a level surface and use a dial indicator or a straightedge to check for deviations across the surface, guaranteeing it meets specific flatness standards. To detect twist, position a straightedge along different axes and feel for gaps or unevenness; tools like feeler gauges or a precision level can assist. Regular inspection and proper maintenance help keep your gauge boards accurate—continue to explore methods that ensure measurement reliability.
Key Takeaways
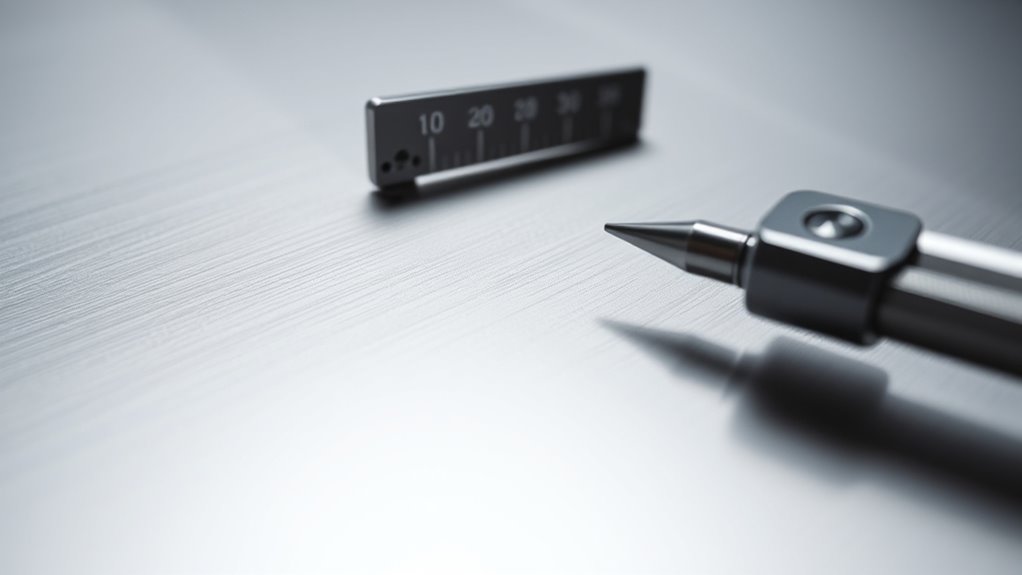
- Use a precision straight edge and feeler gauges to check for gaps along the board’s surface for flatness.
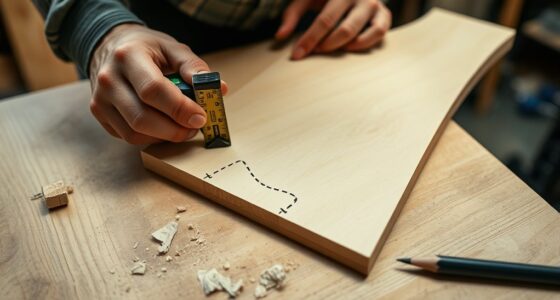
- Place the gauge board on a level surface and inspect visually for warping or irregularities.
- Assess twist by positioning a precision level or straight edge along different corners and sides to detect unevenness.
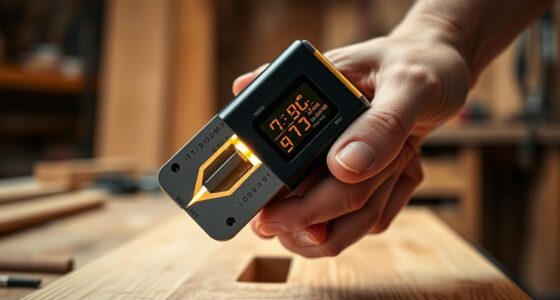
- Measure deviations with dial indicators or coordinate measuring machines (CMMs) for accurate flatness and twist assessment.
- Regularly calibrate measurement tools and compare gauge board flatness against established standards to ensure accuracy.
Have you ever wondered how gauge board flatness and twist impact the accuracy of your measurements? If you’re involved in precision measurement, understanding the importance of flatness standards is essential. When you’re working with measuring tools, even slight deviations in a gauge board’s flatness can lead to errors, compromising the quality of your work. Ensuring your gauge boards meet specific flatness standards isn’t just about compliance; it’s about reliability and precision. Flatness standards define the allowable deviations from a perfect flat surface, guiding you in identifying when a gauge board is suitable for use. The closer your gauge board adheres to these standards, the more confident you can be that your measurements are accurate.
Ensuring gauge board flatness and twist standards is crucial for accurate, reliable measurements in precision work.
To gauge flatness effectively, start by inspecting the board visually for obvious warping or irregularities. But visual checks aren’t enough—use precision tools like a dial indicator or a coordinate measuring machine (CMM) to assess flatness more accurately. When you place your gauge board on a stable, level surface, these measuring tools can detect minute deviations that are not visible to the naked eye. Pay attention to the readings; if the deviation exceeds the flatness standards you’re working with, it’s time to contemplate reconditioning or replacing the board. Consistent use of precise measuring tools helps you maintain high standards and ensures your measurement setup remains reliable. Regularly calibrating your measurement instruments ensures ongoing accuracy and measurement integrity.
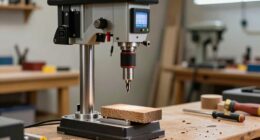
Twist, on the other hand, refers to a distortion where one corner or side of the gauge board is higher or lower than others, affecting the flatness. To check for twist, you can use a combination of straight edges and feeler gauges, or a precision level. Place the straight edge along different axes of the board, and observe for gaps or inconsistencies. If you notice significant twist, it can cause errors in your measurements, especially when measuring parts that rely on a perfectly flat surface for accurate readings. Correcting twist involves flattening the board through proper surface grinding or replacing it altogether. Regularly checking for twist alongside flatness ensures you’re not unknowingly introducing errors into your measurement process.
Ultimately, understanding how to gauge board flatness and twist involves using the right measuring tools and adhering to flatness standards. These standards serve as your benchmark for evaluating the condition of your gauge boards. By routinely inspecting and maintaining your measurement tools and surfaces, you safeguard the accuracy of your work. Don’t underestimate the impact of even the slightest deviation—precision depends on meticulous attention to flatness and twist. When you consistently verify your gauge boards against established standards, you reinforce the integrity of your measurements and uphold the quality of your craftsmanship.
Frequently Asked Questions
What Tools Are Best for Measuring Board Flatness Accurately?
You should use a precision straightedge or dial indicator for measuring board flatness accurately. These tools offer high measurement precision and can be calibrated regularly to guarantee consistent results. Digital levels or laser measurement tools are also excellent options, providing quick and precise readings. Always calibrate your tools before use, and follow proper measurement techniques to get the most reliable data on board flatness and twist.
How Does Wood Species Affect Flatness and Twist?
You’ll find that wood species subtly influences flatness and twist through factors like wood density and grain pattern. Denser woods tend to resist warping, maintaining better flatness, while open or uneven grain patterns might encourage twisting over time. By understanding these inherent characteristics, you can select species that naturally align with your project’s stability needs, ensuring a smoother, more predictable outcome in your woodworking endeavors.
Can Environmental Conditions Influence Board Flatness Readings?
Yes, environmental conditions like humidity fluctuations and temperature variations can influence your board flatness readings. When humidity rises or drops, wood absorbs or releases moisture, causing it to expand or shrink, which affects flatness. Temperature changes can also cause wood to warp or twist. To get accurate readings, measure your boards in stable conditions and consider these factors, ensuring consistent environmental conditions during your assessment.
What Are Common Causes of Warping in Flat Boards?
Think of your board as a sailing ship; if the grain orientation isn’t aligned or the moisture content fluctuates like changing tides, warping can occur. When the wood’s internal structure is uneven, it pulls and twists as it dries or absorbs moisture. Poor storage, rapid drying, and inconsistent humidity levels act like storms, causing the board to warp, twist, or cup over time. Proper handling keeps your ship steady on calm waters.
How Often Should Flatness and Twist Be Checked During Woodworking?
You should check the flatness and twist of your boards regularly, ideally after every major step in your woodworking process. Use measurement frequency based on your project’s precision needs, inspecting with straightedges, squares, or dial indicators. Frequent inspections help catch warping early, allowing you to make adjustments before it worsens. Consistent checks guarantee your finished piece remains accurate, saving time and material in the long run.
Conclusion
By carefully gauging board flatness and twist, you might just discover that your tools have been perfectly calibrated all along. Sometimes, the smallest measurements reveal the biggest surprises—like a slight twist that changes everything. When you pay close attention, you realize that even the tiniest imperfections can lead to better craftsmanship. So, trust your eye, double-check your tools, and enjoy the satisfying feeling of achieving that flawless, straight, and true board—who knew precision could be so rewarding?