
To start relief carving without overcomplicating the design, focus on simple shapes and small projects. Use soft woods like basswood or pine, which are easier to carve and beginner-friendly. Sketch straightforward designs with clear outlines and avoid intricate details. Begin with controlled, layered cuts, working from the background to the foreground. Keep your projects manageable in size to build confidence. If you stick to simple patterns, you’ll develop your skills smoothly and enjoy your carving journey even more.

Get business pricing on tools and workshop supplies
- Business-only prices and quantity discounts
- Tax-exempt purchasing
- Multiple users, one account, clear invoices
Key Takeaways
- Begin with simple, bold shapes like circles or squares to focus on technique.
- Sketch straightforward, uncomplicated designs directly onto the wood for clarity.
- Use soft woods like basswood or pine for easier carving and better control.
- Carve from the background to the foreground gradually, avoiding intricate details initially.
- Keep projects small and manageable to build confidence without feeling overwhelmed.
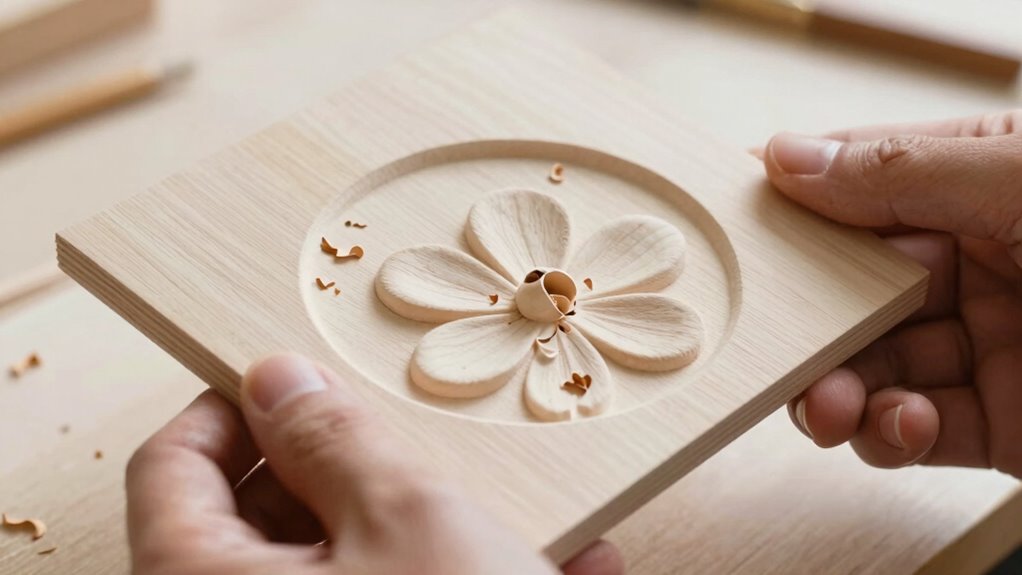
Relief carving is a rewarding art that transforms flat surfaces into intricate, three-dimensional designs, and getting started might seem intimidating at first. The key to facilitating into relief carving without feeling overwhelmed is to keep your initial projects simple. Start with a small piece of soft wood like basswood or pine, which are easier to carve and forgiving for beginners. These woods have a smooth grain that reduces the risk of splintering, making your carving experience more enjoyable and less frustrating.
Begin relief carving with simple projects on soft woods like basswood or pine for an enjoyable, frustration-free experience.
Choosing the right wood is essential because it impacts how easily you can work and the level of detail you can achieve. Softwoods are recommended for beginners because they require less pressure, allowing you to develop control over your carving tools. Once you gain confidence, you can explore harder woods like cherry or walnut for more detailed and durable pieces. But for now, stick with a manageable piece of soft wood that won’t challenge your skills or patience. Understanding wood properties can also help you select the best material for your projects and improve your results. Additionally, considering the grain direction of the wood can influence how smoothly and precisely your carving turns out. Familiarizing yourself with the types of carving tools can also make a significant difference in how effectively you can execute your designs.
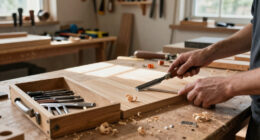
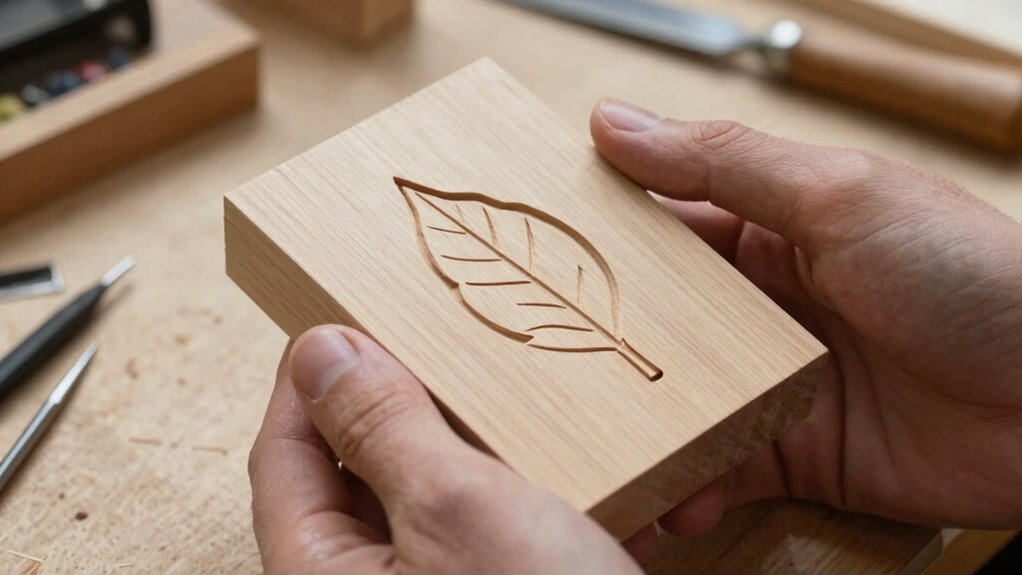
When you’re ready to carve, sketch a simple design onto your wood with a pencil. Keep the design straightforward—think basic shapes or patterns—so you can focus on mastering the technique without the complexity of intricate details. Use your carving tools carefully, removing material in layers and gradually building up the relief. Start by carving the background areas, then work your way toward the foreground. This approach helps you understand depth and perspective without overcomplicating the process.
Products Worth Considering

eufy Security Essential 7-Piece Alarm System

TCL T7 Series 85-Inch 4K 144Hz QLED Smart Google TV

Philips Hue Bridge Pro Smart Lighting Hub
As an affiliate, we earn on qualifying purchases.
Frequently Asked Questions
What Tools Are Essential for Beginner Relief Carving?
For beginner relief carving, you need essential tools like a gouge, chisel, and carving knife. Focus on tool selection that promotes design simplification, making your work easier and more manageable. Start with basic tools, avoiding overly complex or specialized ones, so you can develop your skills without frustration. As you progress, you can expand your toolkit, but initially, simplicity helps you learn the fundamentals effectively.
How Do I Choose the Right Wood for Relief Carving?
Choosing the right wood is like selecting a canvas for your art—look for soft, fine-grained wood like basswood or pine. Their smooth texture invites gentle carving, and the subtle wood grain allows your design to shine without distraction. Avoid woods with coarse grain or knots that can snag your tools. This way, your relief carving becomes a dance of precision and grace, showcasing your skill with ease.
How Do I Plan a Simple Relief Design?
To plan a simple relief design, start with creative inspiration from nature or patterns you love. Keep your design straightforward by focusing on clear shapes and minimal details. Sketch your idea lightly, emphasizing design simplification to avoid overcomplicating the project. Break the design into manageable sections, and visualize how each part will stand out. This approach helps you stay focused and confident, making relief carving more enjoyable and achievable.
What Safety Precautions Should I Take?
You should always wear safety gear like goggles and a dust mask to protect your eyes and lungs. Keep your hands clear of the carving path and use carving tips carefully to maintain control. Work in a well-ventilated area and take breaks to avoid fatigue. Stay focused, and don’t rush. Following these safety precautions helps prevent accidents and makes your relief carving experience safer and more enjoyable.
How Can I Fix Mistakes in Relief Carving?
If you make a mistake in relief carving, start by gently smoothing the area with fine sandpaper or a small carving tool to remove excess material. You can then use color blending techniques to disguise imperfections, blending the correction seamlessly into the surrounding design. To enhance texture, add subtle details or shading around the mistake, making it less noticeable while giving your piece a polished look.
Conclusion
Starting relief carving is simpler than you think—just focus on clear, manageable designs and take it step by step. Remember, many beginners find relief carving relaxing and rewarding, with over 60% of hobbyists reporting increased creativity and stress relief. Keep your first projects straightforward, and you’ll build confidence quickly. So grab your tools, trust your instincts, and enjoy the process—your next beautiful carving is just a cut away!