
To make certain your wood lasts, apply a sealer when the surface is clean, dry, and free of old finishes or debris. Start by inspecting and thoroughly cleaning the wood, then lightly sand along the grain to open pores. Use thin, even coats of the right sealant—oil-based or water-based—allowing each to dry completely before adding another. Proper sealing shields wood from moisture and decay, and if you continue, you’ll learn the best techniques for lasting protection.
Key Takeaways
- Seal wood when it’s clean, dry, and free of dust or old finishes to ensure optimal adhesion and durability.
- Lightly sand the surface along the grain to open pores and promote better sealant penetration.
- Apply sealant in thin, even coats, allowing each layer to dry thoroughly before adding another.
- Choose the appropriate sealant type (oil-based or water-based) based on your project needs for maximum longevity.
- Regularly inspect and reapply sealant as needed to maintain protection against moisture, decay, and damage.
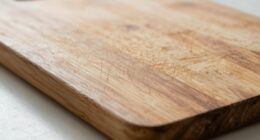
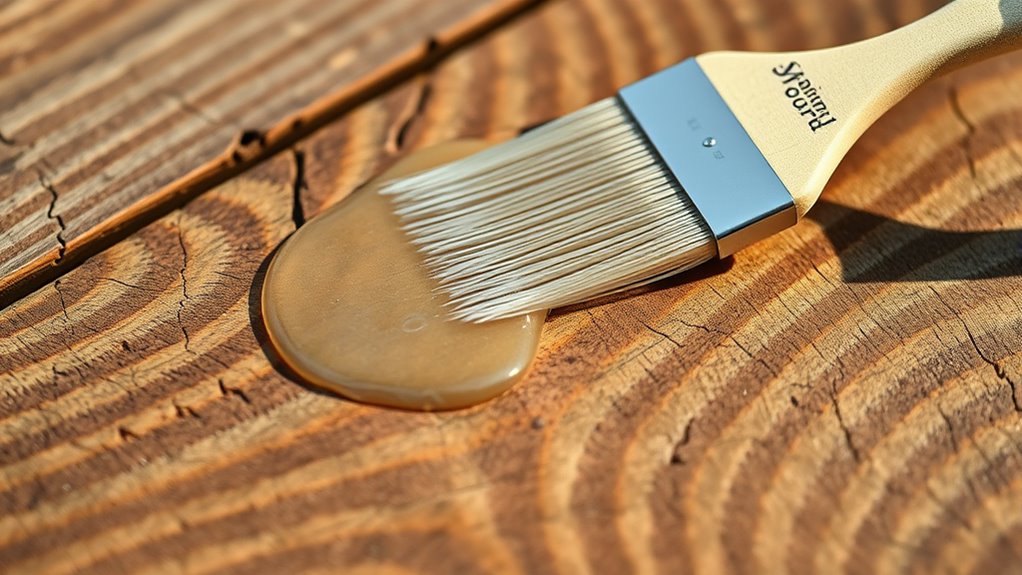
Sealants for wood are essential products that protect your wooden surfaces from moisture, decay, and damage. When applying a sealant, proper surface preparation is crucial because it ensures the sealant adheres correctly and performs effectively. Before you start, inspect the wood’s surface—look for dirt, dust, grease, or old finishes that might interfere with adhesion. Clean the surface thoroughly using a gentle cleaner or a mixture of water and mild detergent. Once dry, lightly sand the wood to smooth out rough patches and open up the wood grain, which helps the sealant penetrate better. Removing old finishes or previous sealants may also be necessary if they’re peeling or deteriorated, as this guarantees a clean surface for ideal bonding. Taking these steps guarantees that the sealant will form a proper barrier against moisture and other damaging elements.
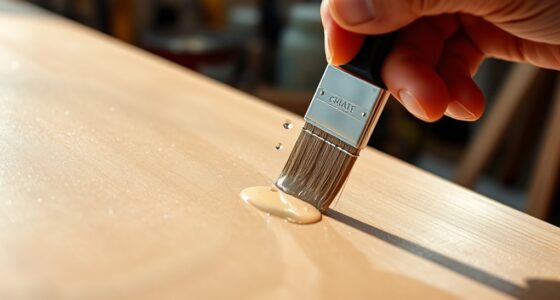
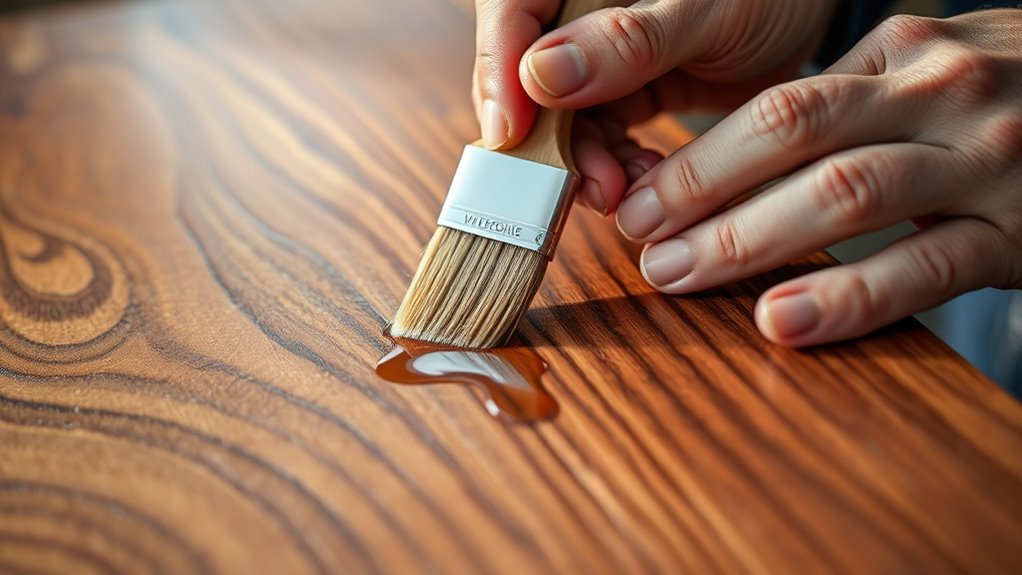
Next, pay close attention to the wood grain during surface prep. The wood grain influences how the sealant penetrates and how smoothly it coats the surface. Sand along the grain rather than against it to avoid scratches and uneven absorption. When you’re ready to apply the sealant, work in thin, even coats to prevent drips and runs. This approach not only enhances the appearance but also helps the sealant form a uniform protective layer. Be sure to use a brush, roller, or sprayer suited to the type of sealant you’ve chosen, whether it’s oil-based or water-based. Applying too thick a coat can trap air bubbles and compromise durability, so patience and precision matter.
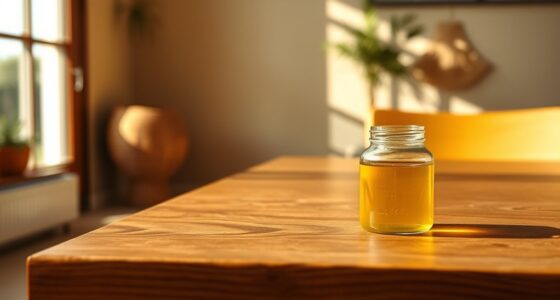
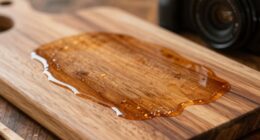
Additionally, understanding the types of sealants available allows you to select the most suitable product for your project, ensuring optimal protection and longevity. After applying the first coat, allow it to dry completely before deciding whether additional coats are necessary. Multiple thin coats often provide better coverage and longevity than a single thick layer. Remember, the key to a long-lasting seal is thorough surface prep combined with careful application. Once fully dried, inspect your work to ensure even coverage and that no spots were missed. Proper surface prep, paying attention to the wood grain, and applying the sealant correctly are the best ways to extend the life of your wooden surfaces. This careful process helps prevent moisture infiltration, decay, and damage over time, keeping your wood looking beautiful and protected for years to come.

Nordicare Teak Oil for Outdoor Furniture, 16.9 Oz – Outdoor Wood Oil & Sealer for Teak, Acacia, Oak & More, Helps Restore Weathered Wood and Protect Against Drying, Easy to Apply
🌱 UNLEASH THE BEAUTY OF YOUR OUTDOOR WOOD WITH TEAK OIL: Our premium wood finish and sealer is…
As an affiliate, we earn on qualifying purchases.
As an affiliate, we earn on qualifying purchases.
Frequently Asked Questions
Can Sealers Be Applied Indoors and Outdoors?
Yes, sealers can be applied both indoors and outdoors. For indoor protection, choose a sealer that enhances appearance and blocks moisture. Outdoors, opt for a sealer that boosts durability against weather and UV rays. Always follow product instructions for proper application, ensuring your wood is clean and dry. This way, you maximize outdoor durability and indoor protection, keeping your wood looking great and lasting longer in any environment.
How Often Should I Reapply Wood Sealers?
Your wood sealer won’t last forever—think of it as the superhero cape for your wood, needing renewal to stay strong. Usually, you’ll want to reapply your sealer every 1 to 3 years, depending on the sealer lifespan and exposure. Outdoor wood faces more wear, so consider more frequent reapplications, while indoor projects might stretch longer. Keep an eye on the finish, and reapply before it shows signs of wear!
Are Sealers Safe for Food-Contact Surfaces?
Sealers aren’t typically safe for food-contact surfaces because of food safety and toxicity concerns. Many sealers contain chemicals that could leach into food, posing health risks. If you need to seal a surface that touches food, opt for food-safe, FDA-approved sealers specifically made for this purpose. Always check the product label to make sure it’s non-toxic and safe for food contact, and follow the manufacturer’s instructions carefully.
Do Different Wood Types Require Different Sealers?
Yes, different wood types require specific sealers for maximum protection. You should consider wood types because their porosity and grain vary, affecting sealer compatibility. For example, softwoods may need a penetrating sealer, while hardwoods might benefit from a surface sealer. Always choose a sealer compatible with your wood type to guarantee durability and prevent issues like cracking or peeling. Proper selection guarantees your wood stays protected and looking great longer.
Can Sealers Be Used on Painted or Stained Wood Surfaces?
Yes, you can use sealers on painted surfaces and stained wood, but choose the right type. For painted surfaces, a clear sealer helps protect the paint and extend its life without adding color. On stained wood, opt for a sealer that enhances the stain’s appearance and offers durability. Always guarantee the surface is clean and dry before sealing to achieve the best results and prevent peeling or bubbling.

Varathane Water-Based Crystal-Clear Ultimate Polyurethane | Interior Wood Protection | Fast Dry Time | Easy Clean Up | Satin | Half Pint
Protects indoor wood surfaces such as furniture, windows, cabinets, trim and more
As an affiliate, we earn on qualifying purchases.
As an affiliate, we earn on qualifying purchases.
Conclusion
Now that you know when and how to seal your wood, you can protect it from moisture, damage, and decay. By choosing the right sealant, applying it properly, and maintaining your wood over time, you’re ensuring its durability, beauty, and longevity. Seal it for safety, seal it for strength, seal it for peace of mind. With these tips, your wood will stand the test of time, looking great and performing well for years to come.

Garden Box Sealer | FDA Food Contact Safe Plant-Based Wood Sealant for Raised Bed, Planter & Pet House. Protects All Wood Types from Water & Weather Damage |
GARDEN BED WOOD SEALER – For Use On Cedar And All Wood Types Used In Raised Bed Gardens….
As an affiliate, we earn on qualifying purchases.
As an affiliate, we earn on qualifying purchases.

Ready Seal Exterior Wood Stain | Semi-Transparent Oil-Based Formula | Professional Grade Stain and Sealer in One | Ideal for Decks, Fences, Pergolas, Wood Siding & More | 5 Gallon | Natural Cedar
NO LAPS, RUNS OR STREAKS: Goof Proof formula with no back brushing required; ideal for exterior wood projects
As an affiliate, we earn on qualifying purchases.
As an affiliate, we earn on qualifying purchases.