
To achieve a flawless finish, sanding between coats is essential. You should use finer grits like P320 or higher to smooth the surface and eliminate imperfections. Proper technique involves gentle, even pressure and long strokes in one direction. Always remove dust thoroughly with a damp cloth or tack cloth before applying the next layer. Mastering these steps guarantees a professional look—keep exploring to learn more tips for perfect results.
Key Takeaways
- Use progressively finer grits, like P220 to P320 or higher, to smooth surfaces without scratches.
- Sand with long, even strokes in one direction to achieve a uniform, flawless finish.
- Remove all dust thoroughly with a tack cloth or damp naphtha/mineral spirits before applying the next coat.
- Use gentle pressure and proper tools, such as felt blocks, to avoid damaging previous layers.
- Maintain a dust-free workspace and consistent sanding practices for professional, high-quality results.

Emery Cloth Roll Sandpaper Rolls – Boxed Multi-Roll Abrasive Dispenser for Woodturning, Metal, Automotive Body Work & Lathe Accessories – Includes 150, 240, 320, 400, 600 Grit J-Weight Cloth
CONVENIENT TEAR-OFF DISPENSER – Boxed multi-roll design lets you pull and tear the exact length of sand paper...
As an affiliate, we earn on qualifying purchases.
Why Sanding Between Coats Matters for a Perfect Finish
Sanding between coats is essential because it guarantees a smooth, flawless finish. When you sand, you remove dust particles and imperfections that can mar the surface, helping you achieve a professional look. Proper sanding also improves adhesion by creating a slightly rough surface, ensuring the next coat bonds well. Using finer grits like P320 or higher prevents damage to the existing finish while smoothing it out. This process helps eliminate raised grain and rough spots, making the surface uniform before applying the next layer. Regular sanding between coats isn’t just about aesthetics; it’s crucial for durability and quality, especially in high-end woodworking projects. Additionally, understanding the importance of surface preparation can significantly influence the final outcome of your project. By paying attention to this step, you set the foundation for a pristine, long-lasting finish. Incorporating proper sanding techniques ensures the best possible results and enhances the overall quality of your work. For optimal results, it’s also beneficial to consider the type of finish you are applying, as different finishes may require specific preparation methods. Moreover, selecting the right sanding tools can make the process more efficient and effective. To further improve your results, always consider the wood grain direction to avoid scratches and achieve a smooth surface.

RUITOOL Bowl Sander Tool Kit with Dual Bearing Head - Lathe Tools with 1" - 3" Hook & Loop Sanding Discs, 75 Piece Sandpaper (60 to 320 Grit), Backing Pads with Foam Interface & Metal Handle
【Dual bearings for smoother sanding】Our RUITOOL bowl sander uses a dual-bearing assembly designed for long life. The dual...
As an affiliate, we earn on qualifying purchases.
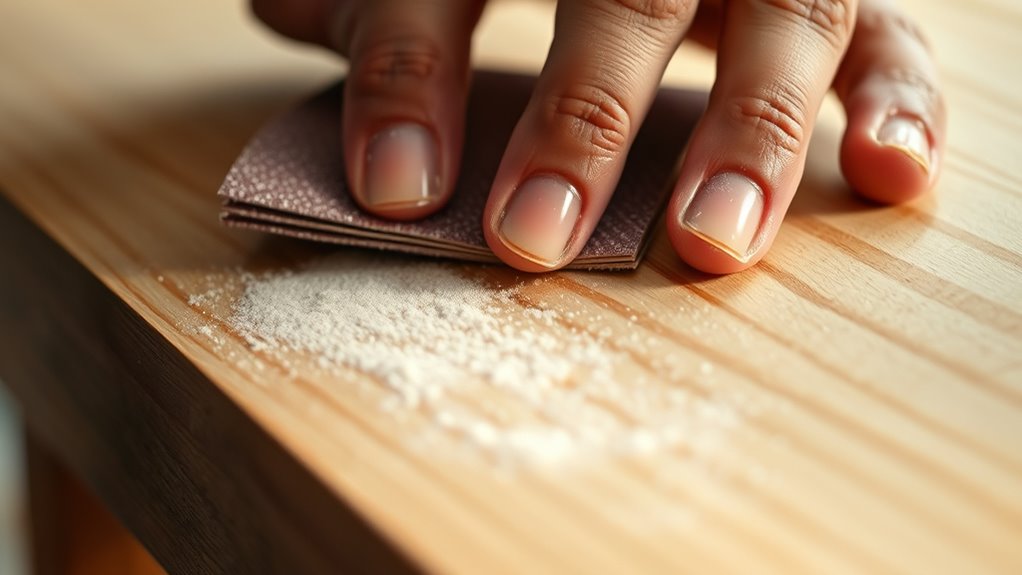
Choosing the Right Grit for Smooth Results
Selecting the appropriate grit is essential for achieving a smooth, professional finish between coats. Start with a medium grit, such as P220, then gradually move to finer grits like P320 or higher. This grit progression ensures surface smoothness by removing embedded grains and surface imperfections without damaging the previous coat. Using too coarse a grit can leave scratches that mar the finish, while overly fine grit minimizes scratch marks and preserves the underlying layer. Finer grits also promote better adhesion for subsequent coats, resulting in a flawless, even surface. Remember, the goal is to gently refine the surface without stripping away too much material. Proper grit selection creates the ideal base, leading to a smooth, durable, and professional-looking final finish. Additionally, understanding the evolution of production techniques helps in choosing the right tools and methods for optimal results. Incorporating modern sanding technology can further enhance the quality of your finish and reduce overall work time. Exploring sanding tools designed for specific applications can also improve efficiency and finish quality.

Peachtree Woodworking Supply Bowl Sander Tool Kit - Dual Bearing Head & Hardwood Handle, 85 Piece Wood Sander Kit, 1" & 2" Hook & Loop Sanding Disc Sandpaper, 1/4 Mandrel
BOWL SANDER FOR WOODTURNING - Finishing the inside of a wood turned bowl can be tricky, as scuff...
As an affiliate, we earn on qualifying purchases.
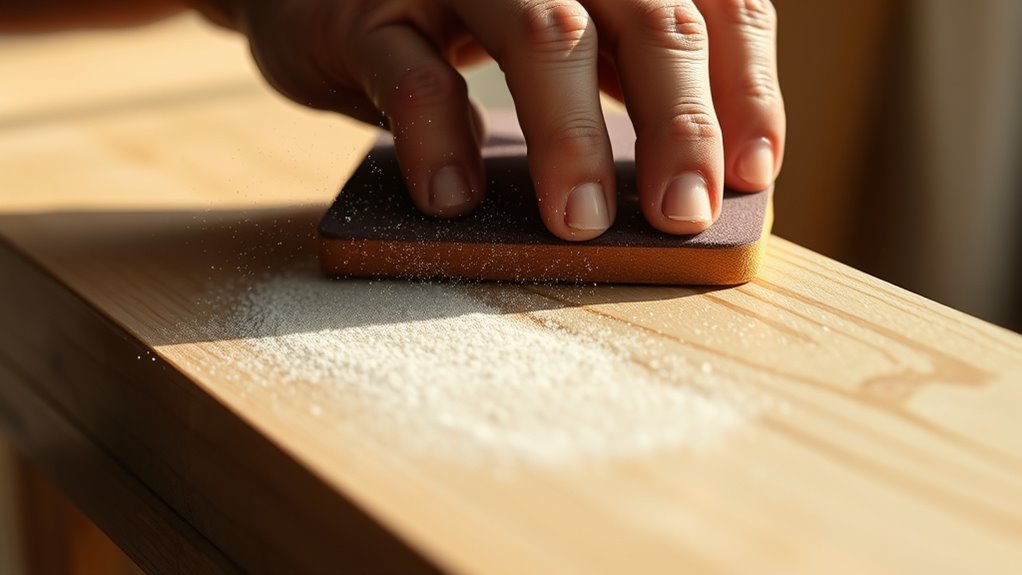
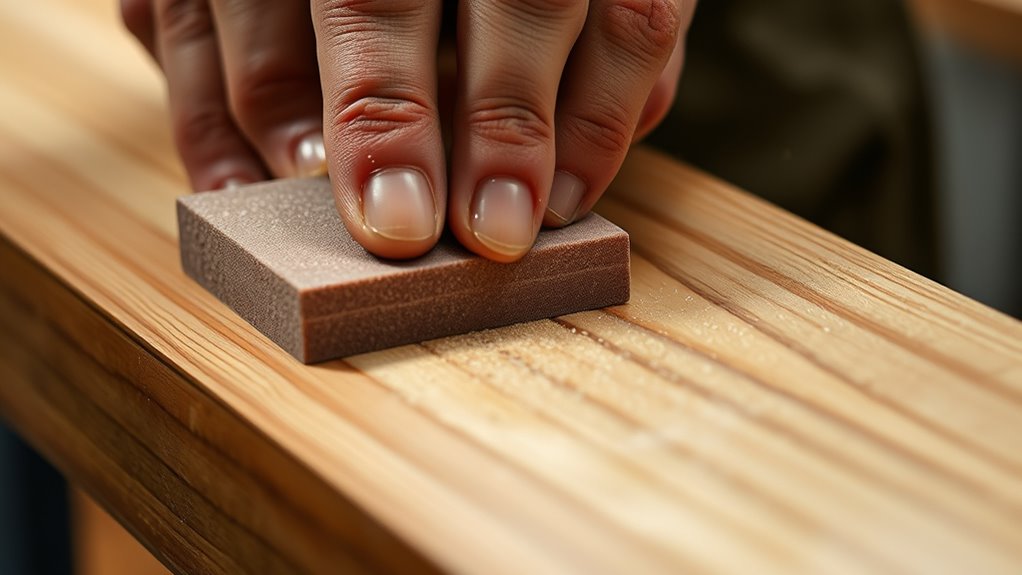
Essential Tools and Materials for Effective Sanding
To achieve smooth, professional results between coats, having the right tools and materials is essential. Proper surface preparation ensures adhesion and a flawless finish. Use a felt block wrapped with 400 to 500 grit sandpaper for gentle, consistent hand-sanding. Cutting sandpaper into quarters helps you reach detailed or tight areas with precision. A shop vac with a brush attachment is ideal for dust removal, preventing scratches and dirt buildup. Avoid tack cloths, as their waxy residue can interfere with adhesion. Keep your surface dust-free and smooth after each sanding. This ensures maximum bonding and reduces imperfections. Investing in these tools and materials streamlines your sanding process and results in a smoother, more polished final finish.

Dura-Gold Woodturning Bowl Sander Tool Kit - 1" & 2" Hook & Loop Backing Pads, 50 Sanding Discs (60 to 320 Grit), Dual Bearing, Hardwood Handle, 1/4" Mandrel, Sandpaper Woodworking
Complete Dura-Gold Bowl Sander Kit: Wood lathe sanding tool includes 1" & 2" hook & loop backing pads...
As an affiliate, we earn on qualifying purchases.
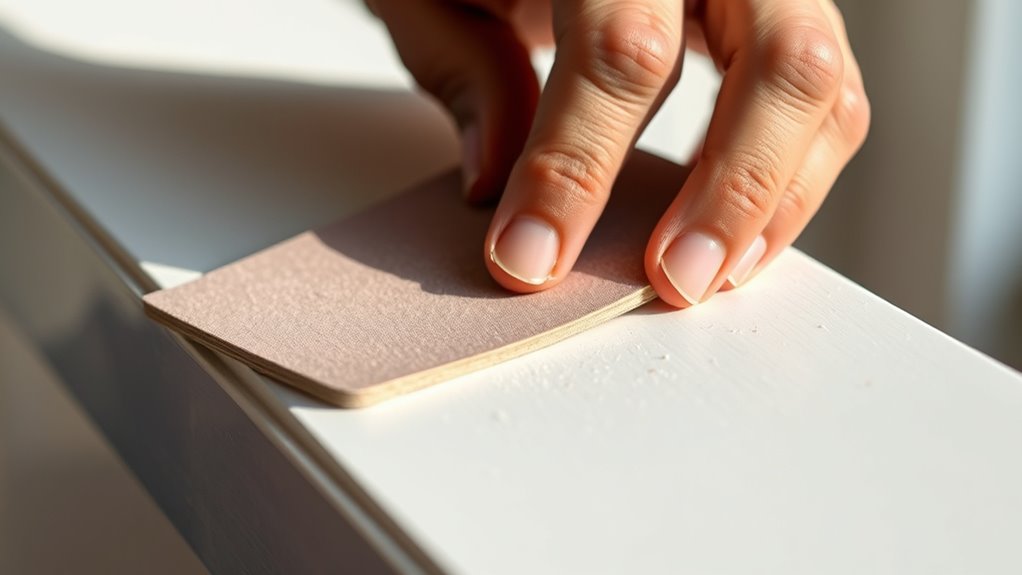
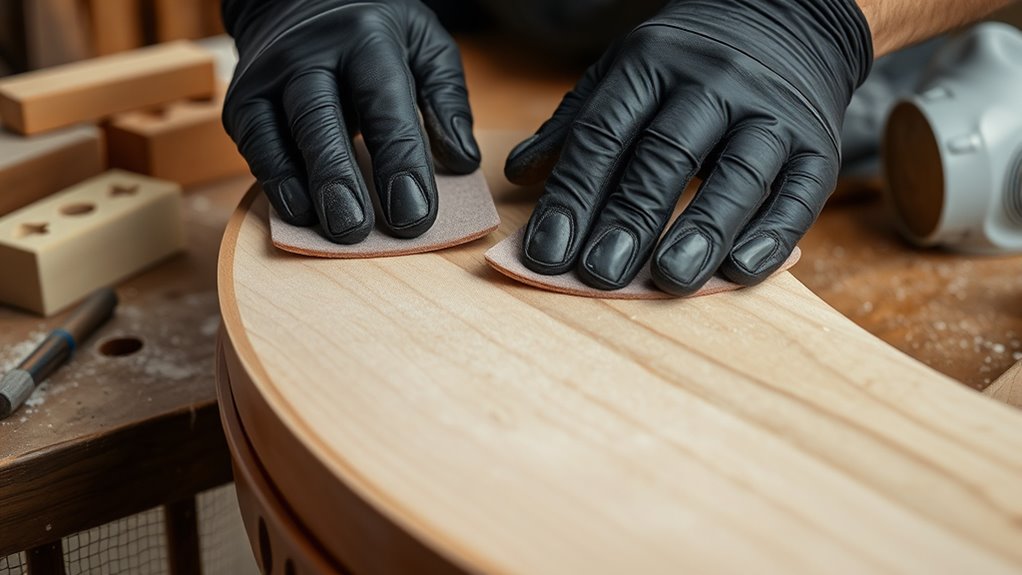
Proper Techniques to Avoid Damaging Your Finish
To prevent damaging your finish, use light, gentle pressure when sanding and keep your motions smooth and consistent. Avoid coarse abrasives, like high-grit sandpaper, which can create scratches or uneven surfaces. Always maintain a steady sweeping motion to ensure a uniform, professional-looking result.
Use Light, Gentle Pressure
Applying light, gentle pressure when sanding is essential to prevent gouging or removing too much of the finish. This careful approach guarantees a smooth, even surface without damaging underlying layers. When you use a soft touch, you maintain control and avoid creating uneven spots or scratches. Consistent, minimal pressure helps preserve the topcoat’s integrity while smoothing imperfections effectively. Remember, pressing too hard can lead to scratches or removal of previous coats, compromising your finish. Instead, focus on gentle, deliberate motions. Here are some tips to keep in mind:
- Use a light grip on the sanding tool
- Let the sandpaper do the work
- Keep your strokes even and controlled
- Regularly check your progress
- Avoid applying extra pressure to stubborn spots
- Proper sanding techniques ensure you achieve a professional finish without damaging your work. Being aware of potential pitfalls in new techniques can help prevent common mistakes that might affect your results. Additionally, understanding paint thinning and proper dilution can improve your sanding outcomes by ensuring smoother surfaces post-application. This technique results in a flawless, professional-looking finish.
Avoid Abrasive Grits
Using the right grit is essential when sanding between coats, as choosing overly coarse abrasives can easily damage your finish surface. Stick to fine abrasive grits around P220 to P320 for hand-sanding; coarser grits like P180 or lower risk gouging the surface and creating scratches that mar the final coat. Excessive pressure during sanding can remove too much finish or cause uneven spots, so apply gentle, light strokes. Avoid aggressive abrasives on delicate finishes such as shellac or lacquer, as they can dull or streak the surface. The goal is to smooth the finish without damaging it. Proper sanding techniques help maintain surface integrity and achieve a flawless, professional-looking result. Selecting the appropriate abrasive grit and practicing gentle techniques are crucial for preserving your finish surface and ensuring a flawless, professional-looking result.
Maintain Consistent Motion
Maintaining consistent motion while sanding is essential to achieving a smooth, even finish. Use long, smooth strokes in a single direction to prevent uneven sanding marks. Keep your hand or tool steady and avoid back-and-forth motions that can create a rough surface. Apply light pressure to avoid gouging or removing too much of the previous coat, which could damage the finish. Regularly check your progress by feeling the surface for smoothness, ensuring no high spots or scratches remain. To help maintain even pressure on detailed or curved surfaces, consider using a felt block or similar tool. Additionally, controlling water flow and pressure during hydrotherapy sessions can aid in achieving optimal relaxation and muscle recovery. Being mindful of the relationship dynamics involved can also promote patience and consistency throughout the process.
Removing Dust and Residue Before Applying the Next Coat
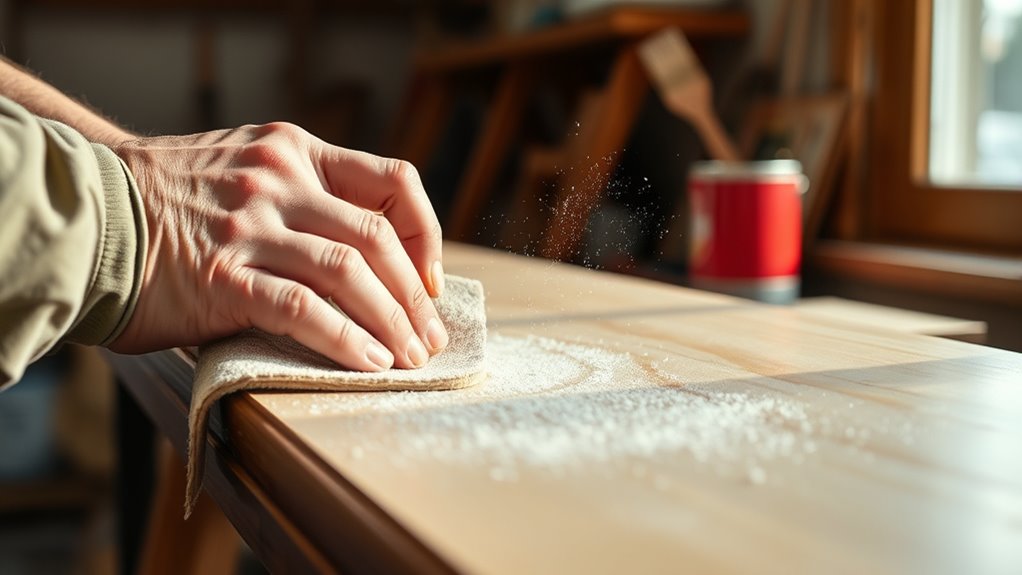
Before applying your next coat, make sure to remove all sanding dust thoroughly. Use a tack cloth or a damp cloth with naphtha or mineral spirits to lift residual particles and avoid contamination. Proper cleaning guarantees a smooth finish and prevents adhesion problems down the line. Additionally, ensuring the indoor air quality is optimal can help reduce airborne dust particles during the process.
Effective Dust Removal Methods
To guarantee a smooth and flawless finish, removing dust and residue between coats is essential. Effective dust removal methods ensure a clean surface, preventing imperfections like fisheyes, bubbles, and adhesion issues. Use a damp cloth with naphtha or mineral spirits for surface cleaning—these solvents quickly evaporate, leaving minimal oily residue and making them ideal for residue removal. Avoid tack cloths, as they can leave waxy films that hinder adhesion. Proper cleaning techniques help maintain a smooth, professional look and enhance durability. HEPA filtration can also help reduce airborne dust during the sanding process, ensuring a cleaner workspace and better results. Incorporating proper sanding techniques is crucial for achieving a high-quality finish. Consider these tips:
- Use a damp cloth with naphtha or mineral spirits for residue removal
- Ensure the cloth is clean and lint-free
- Wipe in a consistent, gentle motion
- Allow the surface to dry completely before the next coat
- Inspect for remaining dust or residue before proceeding
- Utilizing dust extraction systems can further minimize airborne particles and improve overall surface cleanliness
Avoiding Residue Contamination
After thoroughly cleaning the surface to remove dust and residue, it’s important to guarantee it’s free of any particles or contaminants before applying the next coat. Residue and dust left behind can cause adhesion problems, leading to imperfections in the finish. Use a clean, damp cloth or a shop vac to remove all debris, ensuring no dust particles remain. Avoid tack cloths that contain wax or silicone, as they can interfere with bonding. For a more thorough clean, wipe the surface with a damp cloth soaked in naphtha or mineral spirits to lift oils and fine dust. Allow the surface to dry completely before proceeding. Proper cleaning and residue removal create a smooth base, resulting in a flawless, durable finish.
Proper Surface Cleaning Techniques
Ensuring the surface is free of dust and residue before applying the next coat is essential for a smooth, durable finish. Proper cleaning removes dust and debris that can cause imperfections or adhesion problems. Use a damp cloth with naphtha or mineral spirits to wipe the surface thoroughly after sanding. Naphtha evaporates quickly and leaves fewer oily residues, making it the better choice for cleaning. Avoid tack cloths, as they can leave waxy residues that interfere with adhesion. For delicate surfaces, consider appropriate cleaning techniques to prevent damage and ensure optimal results. Additionally, choosing the right vacuum cleaner attachments, such as dusting brushes, can help remove fine dust particles from intricate surfaces before wiping, enhancing the overall cleanliness. Proper surface preparation is also crucial in home security systems because dust and debris can affect sensitive components like sensors and cameras, reducing their effectiveness. To ensure a clean surface: – Wipe with a damp cloth soaked in naphtha or mineral spirits – Focus on removing all sanding dust and debris – Let the surface dry completely – Inspect the surface for any remaining dust – Use compressed air to blow out dust from hard-to-reach areas which can improve the effectiveness of delicate components – Consider using specialized air compressors for thorough cleaning – Proceed with the next coat only when the surface is spotless
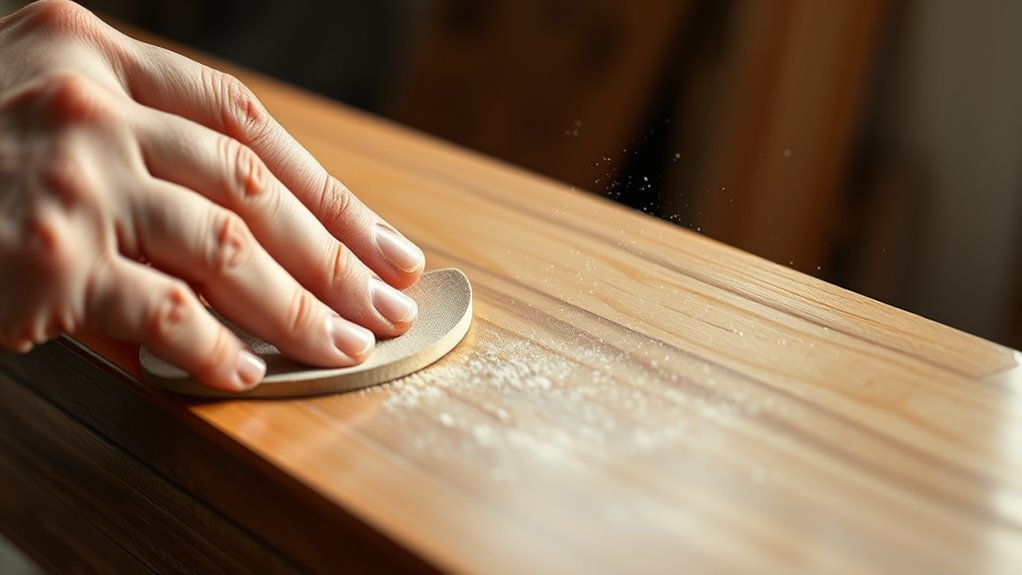
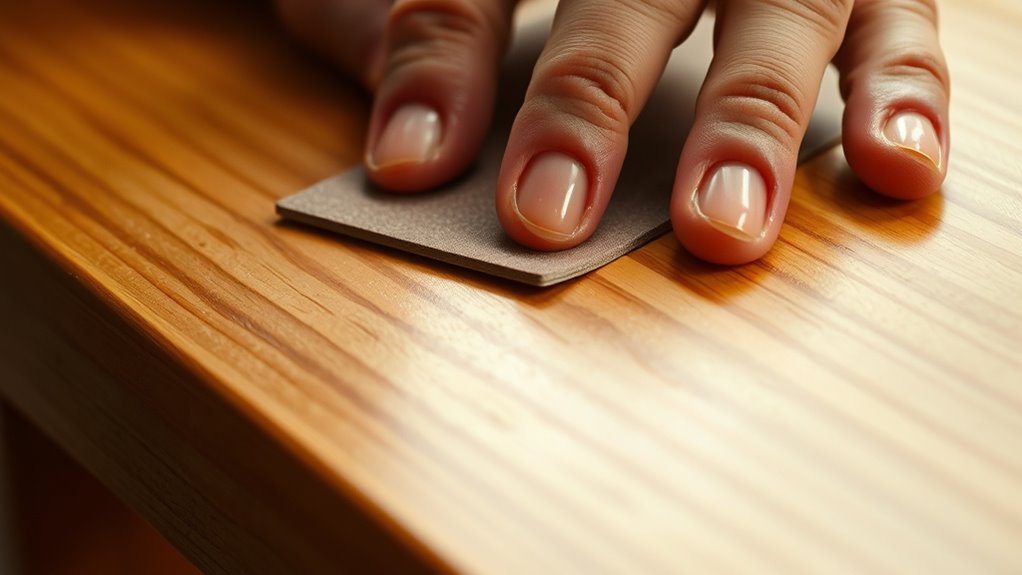
Tips for Achieving Consistent Pressure and Movement
Achieving consistent pressure and smooth movement during sanding is essential for a flawless finish. To maintain consistent pressure, use a felt block or similar tool to spread force evenly across the surface. Focus on smooth, sweeping motions from one edge to the other; avoid back-and-forth strokes, which can cause uneven sanding. When hand-sanding, apply gentle, light pressure to prevent gouging or removing too much material, especially on delicate surfaces. Regularly check your technique by feeling the surface with your hand to ensure uniform smoothness. Practice steady, controlled movements to create a consistent scratch pattern. This approach helps produce an even finish, reducing imperfections and ensuring your final coat looks professional and flawless.
Modern Abrasives and Their Benefits
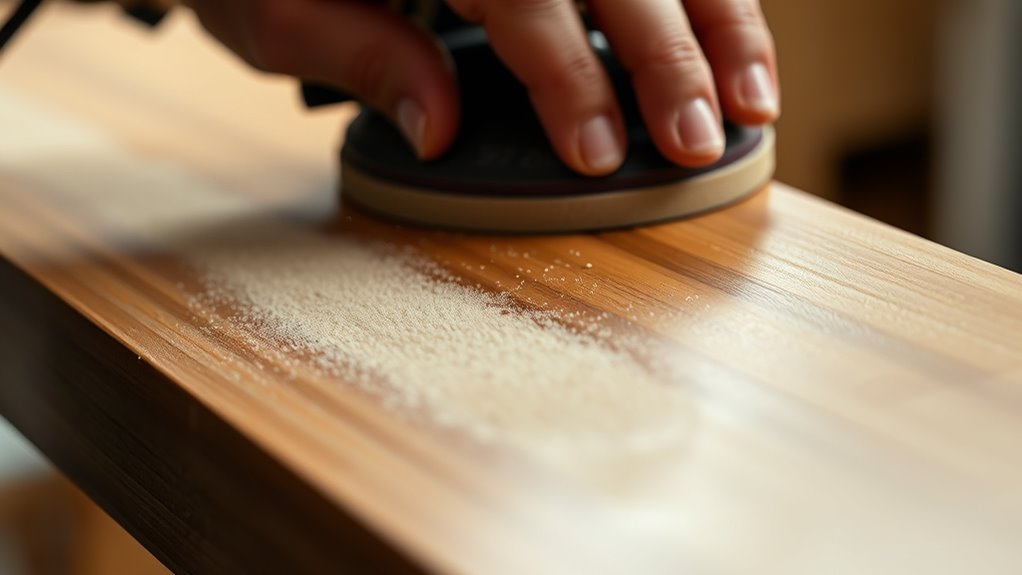
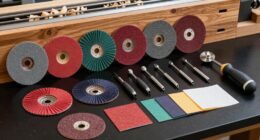
Modern abrasives have revolutionized the sanding process by offering a wide range of materials and grit options that boost both efficiency and durability. These abrasives include aluminum oxide, silicon carbide, and ceramic, enhancing cutting performance and lifespan. With advances in abrasive technology, you can dry-sand between coats, reducing mess and making the process easier. Modern abrasives are versatile, suitable for initial rough surface prep and fine finishing, streamlining your workflow. They feature quick-attach systems like hook-and-loop backing, ensuring easy handling during multiple coats. This progress allows you to achieve smoother, more consistent finishes with less effort, especially when smoothing rough surfaces or preparing for the next coat. Using contemporary abrasives ensures better results and a more efficient sanding experience overall.
- Improved durability for longer-lasting use
- Faster material removal on rough surfaces
- Reduced dust and mess with dry-sanding options
- Easy attachment and handling during multi-coat projects
- Versatility for both coarse and fine sanding
Common Mistakes to Avoid During the Sanding Process
One common mistake during sanding is using a grit that’s too coarse for finishing coats, such as P220 or coarser, which can leave scratches that are hard to remove. This can compromise the smoothness of the final coat and require additional sanding. Another sanding mistake is applying too much pressure, risking gouges or uneven surfaces that will be more difficult to correct. Skipping the removal of dust and debris after sanding can cause bumps, fisheyes, or poor adhesion in the next coat. Failing to clean the surface thoroughly before applying the final coat often leads to adhesion issues and a less durable finish. Ultimately, over-sanding between coats can thin the finish too much, reducing its protective qualities and lifespan. Avoid these mistakes to ensure a flawless, professional-looking finish.
Personal Tips for a Professional-Quality Finish

To achieve a professional-quality finish, it’s essential to use fine grit sandpaper—typically P400 to P500—and apply gentle, even pressure with a felt block. This guarantees a smooth surface without gouging or unevenness. Always remove dust thoroughly with a vacuum or tack cloth before applying the next coat; dust can cause imperfections. Use feather sanding to gently blend edges and eliminate raised grain or surface irregularities without damaging underlying layers. Here are some personal tips:
- Use fine grit sandpaper consistently for a flawless surface
- Focus on dust removal to prevent bumps and imperfections
- Practice feather sanding to smooth transitions
- Wipe with a damp cloth using mineral spirits for residue removal
- Keep your workspace dust-free to achieve a glossy, professional finish
Frequently Asked Questions
What Is the Golden Rule of Sanding?
The golden rule of sanding is to always use very fine grit sandpaper, like P320 or higher, to prevent damaging the finish. You should apply gentle, light pressure to avoid gouging or removing too much material. Make sure to thoroughly remove all sanding residue before applying the next coat. Hand-sanding with a soft pad or felt block gives you better control, helping you achieve a smooth, flawless surface.
How Do You Sand Between Coats of Finish?
When sanding between coats, you should use fine-grit sandpaper like P320 or higher to gently smooth the surface. Use a felt block or hand-sand with wrapped sandpaper, applying even pressure. Sand in a light, sweeping motion to avoid gouging. Afterward, remove all dust thoroughly with a damp cloth or vacuum, avoiding tack cloths that leave residues. This helps guarantee a smooth, flawless finish for the next coat.
How Do You Get a Smooth Finish When Sanding?
To get a smooth finish when sanding, you should use fine-grit sandpaper like P320 or higher, applying light, even pressure. Sand in gentle, continuous sweeping motions rather than back-and-forth strokes to avoid uneven surfaces. Before applying the next coat, wipe the surface with a damp cloth to remove dust. Use a felt block for detailed areas, and always check with your hand to verify the surface feels smooth and dust-free.
Why Do Painters Sand Between Coats?
You sand between coats to guarantee a smooth, flawless finish. It removes dust, brush strokes, and imperfections, giving you a cleaner surface for the next layer. Sanding also helps the paint adhere better, reducing the risk of peeling later. By using fine grit sandpaper, you prevent rough spots and embed raised grain, resulting in a durable, professional-looking result that lasts longer and looks much better.
Conclusion
Mastering the art of sanding between coats is your secret weapon for a flawless finish that leaves everyone in awe. When you choose the right grit, use proper techniques, and stay patient, you’ll transform your project into a stunning masterpiece — a true demonstration of your craftsmanship. Don’t rush; every careful pass brings you closer to perfection. With dedication and the right tools, your finish will shine brighter than the stars, making all your effort utterly worthwhile.