
To achieve a vintage look with shellac, focus on applying thin, even coats that enhance the natural wood grain and deepen colors. Use light-colored shellac to keep your finish transparent and vibrant, and sand lightly between coats for a smooth, polished surface. Layering shellac carefully creates rich depth and a luminous sheen that highlights the wood’s character. Keep practicing these techniques, and you’ll discover more secrets to mastering this timeless finish.
Key Takeaways
- Use thin, overlapping coats of shellac to build depth and enhance the vintage appearance.
- Select light-colored shellac or complementary hues to highlight wood grain and natural warmth.
- Lightly sand between coats for a smooth, polished surface that emphasizes the finish’s clarity.
- Layer multiple coats quickly, as shellac dries fast, for a rich, layered, vintage look.
- Maintain a dust-free environment and proper surface prep to ensure a flawless, professional finish.

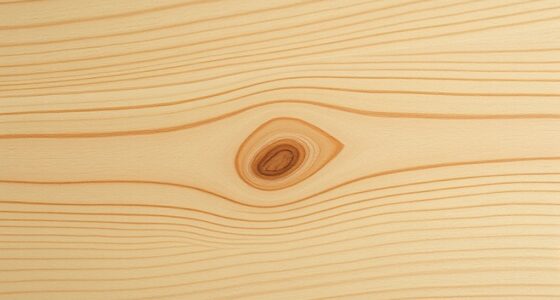
Shellac has long been prized for its glossy finish and durability, but uncovering its secrets can help you better understand how to work with this versatile material. When you apply shellac to wood, it accentuates the natural beauty of the wood grain, revealing intricate patterns and textures that other finishes might obscure. This makes shellac an excellent choice if you want to preserve and highlight the character of your wood piece. Additionally, shellac enhances the depth and richness of color, giving your project a warm, vintage look that’s hard to replicate with synthetic finishes. Its ability to boost color enhancement is especially noticeable on lighter woods, where a few coats can bring out subtle hues and add a luminous quality that feels both timeless and refined.
Shellac enhances wood grain, deepens color, and adds a warm, vintage glow to your project.
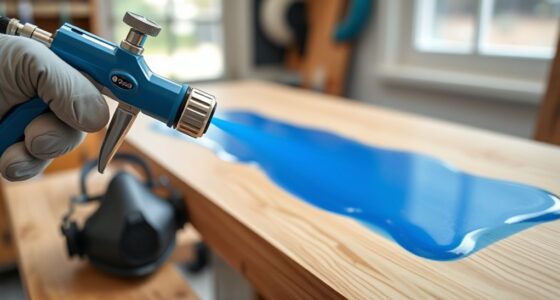
To achieve this effect, you need to pay attention to how you prepare and apply the shellac. First, guarantee your surface is smooth and free of dust or grease. Shellac goes on quickly and evenly if the surface is properly prepared, allowing the wood grain to be visible and vibrant through the finish. When applying, use a quality brush or a pad, and work in thin, overlapping coats. This method helps you control build-up and ensures a transparent, glossy finish. As you layer the shellac, you’ll notice the wood grain becoming more prominent, especially if you use a light-colored shellac or one that complements the natural hues of your wood.
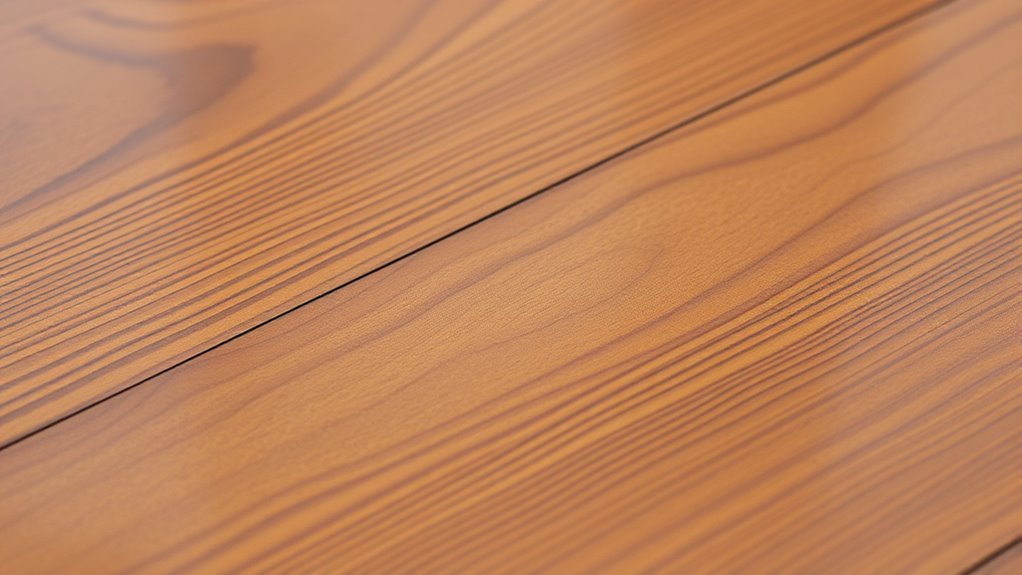
The quick dry time of shellac is another advantage, giving you the opportunity to build up multiple coats in a single day. Each layer deepens the color and enhances the grain, creating a rich, vintage aesthetic. Keep in mind that shellac’s transparency is one of its strongest features, so avoid over-application, which can lead to a cloudy appearance. Instead, focus on thin, even coats, and use a fine sanding between layers if needed to achieve a smooth, polished look. Understanding finishing techniques can help you achieve more professional results and prolong the lifespan of your project.
Finally, shellac’s ability to enhance the wood grain and color isn’t just about appearance; it also offers a level of flexibility. You can easily repair or touch up areas by reapplying shellac, blending seamlessly with the existing finish. By understanding these core principles—how shellac interacts with wood grain and enhances color—you can create stunning, vintage-style finishes that showcase the natural beauty of your wood projects, all while benefiting from a finish that’s both authentic and enduring.
Frequently Asked Questions
How Long Does Shellac Finish Typically Last?
Shellac finishes usually last around 1 to 3 years, depending on wear and tear. You might have durability questions, but regular maintenance helps extend its life. To keep it looking vintage, avoid excessive moisture and clean gently with a soft cloth. Reapplying shellac every so often can refresh its appearance and protect the surface, ensuring your piece remains beautiful and durable for years to come.
Can Shellac Be Used Over Other Finishes?
Ever wondered if shellac can go over other finishes? Yes, it can, but only if you consider layer compatibility and proper surface preparation. You need to guarantee the existing finish is clean, smooth, and compatible with shellac to prevent peeling or bubbling. Light sanding and a thorough cleaning will help the shellac adhere properly, creating a seamless vintage look. Don’t skip these steps—they’re key to a beautiful, lasting finish.
Is Shellac Suitable for Outdoor Furniture?
Shellac isn’t ideal for outdoor furniture because it lacks outdoor durability and UV resistance. You’ll find that exposure to sunlight and moisture causes shellac to deteriorate quickly, peeling or fading over time. If you want a finish that withstands outdoor conditions, consider options like spar varnish or exterior-grade polyurethane. These finishes offer better UV resistance and durability, ensuring your furniture stays protected and looking great longer outdoors.
What Are Common Mistakes When Applying Shellac?
You often make mistakes with shellac application by skipping proper surface preparation, which leads to uneven finish. Rushing the application or applying too thick coats can cause drips and poor adhesion. To prevent these issues, use smooth, even application techniques like a high-quality brush or pad, and guarantee the surface is clean, dry, and sanded. Taking your time with preparation and application results in a flawless, vintage-looking finish.
How Do I Remove Shellac Without Damaging Wood?
Think of removing shellac like defusing a bomb; you need patience and care. To avoid damaging the wood, use gentle removal techniques like rubbing alcohol or denatured spirits, applying with a soft cloth. Avoid harsh chemicals or scraping. Once removed, consider alternative finishes like lacquer or polyurethane for a durable look. Take your time, and your wood will thank you, maintaining its vintage charm while staying pristine.
Conclusion
By mastering shellac, you hold a key that opens timeless beauty for your projects. Its rich, warm finish isn’t just a coat — it’s a bridge to the past, whispering stories of craftsmanship and tradition. Embrace these secrets, and your work will radiate a vintage charm that stands the test of time. Remember, with shellac, you’re not just finishing wood—you’re weaving history into every layer, creating a legacy that endures long after the last brushstroke.