To achieve a matte, satin, or gloss finish, start by preparing your surface: clean, sand with the right grit, and use appropriate primers. For matte, use coarser abrasives and avoid over-smoothing to keep light diffuse. Satin finishes benefit from smooth sanding with fine grit, balancing hiding imperfections with a gentle sheen. Glossy surfaces require thorough sanding with fine abrasives for a reflective, streak-free look. Continuing will help you master these techniques for flawless results.
Key Takeaways
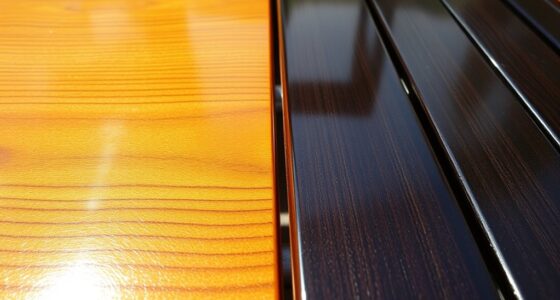
- Select appropriate finishing products: matte for flat, satin for moderate shine, gloss for high reflectivity.
- Prepare surfaces by sanding with coarser grit for matte, finer grit (220+) for gloss to achieve desired sheen.
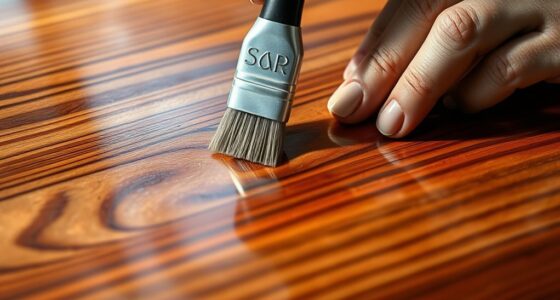
- Use quality brushes or spray equipment, applying thin, even coats to control gloss level.
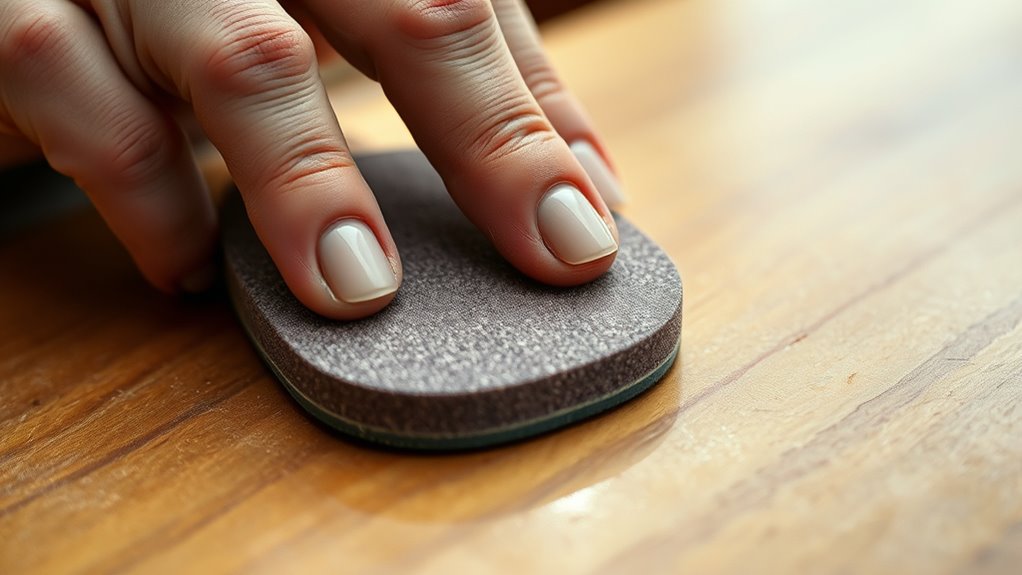
- Lightly sand between coats with fine-grit sandpaper (320-400 grit) to refine surface and enhance sheen uniformity.
- Avoid over-sanding matte surfaces to prevent unwanted shine; focus on smoothness for gloss finishes.
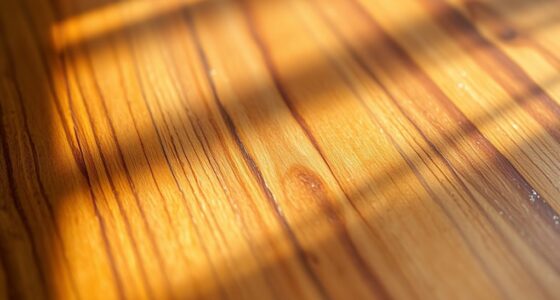
Choosing the right sheen for your project can substantially impact its appearance and durability. Whether you’re aiming for a subtle matte finish, a smooth satin glow, or a high-gloss shine, understanding how to achieve these effects starts with proper surface preparation and the right finishing techniques. Before you even open your paint or varnish, take time to prepare the surface thoroughly. Remove all dirt, grease, or old coatings, and sand the surface to create a smooth, even base. The level of sanding and the grit you choose will influence the final sheen. For matte finishes, a slightly rougher surface can help diffuse light, so a coarser grit might be suitable. Conversely, for a glossy look, you’ll want to sand with finer grit sandpaper—around 220 or higher—to ensure the surface is smooth and reflective. Additionally, selecting the appropriate finishing products is crucial for achieving your desired sheen.
Once the surface is prepped, your finishing techniques become vital in achieving the desired sheen. For a matte finish, avoid overly smoothing the surface during application, as this can create a shiny appearance. Use a high-quality roller or brush with minimal pressure to apply the coating, and consider using matte or flat paints that are designed to minimize reflectivity. Satin finishes, on the other hand, strike a balance; they tend to hide imperfections well while offering a soft sheen. When applying satin paints or varnishes, use smooth, even strokes and avoid over-brushing, which can create uneven patches. For high-gloss finishes, the key is in the application process—use a high-quality brush or spray for a streak-free, mirror-like surface. Thin coats are essential here; multiple light layers often produce a better, more reflective finish than a single thick coat.
The choice of abrasives also impacts the final look. After applying the initial coat, lightly sanding between coats with fine-grit sandpaper, such as 320 or 400 grit, can improve adhesion and sheen uniformity. For a glossy finish, this step ensures a smooth, reflective surface. For satin or matte finishes, gentle sanding can help reduce surface imperfections without adding unwanted shine. Remember, the goal is to enhance the surface’s natural texture and reflectivity without overdoing it. By carefully selecting your abrasives and mastering finishing techniques, you’ll control the way light interacts with your project, creating the perfect matte, satin, or gloss appearance that aligns with your vision.
Frequently Asked Questions
How Does Surface Preparation Affect Finish Sheen?
Surface preparation directly impacts your finish sheen by influencing surface texture and primer compatibility. If you smooth out rough patches and properly clean the surface, you’ll achieve a more consistent sheen. Using the right primer ensures proper adhesion, preventing uneven finishes. Skipping these steps can cause gloss inconsistencies or dull spots, so take your time to prepare the surface thoroughly for the desired sheen and a professional-looking result.
Can I Change Sheen After Applying the Final Coat?
Yes, you can change the sheen after applying the final coat. To do so, you’ll need to use finish alteration techniques like light sanding or applying a compatible topcoat. Sheen modification allows you to transform a glossy surface into a satin or matte finish or vice versa. Just make certain you choose the right abrasives and products to avoid damage, and always test in a small area first for best results.
What Safety Precautions Are Needed When Using Abrasives?
When using abrasives, you need to prioritize safety by wearing protective gear like goggles, gloves, and a dust mask. Always select the right abrasive for your project to avoid damage and minimize dust. Work in a well-ventilated area, and handle abrasives carefully to prevent injury or inhalation of dust particles. Taking these precautions guarantees your safety while achieving the desired finish effectively.
How Do Environmental Factors Influence Sheen Durability?
They say, “A stitch in time saves nine,” and this applies to sheen durability. Environmental exposure and humidity effects directly impact how long your sheen lasts. High humidity can cause finishes to deteriorate faster, while environmental factors like sunlight and temperature fluctuations lead to fading or cracking. To preserve your desired sheen, control environmental conditions as much as possible and choose finishes suitable for your specific environment.
Are There Specific Brands Recommended for Different Sheens?
You should consider trusted brands like Benjamin Moore, Sherwin-Williams, and Behr for different sheens. They offer product comparisons that highlight durability and finish quality, helping you choose the right paint for your needs. For matte sheens, look for brands with low-gloss formulas, while satin and gloss options benefit from brands known for their smooth, durable finishes. Always review product specs to match your desired sheen and environment.
Conclusion
Now that you’ve learned how different abrasives and techniques can create matte, satin, or gloss finishes, you’ll find it’s surprisingly easy to achieve your desired look. It’s funny how a simple change in your approach can completely transform a surface’s appearance. With a little practice and the right tools, you’ll be surprised at how effortlessly you can customize your projects. So, go ahead—your perfect sheen might just be a sanding session away!