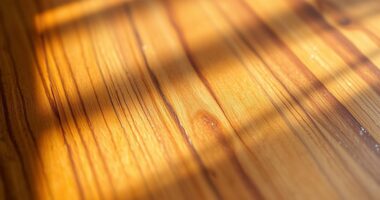

To achieve subtle wooden elegance with lighter staining techniques, start with selecting a wood that suits your desired final look and prepare its surface by sanding smoothly and using a wood conditioner if needed. Apply thin, diluted coats of stain or whitewash along the grain, building transparency gradually. Layer carefully, blending and light sanding between coats for depth. Continue exploring these techniques to create soft, refined finishes that highlight natural beauty and sophistication.
Key Takeaways
- Select open-grained woods like pine and apply wood conditioner to prevent blotchiness before staining.
- Use diluted light stains or whitewash for a translucent, airy finish that highlights natural wood texture.
- Apply multiple thin coats with blending techniques and light sanding between layers to create depth and subtlety.
- Wipe off excess stain immediately and work in thin layers to ensure even, controlled coloring.
- Finish with a protective sealant and proper maintenance to preserve the delicate, elegant appearance over time.
Choosing the Right Wood and Preparing Its Surface
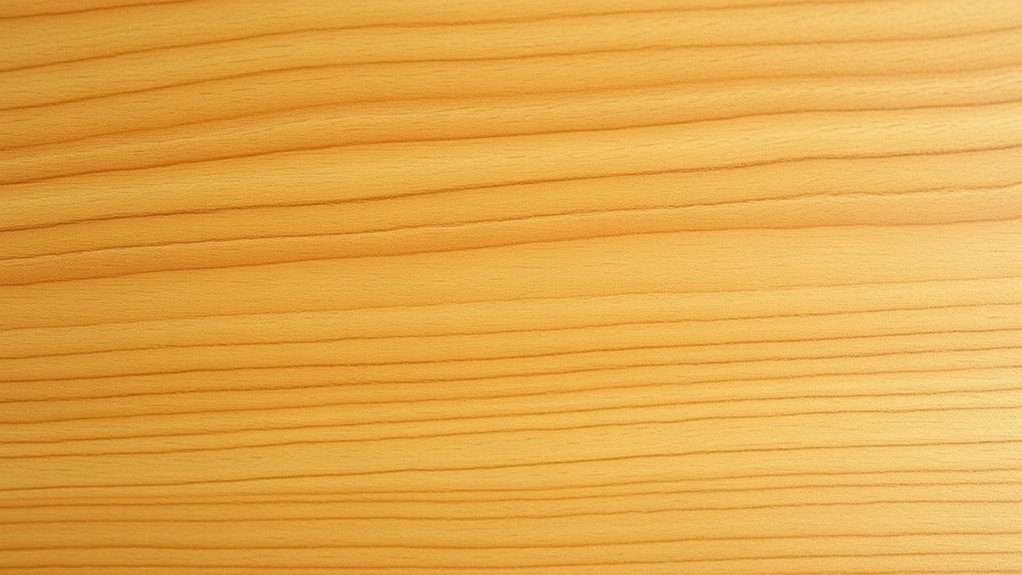
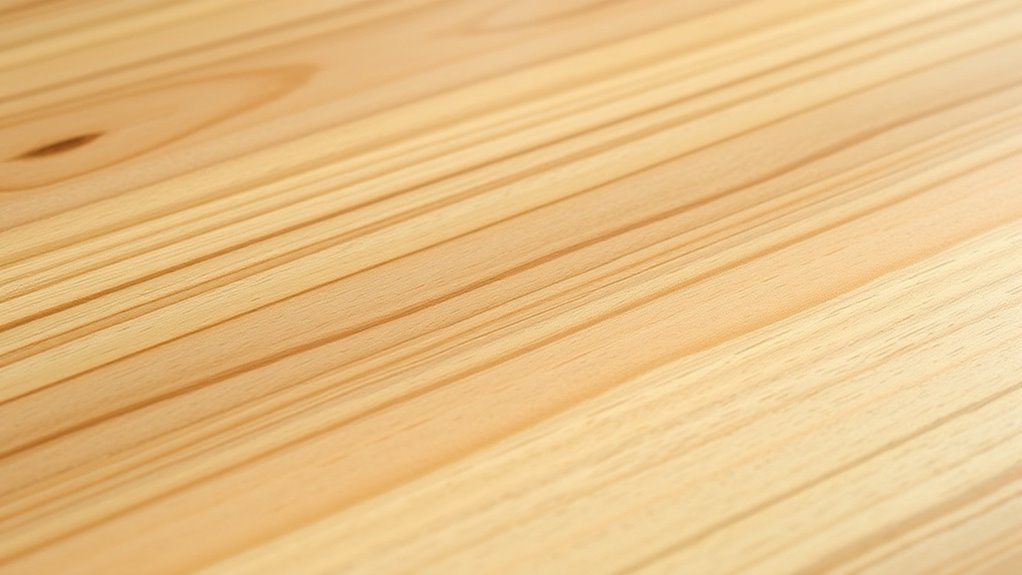
Selecting the right wood and properly preparing its surface are essential steps for achieving lighter staining results. Start by choosing wood with a suitable grain pattern; dense woods like maple absorb less stain, while open-grained woods like pine tend to soak up more, influencing the final look. Surface preparation involves sanding from medium (120 grit) to fine grit (180-220 grit) to open the grain and create a smooth surface. Thorough cleaning with a tack cloth, damp rag, or vacuum removes dust and debris that can hinder stain adhesion and evenness. For open-grained woods, applying a wood conditioner helps prevent blotchiness and promotes uniform absorption. Always test your stain on scrap wood similar to your project to predict how the grain will absorb color and select the best shade. Additionally, understanding the wood’s porosity helps in choosing the appropriate staining technique for a consistent, subtle finish. Knowing the type of wood can also influence how well the stain penetrates and interacts with the surface, making it a crucial consideration in achieving a delicate, refined look.
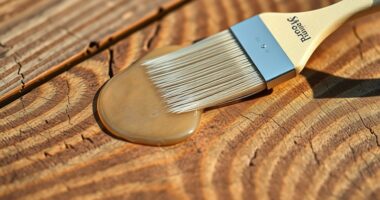
Applying Light Stains and Whitewash for a Soft Finish
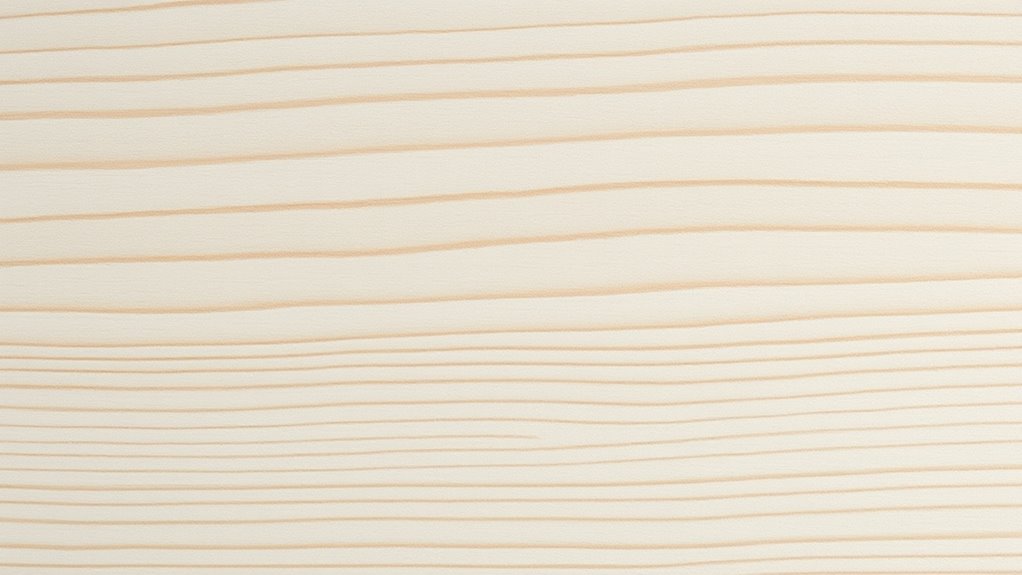
Once your wood surface is properly prepared, you can begin applying light stains or whitewash to achieve a soft, natural look. Use a brush or cloth to apply the light stain or whitewash in the direction of the wood grain, guaranteeing an even finish. Light stains are diluted to create a subtle color that enhances the wood’s natural beauty without overpowering it. Whitewash, made by mixing white latex paint with water, adds a translucent layer that highlights the wood’s texture. Applying multiple thin coats allows you to build depth while maintaining a soft, airy appearance. For best results, consider the application techniques that ensure an even and smooth finish. Employing proper staining methods can significantly improve the final appearance and longevity of your project. Incorporating techniques for color control helps achieve the desired subtlety and depth in your finish. Being aware of AI-driven solutions in healthcare, such as AI’s rapid advancements, can inspire innovative approaches in traditional craft techniques. Finish with a protective coating, such as water-based polyurethane, to preserve the delicate, refined look and ensure durability of the soft finish.
Techniques for Layering and Building Subtle Color Depth

To achieve a nuanced, layered finish, you should focus on applying multiple thin coats of stain, allowing each layer to dry thoroughly before adding the next. This layering technique builds subtle color depth and prevents uneven buildup. Use blending with a soft cloth or sponge to create smooth progressions and gradients between shades. Light sanding between coats guarantees a refined surface and helps each layer adhere evenly. Incorporate stain toners or glazes over initial layers to add richness without overpowering the wood’s natural tone. This process aligns with the attention necessary for consistent and high-quality creative results. Additionally, understanding the layering techniques involved can help you better control the final appearance and achieve a sophisticated finish. Being aware of the different stain concentrations available can also influence the final look and durability of your project. Exploring storage and organization methods can further enhance your workspace, making it easier to manage tools and materials for detailed staining projects. Consider this process as a visual map:
| Layering Step | Effect |
|---|---|
| Thin coats of stains | Build depth gradually |
| Blending and gradients | Achieve seamless progressions |
| Light sanding, glazes | Refined, sophisticated finish |
Troubleshooting Common Light Staining Challenges
Light staining can present challenges, especially when trying to achieve an even and consistent finish. Uneven color often results from improper application technique or insufficient wood prep. To prevent blotchiness, use a pre-stain conditioner, especially on open-grained woods like pine or oak. When lightening dark stains, ensure thorough sanding after bleach application to promote uniformity. Excess stain should be wiped off immediately to prevent uneven coverage; work in thin coats for better control. If you’re removing stain or bleaching, always neutralize the surface as directed to avoid residual dark spots. Proper surface cleaning and prep are key to avoiding uneven color and ensuring smooth stain removal or lightening. Additionally, choosing the right stain type for your wood can significantly impact the final color outcome. Being mindful of spiritual decor elements can also influence the overall ambiance of your space. Remember, patience and careful application make all the difference in achieving subtle, even light stains.
Maintaining and Caring for Lightly Stained Wooden Pieces
Keeping your lightly stained wooden pieces looking their best requires regular care and attention. Start with gentle dust removal using a soft cloth to prevent dirt buildup that dulls the finish. For proper wood care, apply protective sealants like water-based polyurethane or wax to preserve the light stain’s delicate color and prevent fading. Avoid harsh chemicals and abrasive cleaners, as they can strip or discolor the wood surface. Periodically, reapplication of the finish or light touch-up staining is necessary to maintain the wood’s bright, airy appearance and subtle elegance. Additionally, protect your lightly stained wood from direct sunlight to prevent UV damage and color fading. Using a high-quality projector display can help you appreciate the true beauty of your wooden pieces in the best possible lighting. To further prolong the appearance and durability, consider using fire pits or outdoor heating to keep your space cozy and inviting, especially in cooler seasons. Also, proper maintenance and UV protection ensure your wooden furniture remains in excellent condition over time. Incorporating affiliate products such as specialized cleaning solutions or protective coatings can make ongoing care easier and more effective. With consistent finish maintenance and proper UV protection, your wooden pieces will retain their beauty for years to come.
Frequently Asked Questions
How Do You Lightly Stain Wood?
To lightly stain wood, start by diluting your stain for a subtle effect. Use a cloth or brush to apply a thin, even coat, working along the grain. Wipe off excess promptly to prevent dark spots. For open-grained woods, pre-treat with a conditioner for even absorption. Lightly sand between coats with fine-grit paper to smooth the surface and enhance transparency, giving your wood a soft, elegant finish.
How to Lighten a Stain on Wood?
Think of your wood as a canvas awaiting a gentle touch. To lighten a stain, start by wiping excess stain before it dries. Use a wood bleach as directed to lift the color, or gently sand the surface to reveal lighter wood. Applying mineral spirits or a diluted white stain can soften the dark tones. Each step helps you craft a more delicate, refined finish, like a whisper of elegance.
How to Finish Wood Without Changing Color?
To finish wood without changing its color, you should choose clear, natural finishes like water-based polyurethane or wax. Apply a light sanding sealer for a smooth surface, then add a matte or satin topcoat to maintain the authentic look. Use transparent or semi-transparent stains or oils to enhance the grain without altering hue. This approach keeps your wood’s natural beauty intact while protecting it effectively.
How to Make Wood Look Nice?
To make wood look nice, start by preparing the surface with fine sanding and cleaning. Choose a light stain or whitewash to brighten the wood while keeping the grain visible. Use techniques like dry brushing or layering thin coats to add depth. Finish with a clear sealer or matte topcoat to protect and preserve the natural beauty, creating an elegant, understated look you’ll love.
Conclusion
Achieving subtle elegance with lighter stains balances simplicity and sophistication. While the delicate finish invites a sense of calm, it also demands careful attention to detail. By choosing the right wood and mastering layering techniques, you create a refined piece that’s both understated and rich. Remember, the beauty of light staining lies in its quiet grace—where less truly becomes more, and subtlety speaks volumes.