
To achieve a smooth finish without sanding marks, start with a well-prepared, clean surface free of dust and debris. Use high-quality, well-mixed paint with additives like Floetrol or Penetrol to improve flow. Apply thin, even coats with a high-quality brush or a spray for seamless coverage. Maintain proper technique by gentle brushing at an angle, avoiding pressure or strokes that create marks. For more tips on flawless results, explore the full process ahead.
Key Takeaways
- Use high-quality paints with excellent leveling properties to minimize brush or roller marks.
- Apply multiple thin coats, allowing each to fully dry for a smoother overall finish.
- Employ proper application techniques, such as maintaining consistent stroke speed and avoiding over-brushing.
- Incorporate additives like Floetrol or Penetrol to improve flow and reduce surface imperfections.
- Finish with a light, even buff or polish once the paint is dry to enhance smoothness without sanding.
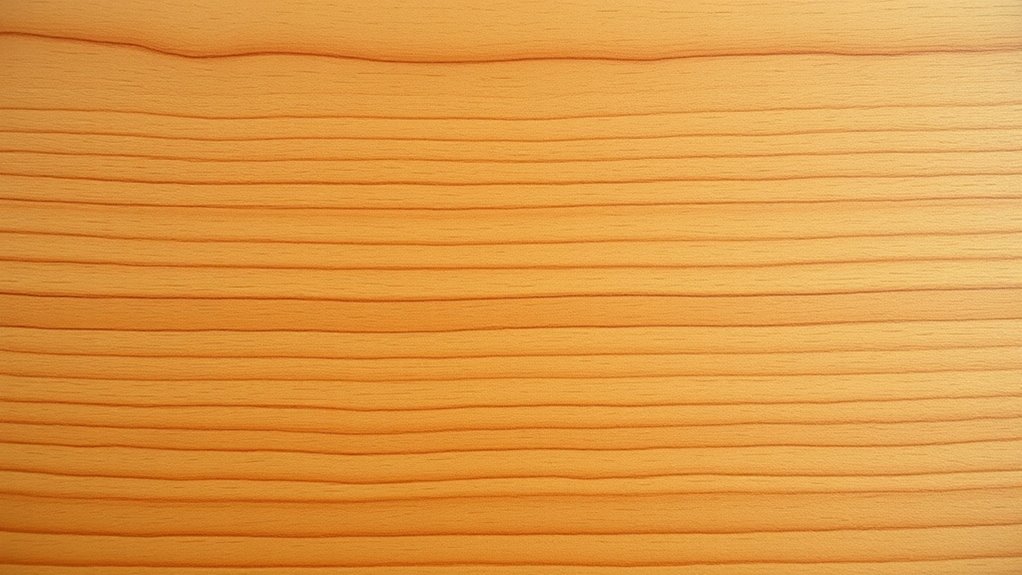
high-quality paint with leveling properties
As an affiliate, we earn on qualifying purchases.
As an affiliate, we earn on qualifying purchases.
Preparing the Surface for a Flawless Finish
To achieve a flawless finish, proper surface preparation is essential, as it directly affects the quality of the final coating. First, inspect the surface thoroughly, ensuring it’s free of debris, grease, and oil. Use appropriate cleaning methods—mechanical abrasives like grinding tools or chemical treatments—to remove contaminants effectively. Incorporating proper tuning techniques during preparation can also optimize surface conditions for coating adhesion. A dedicated cleaning routine specifically for delicate surfaces can further improve adhesion and final appearance. After cleaning, rinse completely to eliminate residues, then dry the surface thoroughly to promote *ideal* adhesion. Consider polishing to enhance smoothness and appearance if needed. Use the right tools, such as grinders or solvent cloths, to prepare the surface properly. Additionally, understanding the surface material and its properties can help select the most effective cleaning and preparation methods. Implementing digital tools and virtual assessments can aid in identifying surface imperfections before finishing, minimizing the need for sanding later. Always follow safety protocols—wear PPE, control dust, and manage waste responsibly. A well-prepared surface provides a clean, even base, reducing the need for sanding and ensuring your finish looks smooth and professional.
Selecting the Right Paint and Additives for Smooth Application

Choosing the right paint and additives is essential for achieving a smooth, professional finish without sanding marks. Start by selecting paints suited to your project—latex for interiors, oil-based for trim, or epoxy for floors. Pair these with compatible additives like Floetrol for latex or Penetrol for oil-based paints, which improve flow, leveling, and reduce brush marks. Additives like Sunnyside M-1 extend working time, helping you blend coats seamlessly. Consider climate conditions and desired finish quality when choosing additives, ensuring they enhance paint performance without compromising durability. Properly selecting high-quality paints and additives can significantly influence the final surface smoothness and overall appearance. Additionally, understanding paint chemistry can help you choose formulations that are more forgiving and easier to work with. Also, prioritize low-odor or non-toxic options for indoor use. Selecting appropriate tools can further improve application, leading to a more uniform finish. Using application techniques such as proper brush and roller methods can also make a notable difference in achieving a flawless surface. Proper selection of paint and additives make certain smoother application, minimizes marks, and results in a flawless surface that needs little or no sanding afterward. Moreover, choosing paints with excellent leveling properties can help achieve a more uniform finish without additional effort.
Applying Paint With Techniques That Minimize Brush Strokes
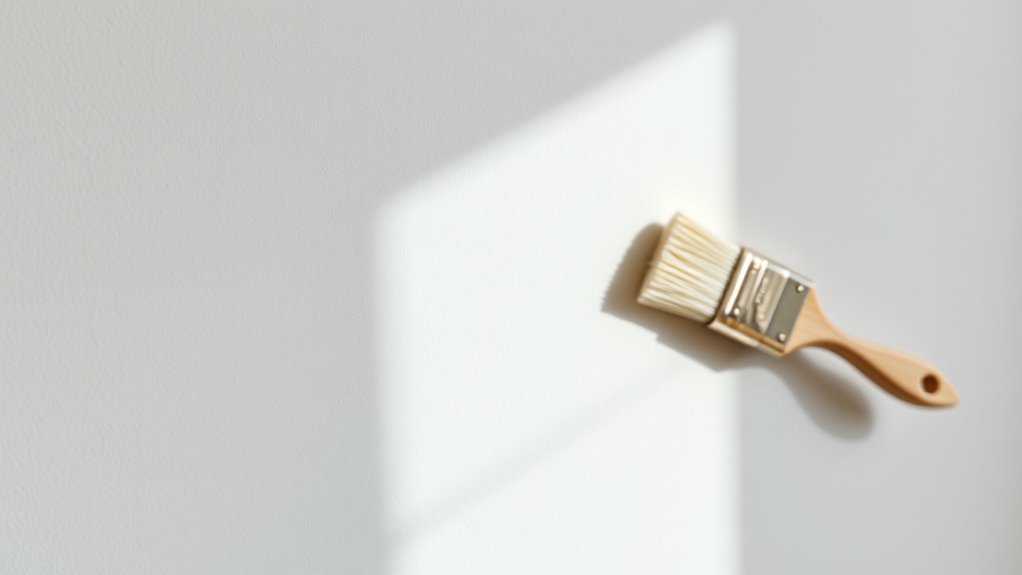
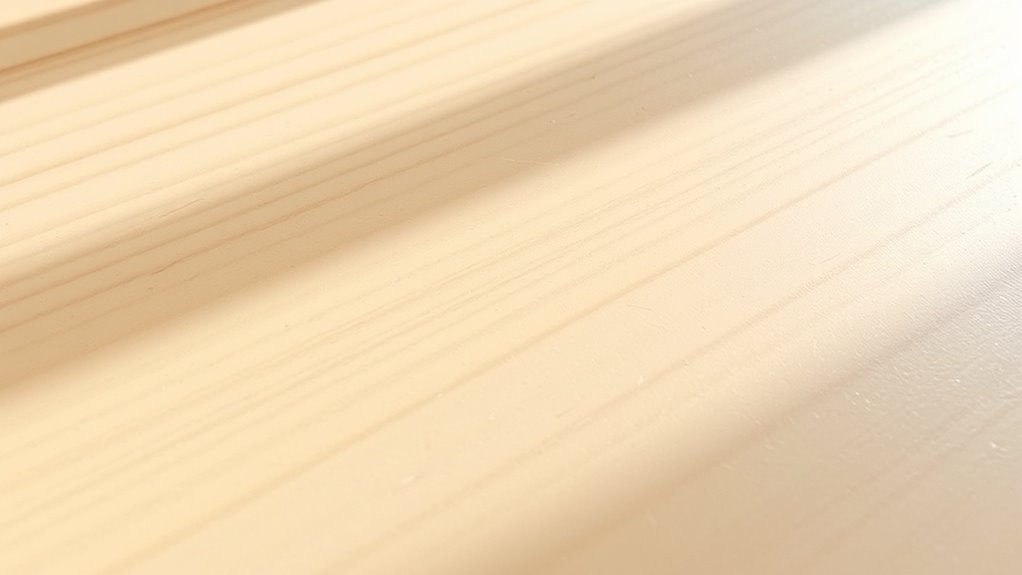
Applying paint with techniques that minimize brush strokes requires careful control and proper methods. Start by holding your brush lightly, like a pencil, and avoid pressing hard. Keep the brush at an angle instead of straight up and down to improve paint flow. Use the appropriate tip size for your project to achieve a finer finish and reduce visible strokes. Apply paint in smooth, consistent strokes in the same direction, such as following the wood grain or wall lines. To enhance application, slightly moisten the bristles with water before dipping into paint, which keeps them pliable. Thin oil-based paints by about 5% with paint thinner or additives like Penetrol to improve leveling. Dip the brush only halfway up the bristles to prevent excess paint. Use thin coats, and allow each to dry completely before applying the next to reduce visible brush marks and ensure a smooth finish. Additionally, understanding sound vibrations can help you achieve a more even application by promoting better paint flow and drying. Employing proper techniques can make a significant difference in the final appearance of your painted surface. Incorporating proper surface preparation also contributes to a flawless finish and minimizes the need for sanding afterward. Moreover, controlling paint thickness is essential for achieving a smooth, professional look.
Using Alternative Tools to Achieve a Seamless Coat

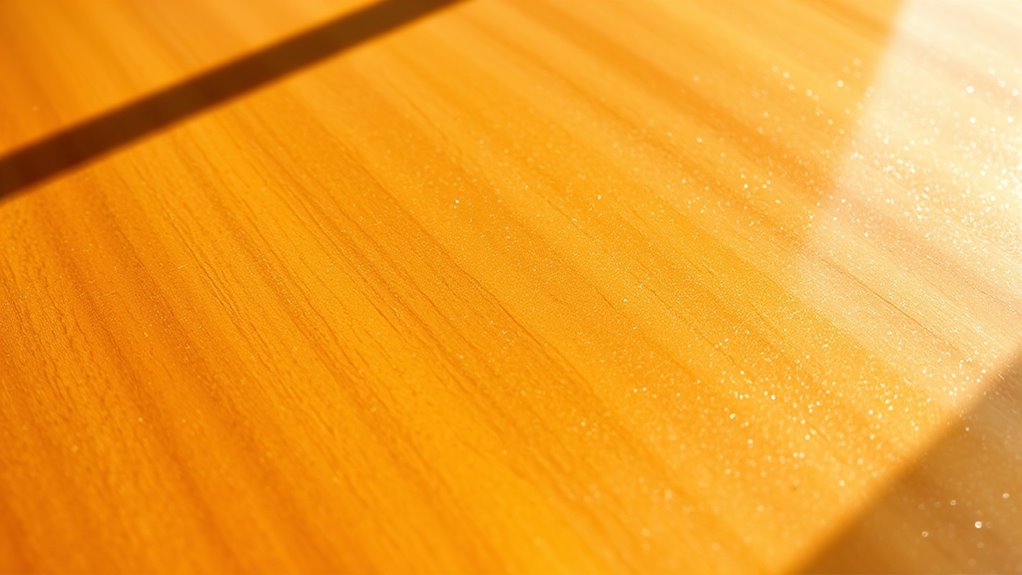
Using alternative tools like paint sprayers, high-quality rollers, and wet sanding sponges can substantially enhance the smoothness of your finish. Paint sprayers deliver a fine mist, ensuring even coverage and reducing brush or roller marks. They’re perfect for large surfaces and complex textures, with multiple thin coats preventing drips and runs. Proper setup, including controlling spray pressure and distance, is essential. Additionally, selecting the right plant containers for your specific needs can improve your overall project outcome, especially when aiming for a flawless surface. High-quality rollers, such as mohair or microfiber, minimize texture imprints and mimic a spray finish when used with consistent, light passes. Wet sanding sponges between coats gently smooth imperfections without damaging the paint. They help achieve a glass-like surface by removing dust nibs and minor flaws. In addition, understanding vehicle tuning techniques can also contribute to smoother finishes by reducing vibrations and noise during operation, leading to a more refined overall appearance. Using professional-grade tools can make a significant difference in achieving a seamless and polished result. Additionally, choosing the right headphones for your specific needs can improve your overall experience during the project. Employing proper cleaning and maintenance routines ensures your tools remain in optimal condition, facilitating consistently smooth finishes. Combining these tools allows you to create a seamless, professional-looking finish without the need for extensive sanding.
Final Steps to Enhance and Maintain a Smooth Finish
Once you’ve achieved a smooth finish with the right tools and techniques, focusing on final steps guarantees your work looks professional and lasts longer. Start by thoroughly cleaning the surface to remove any dust or debris using compressed air, a tack cloth, or vacuum. Applying polish or wax adds protection and enhances the shine, giving your finish a polished look. Conduct a detailed inspection for any imperfections, and carefully touch up those areas to ensure consistency. Keep your workspace dust-free during this process to prevent particles from settling on the surface. Additionally, being aware of skin changes or lumps related to health can help you recognize when to seek medical advice, similar to how noticing surface imperfections can indicate the need for touch-up. Regular maintenance, such as cleaning and applying protective coatings, helps extend the finish’s lifespan. Protect your project from extreme environmental conditions, and handle it with care to preserve its smooth, flawless appearance over time. Maintaining an environment with controlled dust levels is essential for achieving a professional-looking finish.
Frequently Asked Questions
Can Environmental Factors Affect the Smoothness of the Paint Finish?
Environmental factors definitely impact your paint finish’s smoothness. If it’s too hot, paint dries quickly, causing brush marks or orange peel effects. Cold or humid conditions slow drying, leading to uneven textures or blushing.
High humidity traps moisture, while dust or debris in the air can settle on wet paint, creating rough surfaces. To get a flawless finish, control temperature, humidity, and keep your workspace clean and dust-free.
How Do I Prevent Uneven Paint Application on Textured Surfaces?
You might worry about uneven paint on textured surfaces, but it’s manageable. Use high-quality tools like thick-nap rollers and angled brushes for thorough coverage.
Apply thin, even coats and avoid overloading your tools. Work in small sections, blending edges carefully, and use stippling with rolling for consistency.
Practicing your technique helps prevent streaks and missed spots, ensuring a smoother, more uniform finish on those tricky textured walls.
Is It Necessary to Prime Before Applying Multiple Thin Coats?
Priming before applying multiple thin coats is often necessary, especially on porous, dark, or previously painted surfaces. It creates a uniform base, improves paint adhesion, and helps hide imperfections.
By blocking stains and neutralizing previous colors, primer reduces the number of coats needed and prevents uneven absorption.
Ultimately, priming guarantees your final finish looks smooth, professional, and lasting, making it a crucial step for the best results.
What Are the Best Ways to Correct Imperfections Without Sanding?
When correcting imperfections without sanding, you should start by using a deglosser to reduce surface gloss and improve adhesion.
Apply a high-quality primer to fill minor flaws and create a uniform base. For larger imperfections, use a suitable filling compound or polishing compound, then smooth it out carefully.
Always clean the surface thoroughly before applying any repairs, and follow up with multiple thin coats of paint or finish for best results.
How Long Should I Wait Between Coats for a Perfect Finish?
You should wait the recommended drying time between coats to guarantee a smooth finish. For latex paint, wait at least 4 hours. For acrylic, 8 to 12 hours. And for oil-based paint, about 24 hours.
Check that each coat is dry to the touch and feels firm before applying the next. Good ventilation and proper environmental conditions help speed up drying, preventing imperfections like streaks and uneven texture.
Conclusion
With the right preparation, tools, and techniques, you can achieve a flawless, smooth finish without sanding marks. Don’t worry if perfection seems intimidating—practice makes perfect, and using alternative tools can make the process easier. Even if you’re pressed for time, focusing on proper application steps guarantees professional-looking results. Stick with these tips, and you’ll be amazed at how effortlessly you can transform your space into a beautifully smooth masterpiece.