To drill perfect pilot holes for 1/4 lag screws, start by choosing a drill bit slightly smaller than the screw’s minor diameter, around 7/64 to 9/64 inch. Mark your spots precisely, center punch to prevent slipping, and clamp your wood securely. Drill straight and slow, stopping before the hole length matches the screw. Gradually tighten the screw afterward for a secure fit. Keep going to discover more expert tips for flawless results.
Key Takeaways
- Match the drill bit size to the screw’s minor diameter, typically around 7/64 to 9/64 inch for 1/4 lag screws.
- Mark the pilot hole location accurately using a pencil and straightedge, then create an indentation with a center punch.
- Securely clamp the material to prevent shifting, ensuring precise and perpendicular drilling.
- Drill the hole slightly longer than the screw’s length, using steady pressure and a slow speed to avoid splintering.
- Gradually tighten the lag screw after drilling, avoiding over-tightening to prevent wood splitting.

Sabre Tools 1/4 Inch Cobalt Drill Bits 5pcs Heavy-Duty Metal Drill Bit Set for Steel, Cast Iron (1/4" x 4")
- Set Includes: 5 cobalt drill bits, 1/4 inch x 4 inch
- Durable Performance: Designed for fast, easy penetration
- Heavy-Duty Material: Made with M35 cobalt for durability
As an affiliate, we earn on qualifying purchases.
As an affiliate, we earn on qualifying purchases.
Understanding the Importance of Pilot Holes for Lag Screws
Have you ever experienced wood splitting or cracking when driving in a lag screw? That’s usually because there wasn’t a proper pilot hole. A pilot, or pilot hole, guides the screw and prevents damage to the wood, especially near edges. When installing lag bolts, choosing the right drill bit size is essential; for a 1/4 inch lag screw, about 5/32 inch is ideal. Pre-drilling with the correct pilot hole makes driving the screw smoother and reduces stress on the screw head. It also minimizes stripping or snapping. Proper pilot holes strengthen the joint and guarantee your lag screw holds securely over time. Skipping this step can compromise the integrity of your project, leading to weaker connections and potential failure. Always drill the right size pilot hole for lasting, safe results.
Selecting the Correct Drill Bit Size for 1/4 Lag Screws
Choosing the right drill bit size starts with matching the screw’s thread diameter to guarantee a secure fit. You should also consider the material you’re working with, as hardwoods need slightly smaller bits while softwoods can handle a bit larger. Always verify the manufacturer’s guidelines to select the proper drill bit for your 1/4 lag screw. Additionally, understanding bedroom design principles can help ensure your project is both functional and aesthetically pleasing.
Match Thread Diameter
When drilling pilot holes for 1/4 inch lag screws, selecting the correct drill bit size is essential for guaranteeing a secure fit without damaging the wood. To match thread diameter, choose a drill bit slightly smaller than the screw’s major diameter, which is about 0.25 inches. A 7/32 inch drill bit (0.219 inches) typically matches the screw’s minor diameter, allowing the threads to grip firmly. This size prevents splitting and ensures the lag screw threads properly into the wood. Keep in mind that the ideal match thread diameter may vary slightly based on wood type and load requirements, but generally, a 7/32 inch drill bit offers the best balance. Always verify manufacturer recommendations for specific projects to ensure proper fit and strength. For optimal results, consider the Vetted electric bike conversion kits to understand the importance of precise measurements and compatibility in different applications. Additionally, ensuring the correct drill bit size can help extend the lifespan of your tools and materials. Proper tool maintenance is also key to achieving consistent, high-quality results in your projects. Furthermore, understanding the cost considerations of electric bikes can help you plan your project budget effectively. Being aware of project-specific requirements can further improve the accuracy of your drilling process.
Consider Material Type
Considering the material type is essential when selecting the correct drill bit size for 1/4 lag screws, as different woods have varying densities and tendencies to split. Softwoods like pine or cedar usually require a 7/32 inch drill bit, while hardwoods such as oak or maple need a smaller, 3/16 inch bit to prevent cracking. For pressure-treated lumber, choose a slightly smaller drill bit to accommodate its increased density and moisture content. Using the right material type ensures the pilot hole promotes proper thread engagement without splitting the wood. Always verify the manufacturer’s guidelines or consult a pilot hole chart specific to your wood type. Correctly considering material type helps you avoid damaging the material and guarantees a secure, durable connection with your 1/4 lag screw. Additionally, understanding wood properties can help you select the most effective drilling technique for your project. Furthermore, considering drilling techniques can optimize your results and prevent common issues such as splintering or misalignment. Being aware of drill bit quality can also impact the precision and ease of your drilling process. Recognizing the importance of material stability can help ensure your pilot holes remain consistent and accurate during installation. It is also beneficial to inspect the material beforehand to identify any flaws or inconsistencies that might affect the drilling process.
Use Proper Drill Bit
How do you select the right drill bit size for a 1/4-inch lag screw? First, match the drill bit to the screw’s minor diameter, not the threaded outer diameter. For softwood, use a 7/32-inch drill bit to create a snug pilot hole that allows the screw to grip tightly. In hardwoods, increase the drill bit size slightly to 3/16-inch or 13/64-inch to prevent splitting and ensure proper engagement. Consider using a stepped drill bit that tapers to match the screw’s shank size for easier installation. Always verify your drill bit choice against manufacturer recommendations or a pilot hole chart for lag screws. Using the correct drill bit size guarantees a secure fit and reduces the risk of damaging your material.
Preparing Your Materials for Accurate Pilot Drilling
Before drilling, make sure your materials are properly aligned and securely clamped to prevent shifting. Use a pencil or marking tool to clearly indicate where you’ll drill the pilot hole. Accurate marking and proper clamping are essential for precise placement and clean results. Incorporating proper home maintenance practices can further ensure your project stays on track. Additionally, verifying the room coverage size of your tools ensures your project benefits from the appropriate equipment for the space. Being aware of sound healing science principles can also help you create a calming workspace that enhances focus during your projects and supports overall productivity during auditory processing tasks. Understanding the self watering plant pots design can inspire you to set up your workspace efficiently, ensuring tools and materials are easily accessible.
Material Alignment Precautions
To achieve accurate pilot holes, you must guarantee your materials are properly aligned and securely clamped. Material alignment precautions are essential to prevent shifting during drilling, which can cause misaligned holes. Double-check measurements and mark the pilot hole locations carefully before starting. Use a straightedge or carpenter’s square to confirm perpendicular alignment of the materials, ensuring your holes are straight and precise. Remove any debris or obstructions from the work surface to maintain stability and prevent slipping. Selecting the correct drill bit size that matches the recommended pilot hole diameter for 1/4 lag screws is also vital for proper fit and holding power. Additionally, understanding local divorce statistics can help you anticipate potential legal complexities if your project involves property transfer or joint ownership. Proper clamping techniques are also crucial to maintain stability throughout the drilling process. Incorporating precise measurement tools can further enhance the accuracy of your pilot holes and ensure consistent results. Ensuring proper material selection based on project requirements can also significantly impact the success of your drilling and assembly process.
Proper Clamping Techniques
Proper clamping techniques are essential for making sure your materials stay securely in place during drilling, which helps achieve accurate pilot holes. Use quality clamps, like C-clamps or bar clamps, and position them close to the drilling site for maximum stability. Multiple clamps may be necessary to evenly distribute pressure and keep the pieces flush, preventing any shifting. Tighten the clamps firmly, but avoid over-compressing, as this can damage the wood or distort alignment. Properly secured materials reduce vibration and movement, resulting in cleaner, more accurate pilot holes. Remember to remove the clamps only after drilling is complete and the lag screws are ready for installation. Effective clamping pressure ensures precision and helps prevent mistakes during your project. Additionally, understanding the appropriate clamping techniques can further improve the stability and safety of your work. Applying proper workholding methods can also help maintain consistent results and reduce the risk of errors. Using the right clamping methods can significantly enhance the quality of your drilling accuracy.
Accurate Marking Methods
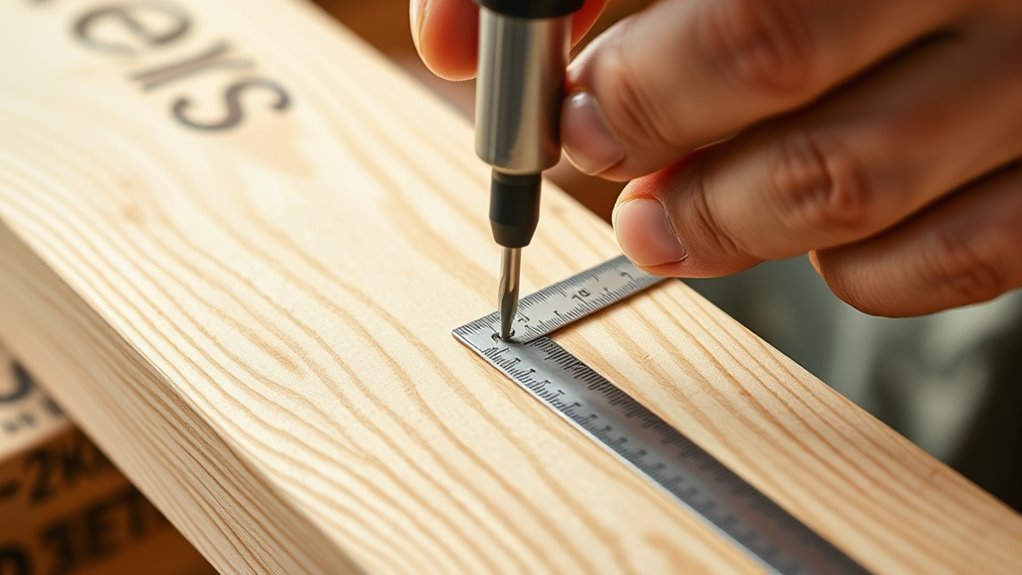
Accurate marking is essential for guaranteeing your pilot holes align correctly and provide a strong hold. To achieve this, use a pencil and a straightedge or square to precisely mark the center point where the lag screw will go. Measure and mark the desired depth on your drill bit with tape to maintain consistency. Double-check your markings before drilling to ensure proper alignment with your intended location. To prevent slipping, create a small indentation at the mark with a center punch or a sharp nail. Additionally, make sure your material is securely clamped and stable to avoid movement that could misalign the pilot hole. Effective accurate marking methods set the foundation for perfect pilot holes and strong fastenings. Being mindful of material stability helps prevent shifts during drilling that could compromise accuracy.
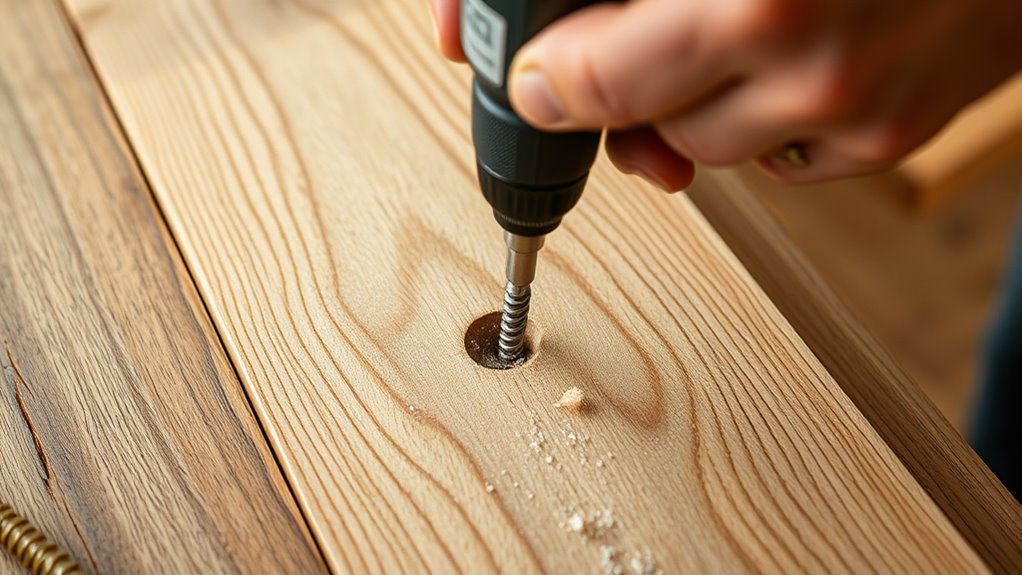
Step-by-Step Guide to Drilling a Perfect Pilot Hole
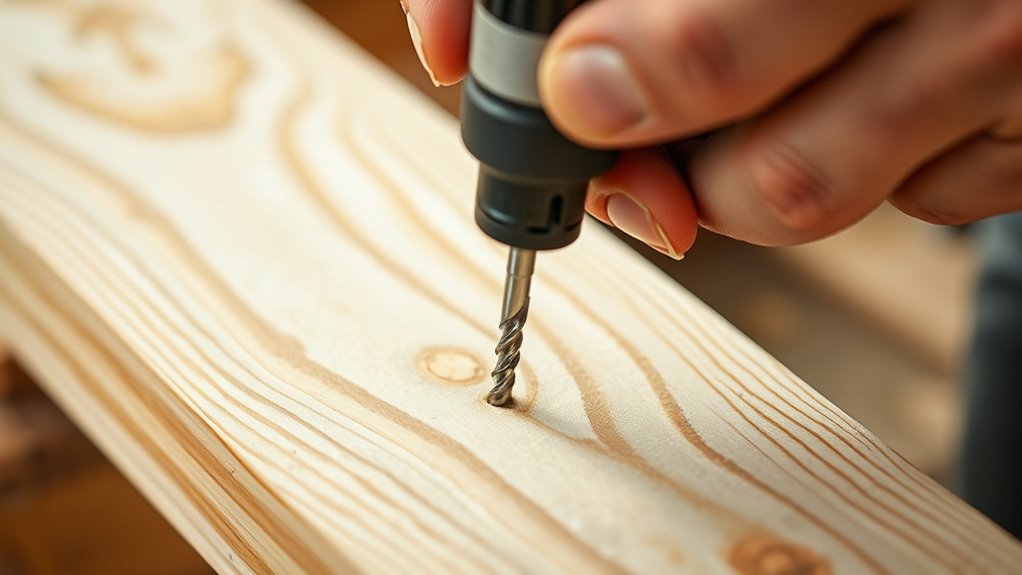
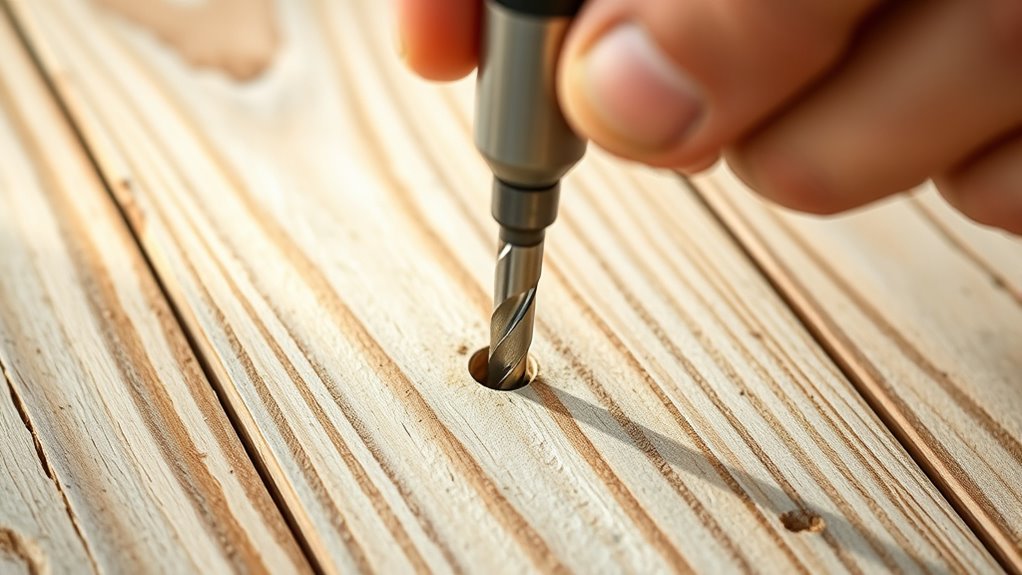
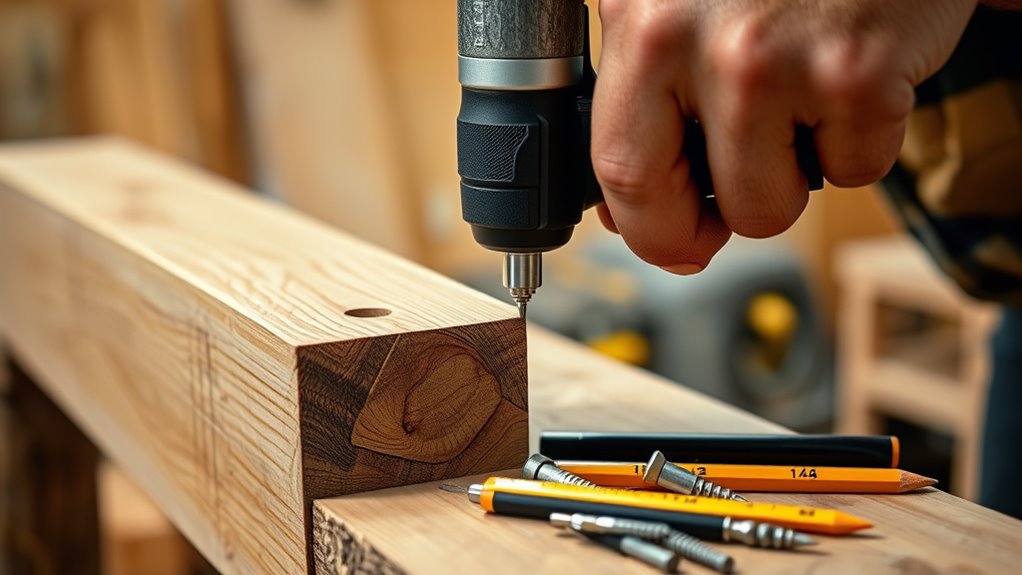
Before drilling your pilot hole, carefully mark the exact spot where you want to insert the lag screw, making sure it’s aligned correctly with your project. When creating pilot holes, selecting the right drill bit size is vital; for 1/4 lag screws, use a bit around 7/64 to 9/64 inch. Securely insert the bit into your drill’s chuck and tighten it firmly. Hold the drill perpendicular to the work surface to make certain of straight holes. Drill slowly at first to maintain control, then gradually increase speed until reaching the desired depth. Carefully withdraw the drill bit, keeping it straight to avoid enlarging the hole or damaging the wood. Clear away debris, and your pilot hole will be ready for the lag screw, providing a secure and precise fit.
Tips for Preventing Wood Splitting and Ensuring Secure Fastening

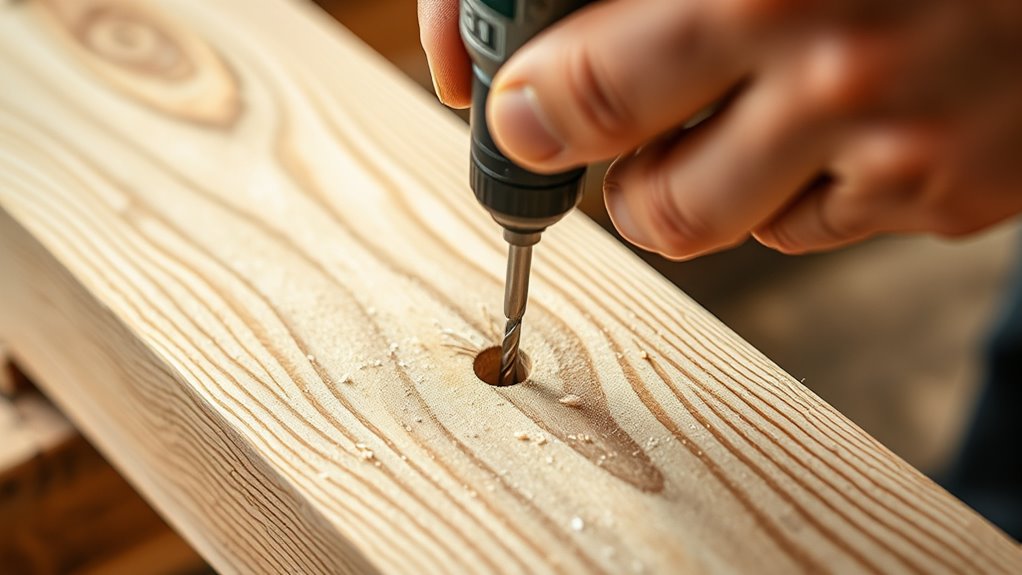
To prevent wood from splitting when installing lag screws, start by drilling a pilot hole that’s about 1/8 inch smaller in diameter than the screw itself. Make sure you use a sharp, high-quality drill bit to ensure clean penetration and reduce stress on the wood fibers. Position the pilot hole at least 2 inches from the edge of the wood to minimize cracking risks. Pre-drill with a depth slightly longer than the lag screw to avoid forcing it, which can cause splitting. When tightening, make sure to turn the screw gradually until it’s fully seated, avoiding over-driving. This careful approach helps prevent splitting and guarantees a secure fastening. Proper pilot hole size and technique are essential for strong, durable connections.
Common Mistakes to Avoid When Drilling Pilot Holes
One common mistake is using a drill bit that’s too large, which can prevent the lag screw from gripping the wood properly and weaken the joint. Choosing the correct drill bit size ensures the pilot hole matches the lag screw’s diameter, providing secure fastening and preventing splitting. Not matching the drill bit to the screw size increases the risk of material failure. Additionally, drilling at an angle or not going all the way through the material can cause misalignment and make it difficult to tighten the screw properly. Failing to clear debris from the pilot hole also hampers proper seating and reduces holding strength. Always select the appropriate drill bit, drill straight through the material, and keep the hole clean for beneficial results.
Additional Tools and Techniques for Optimal Results
Using the right tools and techniques can considerably enhance the quality of your lag screw installation. Start by selecting a high-quality drill bit sized specifically to 5/32 inch for your pilot holes, ensuring a proper fit and maximum holding strength. After drilling, consider using a countersink or chamfer bit to create a flush surface for the screw head, improving appearance and stability. For increased accuracy and consistent depth, a drill press is preferable over handheld drills. To make driving the lag screw easier and reduce stripping, apply a lubricant like wax or soap to the screw threads beforehand. For maximum torque and to prevent damage to the hex head, use a socket or impact driver with a matching hex bit. These tools and techniques will help you achieve professional results.
Frequently Asked Questions
What Size Pilot Hole for #14 Wood Screw?
You’re asking about the right pilot hole size for a #14 wood screw. For most applications, you should drill a 15/64 inch hole, which matches the screw’s minor diameter and guarantees a secure fit without splitting the wood. If you’re working with hardwoods, consider slightly enlarging the pilot hole to 7/16 inch for easier insertion. Always double-check the screw manufacturer’s recommendations for the best results.
What Is the Rule of Thumb for Pilot Holes?
The rule of thumb for pilot holes helps you determine the right size before screwing into wood. Usually, you drill a hole about 75% of the screw’s outer thread diameter, ensuring a snug fit. For 1/4 lag screws, use a pilot hole roughly 5/16 inch in diameter, slightly larger than the screw’s shank. Matching the pilot hole to the screw’s core diameter prevents splitting and guarantees strong, secure fastening.
How to Drill Pilot Holes for Lag Bolts?
Imagine you’re in the middle of a woodworking adventure—drilling pilot holes for lag bolts is the key to success. First, select a drill bit about 5/32 inch for a 1/4-inch lag screw. Drill all the way through the material at a steady speed, applying gentle pressure. Verify the hole size matches the screw’s inner diameter for a snug fit, ensuring your project holds strong and true.
What Is the General Rule When Drilling a Pilot Hole?
When drilling a pilot hole, the general rule is to use a drill bit about 5/32 inch in diameter for a 1/4 lag screw. You should make the hole slightly smaller than the screw’s shank to guarantee a tight fit and prevent splitting. For softwood, aim for 80-90% of the screw’s diameter, and always drill perpendicular to the surface for proper alignment and maximum strength.
Conclusion
Think of drilling your pilot hole as setting the foundation for a sturdy house. When you choose the right size, prepare carefully, and follow the steps, you’re building a secure, lasting connection. Avoid rushing or overlooking details, and your lag screw will glide in smoothly like a well-oiled machine. Master these tips, and you’ll turn a simple task into a confident craftsmanship that stands the test of time.