To make a picture frame with mitered corners and glass inserts, start by choosing your molding and cutting each piece at a 45-degree angle with a miter saw or miter box. Assemble the frame with glue and clamps, reinforcing with small nails or brads. Measure the inside dimensions carefully to cut the glass and backing. Insert the glass, art, and backing, then finish with sanding, painting, or sealing for a polished look—learn more to perfect your craft.
Key Takeaways
- Select appropriate molding and cut each piece at 45-degree angles for precise mitered corners.
- Assemble the frame by applying glue, then secure corners with clamps and finishing nails for stability.
- Measure inside dimensions carefully to cut glass accurately, ensuring a perfect fit within the frame.
- Insert the glass, followed by a backing material and optional mat, to protect and enhance the artwork.
- Finish by sanding edges, applying protective paint or finish, and adding a backing for a polished, handcrafted look.

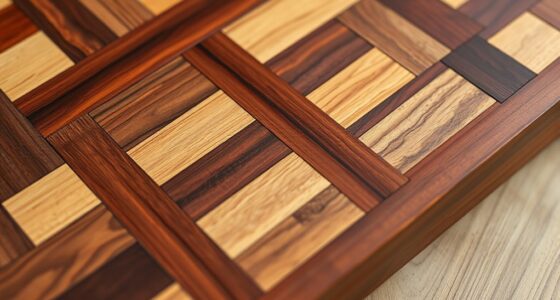
Creating your own picture frames is a rewarding project that allows you to personalize your artwork or photographs. When you craft your own frame, you have full control over the style, size, and finish, making it perfect for a gallery display that truly reflects your taste. Starting with the right frame molding is essential, as it sets the tone for your entire piece. You’ll want to choose a molding that complements your artwork and fits the aesthetic of the space where it will hang. Whether you prefer a sleek modern look or a more ornate vintage style, selecting the appropriate frame molding is your first step toward a polished final product.
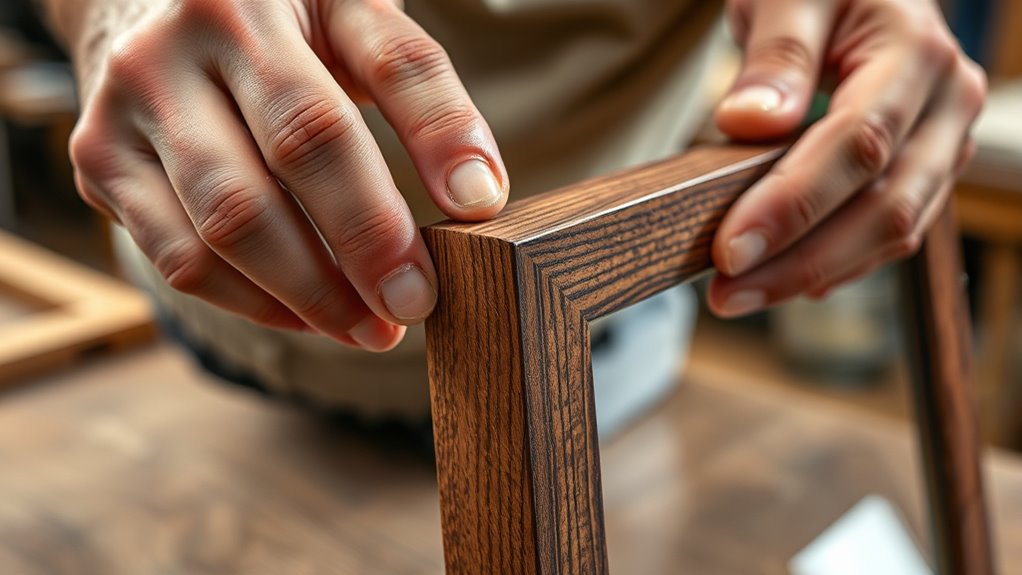
Once you’ve chosen your frame molding, you can begin the process of creating mitered corners. This technique involves cutting the molding at a 45-degree angle so that the pieces fit together seamlessly at the corners. Precision is key here. Use a miter saw or a miter box to ensure accurate cuts, as imperfect angles can cause gaps or uneven joints. Before assembling, lay out your pieces to double-check the angles and fit. When you join the corners, you can use wood glue for a strong bond and reinforce the joints with small finishing nails or brads. Clamping the frame while the glue dries guarantees that the corners stay tight and aligned.
Incorporating glass inserts adds a professional touch to your homemade frame. Measure the inside dimensions of your frame carefully, allowing a slight margin for the glass to sit comfortably without putting pressure on the artwork or photograph. Cut a piece of glass to size using a glass cutter or have it done at a local glass shop. When inserting the glass, handle it with care to avoid fingerprints or smudges. Place a thin sheet of foam or a cardboard backing behind the art, then set the glass in place, followed by your backing material, which secures everything inside the frame. You can add a mat board for a more gallery-like presentation, enhancing the overall display.
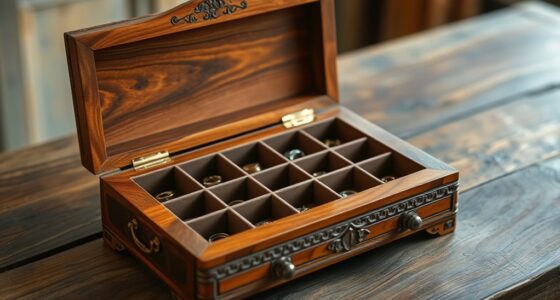
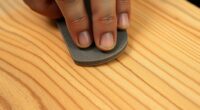
Finally, finish your frame by sanding any rough edges and applying a protective finish or paint that complements your decor. The process of making your own picture frame with mitered corners and glass inserts not only saves money but also gives you a unique, handcrafted piece that elevates your gallery display. With patience and attention to detail, you’ll end up with a beautiful, personalized frame that showcases your artwork in the best possible light.
Frequently Asked Questions
What Types of Wood Are Best for Mitered Picture Frames?
You should choose hardwoods like oak, maple, or cherry for mitered picture frames because of their attractive wood grain and durability. These woods hold finish options well, allowing you to customize the look to match your decor. They’re less prone to warping and provide a high-quality appearance. Avoid softwoods, which may dent or warp easily, compromising the frame’s stability and aesthetic over time.
How Do I Prevent Glass From Breaking During Assembly?
To prevent glass from breaking during assembly, always prioritize glass safety by handling it carefully and supporting it properly. Wear protective gear like gloves and safety goggles to avoid cuts or accidents. Use gentle, steady movements when fitting the glass into your frame, and work on a padded surface to cushion any slips. Taking these precautions minimizes breakage risks and keeps you safe throughout the process.
Can I Customize Frame Sizes Beyond Standard Dimensions?
Absolutely, you can customize frame sizes beyond standard dimensions! Don’t let the idea of non-standard sizes intimidate you—think of your project as a blank canvas waiting for your personal touch. You can easily create custom frame dimensions tailored to your artwork or photos. Just measure precisely, communicate your specifications clearly, and choose the right materials. Custom frames give you the freedom to showcase your unique style and perfectly fit any space.
What Tools Are Essential for Precise Miter Cuts?
You need a sharp miter saw for precise miter cuts, ensuring clean, accurate edges. A measuring tape is essential to measure your frame pieces accurately before cutting, preventing mistakes. Use the measuring tape to mark your cuts carefully, then position your wood against the miter saw’s fence for a perfect 45-degree angle. This combination guarantees professional-looking corners and a polished finished frame.
How Do I Ensure a Tight Joint at the Corners?
Think of your corners as handshake agreements—firm and unwavering. To guarantee a tight joint, use corner reinforcement like small nails or corner clamps, holding everything securely. Apply a quality adhesive around the joint, then clamp it firmly to eliminate gaps. Wipe away excess glue quickly to keep the surface clean. With steady hands and proper reinforcement, your frame will stand strong, with corners that meet perfectly, like a well-kept promise.
Conclusion
Now that you’ve mastered creating mitered corners and adding glass inserts, your frames will look as polished as a gem. Think of it like piecing together a puzzle—every cut and fit brings your project closer to perfection. With patience and attention to detail, you’ll craft picture frames that beautifully showcase your favorite photos. Enjoy the process as much as the final product, and soon you’ll be proud to display your handmade masterpiece for all to see.