To assemble a wooden birdhouse with kids, start by gathering safe, untreated materials like cedar or pine, and make certain all tools and parts are ready. Teach them how to measure, mark, and handle tools carefully, always supervising for safety. Assemble the birdhouse by holding pieces steady and attaching nails or screws securely. Finish with non-toxic paint or sealant, and verify everything dries before placing it outside. For detailed steps, keep going to discover more helpful tips.
Key Takeaways
- Gather all safe, untreated materials and tools, ensuring accurate measurements and proper marking before starting assembly.
- Supervise children closely during cutting and nailing, emphasizing safety and proper handling of tools.
- Assemble parts carefully, holding pieces firmly to ensure correct alignment and secure attachment.
- Apply non-toxic, water-based finishes after assembly and drying before outdoor installation.
- Place the completed birdhouse in a suitable outdoor location, ensuring stability and safety for bird habitation.

Assembling a wooden birdhouse with kids is a fun and rewarding activity that combines creativity with hands-on learning. Before diving into the build, it’s important to prioritize safety precautions to guarantee everyone stays safe throughout the process. Make sure to work in a well-ventilated area, especially if you’re sanding or using glue and finishes. Keep sharp tools like saws, knives, and nails out of kids’ reach or only use them under close supervision. Wearing safety goggles and gloves can protect little hands and eyes from splinters, dust, or accidental slips. Additionally, teach kids about handling tools carefully, emphasizing that safety comes first. With these precautions in mind, you can focus on the fun parts of choosing materials and building.
Material selection plays a vital role in creating a durable, safe, and inviting birdhouse. Opt for untreated, weather-resistant wood like cedar or pine, which are safe for birds and stand up well to outdoor conditions. Avoid using treated or painted wood, as chemicals can be harmful to birds, especially if they peck at the surface or peep inside. When choosing nails or screws, pick rust-resistant options like galvanized or stainless steel to prolong the life of the birdhouse and prevent rust from contaminating the environment. You should also select non-toxic glue or wood adhesive designed for outdoor use if you need to attach parts carefully. It’s a good idea to gather all your materials beforehand, so you don’t have to search for supplies mid-project, which can lead to accidents or frustration.
Once you’ve selected your materials and taken safety precautions, you can start by measuring and marking your wood pieces accurately. Encourage your kids to participate in this step by helping with pencil marks or holding the wood steady. Use appropriate tools for cutting, such as a small hand saw or a coping saw, and remind children to stay clear of the blade. When assembling the pieces, hold the parts firmly while nailing or screwing them together, making sure everything lines up correctly. During this process, supervise closely to prevent any mishaps. If you’re applying finishes or paint, choose non-toxic, water-based products, and wait until everything is securely assembled and dried before installing the birdhouse outside. Remember that socialization with other dogs and people is crucial when training your pup, as it promotes better behavior and adaptability. By carefully selecting materials and following safety precautions, you guarantee that your project is both enjoyable and safe for everyone involved.

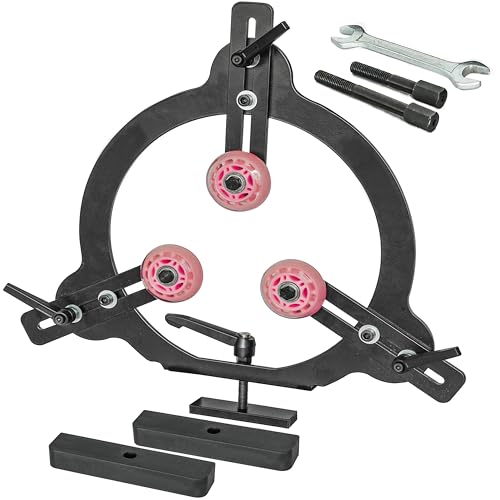
Woodturning Steady Rest MC-FS9 for 16inch,18inch and 20inch Swing Size Lathe for Spindle Woodturning.
This steady rest is compatible with 16inch, 18inch and 20 inch Swing lathe. For different sizes lathe, use...
As an affiliate, we earn on qualifying purchases.
Frequently Asked Questions
What Safety Precautions Should I Take During Assembly?
You should wear safety gear like goggles and gloves to protect your eyes and hands during assembly. Keep hazard awareness high by handling tools carefully and working in a well-lit, clutter-free area. Supervise kids closely, demonstrating safe tool use and encouraging them to ask questions. Remember to unplug power tools when not in use, and dispose of sharp or hazardous materials properly to guarantee everyone’s safety throughout the project.
How Can I Customize the Birdhouse Design?
You can turn your birdhouse into a masterpiece by customizing its design with decorative paint and a unique roof design. Imagine transforming it into a tiny castle or a cozy cottage with bright colors and fun patterns. Use your imagination to add details like painted flowers or a whimsical roof that makes it stand out. Your kids will love creating a one-of-a-kind home that’s as charming as it is functional!
What Tools Are Essential for Beginner DIYERS?
For beginner DIYers, essential tools needed include a hammer, screwdriver, measuring tape, and a saw. These help you cut, assemble, and measure accurately. Don’t forget basic safety gear like safety glasses and gloves to protect yourself while working. Having these tools and safety gear on hand makes your project safer and easier, ensuring you can confidently build your birdhouse while learning new skills.
How Long Does the Entire Assembly Process Typically Take?
On average, the assembly process takes about 1 to 2 hours, depending on your assembly pace and how many breaks you take. If you stay focused and work steadily, you’ll find it goes quite smoothly, making the experience enjoyable rather than rushed. Keep in mind, patience and a relaxed pace help everyone stay engaged, turning a simple project into a fun, memorable activity with your kids.
How Do I Maintain and Clean the Birdhouse Afterward?
To maintain and clean your birdhouse, establish regular cleaning routines, ideally once a year after the breeding season. Remove old nesting materials and scrub the interior with a solution of water and mild soap. Rinse thoroughly and let it dry completely before reassembling. Follow maintenance tips like inspecting for damage, sealing any cracks, and ensuring proper ventilation. This keeps the birdhouse safe and inviting for visiting birds.
Woodturning Steady Rest for 12",14" and 16" Swing Size, Wood Lathe for Spindle Woodturning, Woodturning Tools.
The Woodturning Steady Rest for 12 inch, 14 inch and 16 inch Swing Medium Size Lathe provides exceptional...
As an affiliate, we earn on qualifying purchases.
Conclusion
Now that you’ve built a sturdy birdhouse with your kids, don’t be surprised if the birds move in, leaving tiny footprints and feathered messes. After all, you just crafted a five-star hotel for your feathered friends, complete with a perfect perch and cozy entrance. Who knew that a few nails and some paint could turn your backyard into a bird resort? Next thing you know, you’ll be hosting brunch for the local sparrows—talk about nature’s Airbnb!

BMWOOD Woodturning Steady Rest MC-FS7 for 12inch,14inch and 16inch Swing Size Lathe for Spindle Woodturning.
This steady rest is compatible with 12 inch, 14 inch and 16 inch Swing lathe. For different sizes...
As an affiliate, we earn on qualifying purchases.
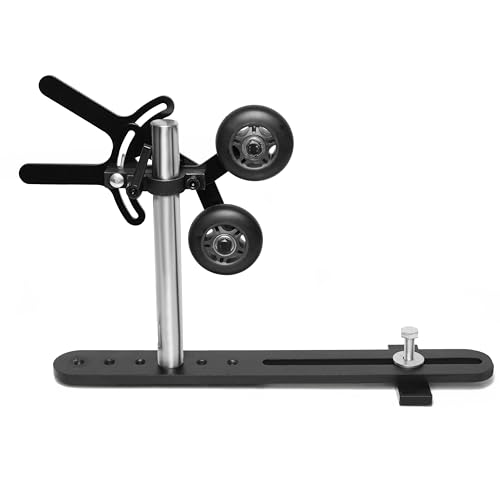
BMWOOD MC-FS6 Woodturning Steady Rest for Bowl Woodturning Lathe.
This bowl steady rest with double plastic wheel auxiliary support could be used to support disc-shaped, bowl-shaped woodturning,...
As an affiliate, we earn on qualifying purchases.