When working with reclaimed wood, start by thoroughly inspecting for decay, insect damage, and structural issues, then clean and gently sand surfaces to highlight its weathered charm. Use proper joinery techniques and authentic hardware to maintain character, and repair imperfections carefully without sacrificing patina. Always prioritize safety by handling tools properly and protecting yourself from hazards. By managing moisture and storage well, you guarantee longevity. For best results, follow these essential tips—more insights await if you keep exploring.
Key Takeaways
- Conduct thorough inspections for damage, decay, and knot stability before using reclaimed wood.
- Properly clean, sand, and treat surfaces to preserve authenticity while ensuring safety and durability.
- Use appropriate joinery techniques and vintage hardware to maintain weathered charm and structural integrity.
- Apply thin coats of natural finishes like tung oil or polyurethane to enhance grain and protect weathered patina.
- Wear protective gear, handle with care, and control climate conditions to ensure safe, long-lasting reclaimed wood projects.
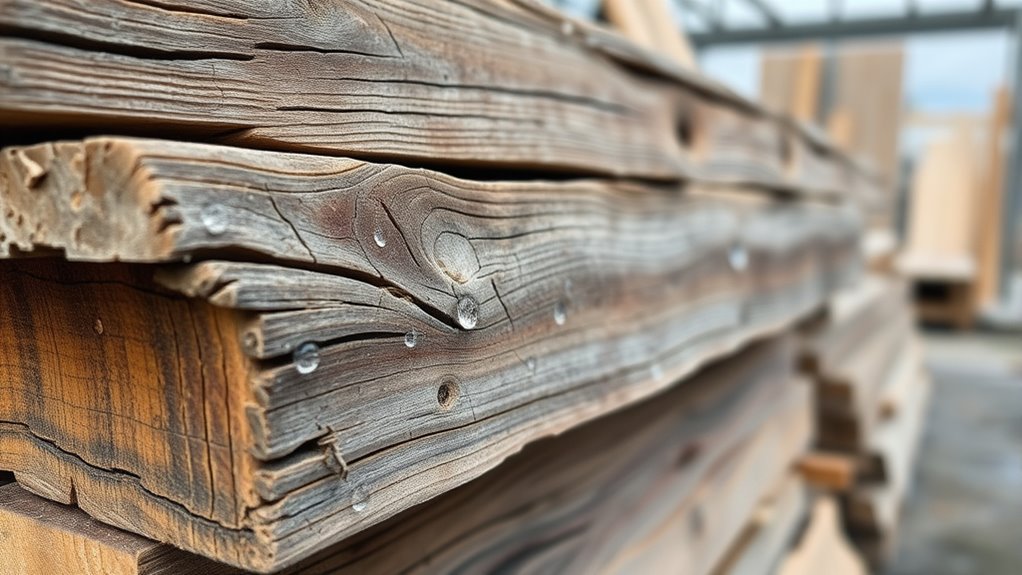
Assessing the Structural Integrity of Reclaimed Pieces
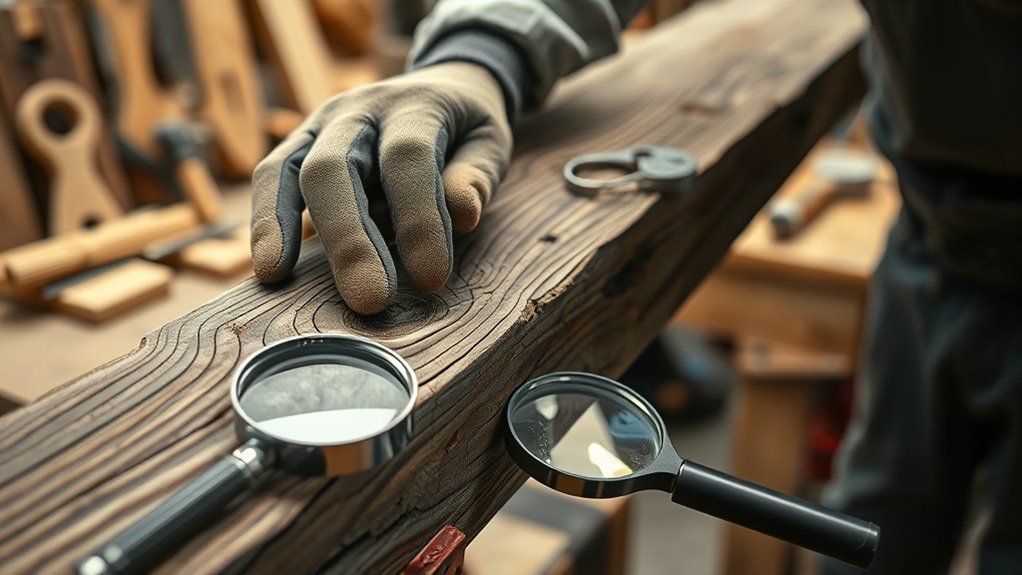
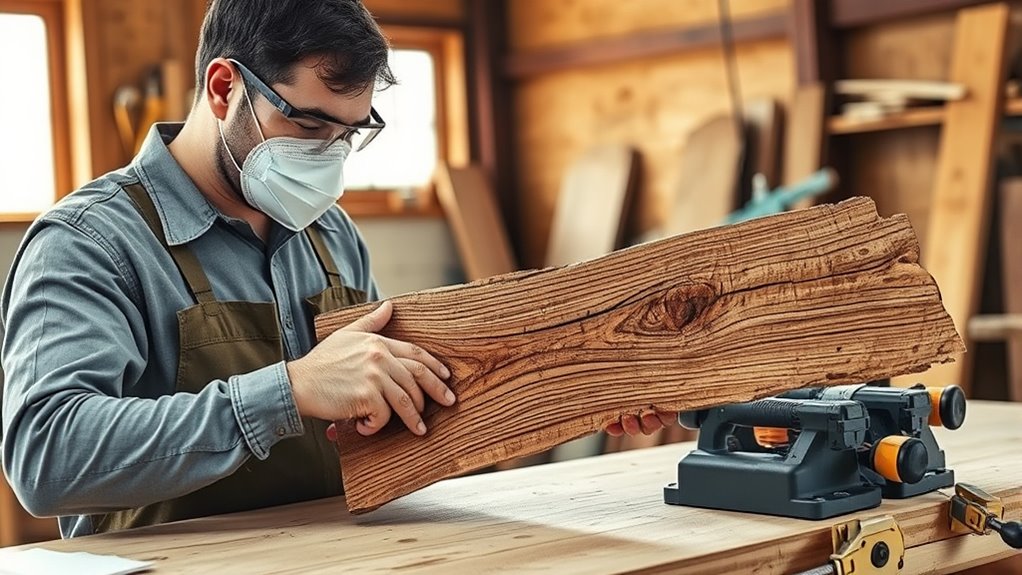
To guarantee reclaimed wood is suitable for structural use, start with a thorough visual inspection. Examine the wood for signs of decay, such as rot, fungal growth, or soft spots that weaken its strength. Check for insect damage, including holes or tunnels caused by termites or beetles. Look for cracks, splits, or checks that could compromise stability. Additionally, assess the presence of self-watering features, as moisture retention or over-saturation can impact the wood’s integrity over time. Moisture content and proper drying are essential for maintaining strength and preventing warping. Inspect large or loose knots, which can reduce load-bearing capacity. Ensure the grain orientation and slope align with structural stability requirements. Incorporating AI safety principles can also assist in evaluating the risks associated with reclaimed wood use. Use visual grading criteria to evaluate defects like knots and bolt holes, treating bolt holes as knots.
Combining these observations with mechanical stress ratings helps you get an accurate assessment of the wood’s strength, ensuring it’s safe for reuse.
Proper Cleaning and Surface Preparation Techniques
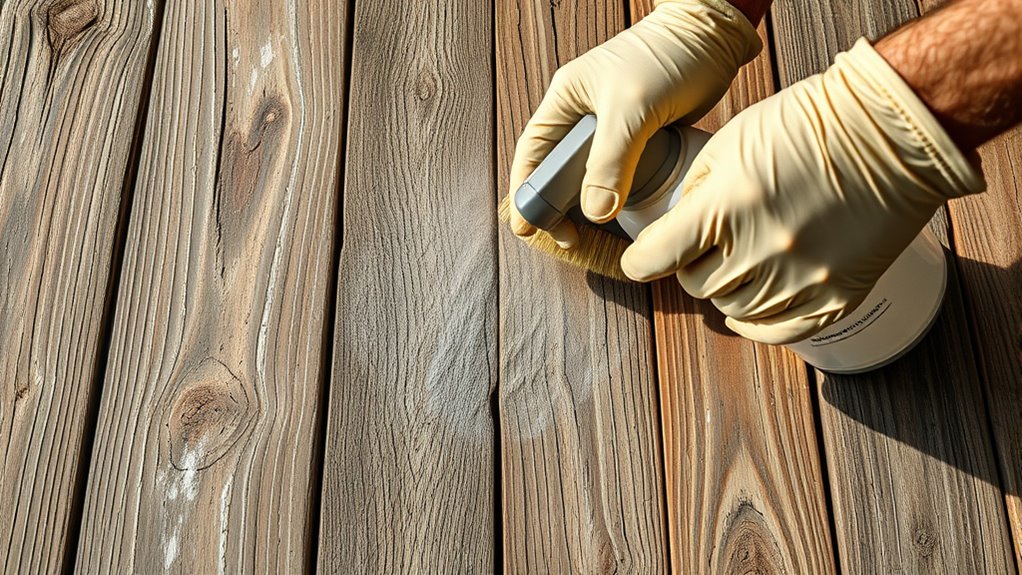
After confirming the reclaimed wood’s structural soundness, the next step is to clean and prepare its surface properly. Use a soft bristle brush or vacuum with brush attachments to gently remove dust from all areas, especially in nooks and crevices. Incorporating vacuum cleaner performance metrics principles can help ensure effective dust removal without damaging the surface.
Once confirmed, gently clean reclaimed wood with a soft brush or vacuum to remove dust and debris.
For untreated wood, mix water, white vinegar, and a small amount of olive oil for a natural, non-toxic clean. Incorporating wood surface preparation principles can help ensure a thorough cleaning process that preserves the wood’s integrity.
If the wood is treated or sealed, opt for furniture wax or oil-based soap, following product instructions. Regular maintenance, including proper cleaning techniques, can prolong the lifespan of your reclaimed wood.
For deep cleaning, rinse with a hose and scrub with soapy water, invigorating the solution as needed. Incorporating air quality principles during surface preparation can help create a more calming environment and promote mental well-being in your space. Additionally, considering the impact of automation in business can help streamline your cleaning process, saving time and effort.
Air dry in sunlight for 1-2 days.
To sanitize, steam cleaning kills bacteria and mold, while pressure washing removes mildew.
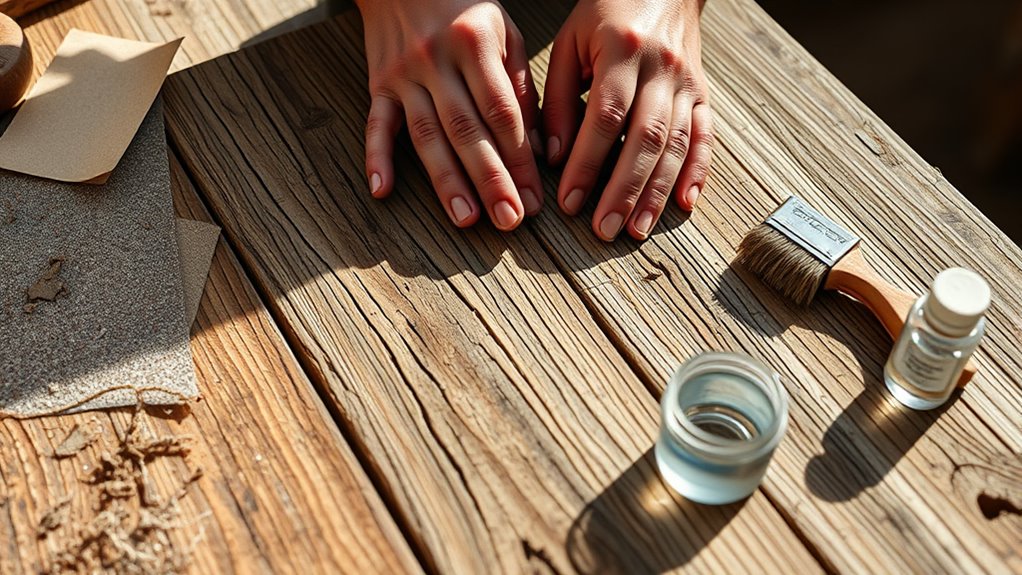
After cleaning, inspect and lightly sand to smooth the surface, then wipe with a tack cloth to remove dust before finishing.
Effective Storage and Handling Strategies

Proper storage and handling are essential to preserving the quality and longevity of reclaimed wood. Store your wood under a pitched roof or carport to keep it dry and reduce moisture buildup. Ensure good ventilation around stacked pieces to prevent humidity from causing rot or mold. Incorporate local tips for outdoor storage to optimize protection against weather elements. Additionally, using proper storage techniques can significantly extend the lifespan of your reclaimed wood. Avoid enclosed, non-moisture-controlled garages where humidity can be high. Use vertical storage methods to keep wood accessible and promote airflow. When stacking, place spacers between layers to prevent warping and allow air circulation. Keep wood off the ground on pallets or platforms to avoid ground moisture. Cover outdoor storage with breathable tarps, and regularly inspect for mold or insect damage. Implementing best practices for handling and storage helps maintain the wood’s integrity over time. Handling wood carefully during movement, and securing stacks to prevent accidents, are crucial steps in protecting your investment. Ensuring proper moisture control is vital to prevent deterioration and maintain the wood’s quality over the long term. Proper climate control techniques, such as maintaining stable humidity levels, further help preserve reclaimed wood’s condition.
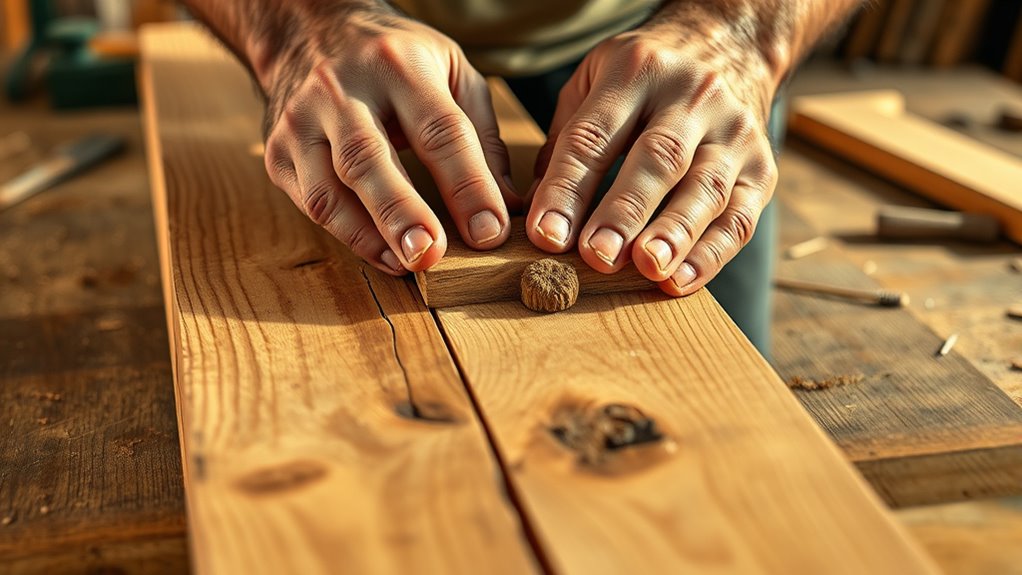
Repairing and Filling Imperfections While Preserving Character

When repairing reclaimed wood, careful inspection and preparation are essential to preserve its character. Begin by thoroughly checking for cracks, holes, debris, or rot, using a metal detector to find hidden metal that could damage tools. Remove debris carefully with pliers or pry bars to prevent further harm. Assess the wood’s structural integrity to determine if sections need repair or replacement. Clean the surface thoroughly to ensure better adhesion. Use coarse sandpaper to address rough patches and switch to finer grits for a smooth finish, avoiding over-sanding that could erase the wood’s aged charm. Fill cracks and small holes with matching wood fillers, and larger gaps with wood plugs to maintain strength. Preserving natural imperfections and textures helps in retaining the wood’s authentic, weathered character. Recognizing the importance of authenticity helps in making informed decisions that honor the reclaimed wood’s unique history and aesthetic. Carefully considering material properties ensures that repairs enhance rather than diminish the wood’s distinctive appeal. Additionally, understanding the potential pitfalls in adopting new payment technologies can inform how you approach restoration projects, especially if sourcing materials or tools online, ensuring secure and reliable transactions. Staying informed about industry insights and trends can also help you choose the best materials and techniques for your project. Being aware of the history of pinball machines can also inspire design choices when repurposing reclaimed wood for game-themed decor or furniture.
Joinery Methods for Reclaimed Wood Projects
Choosing the right joinery methods can greatly enhance the strength and character of your reclaimed wood projects. Mortise-and-tenon joints remain reliable for structural stability, especially when you select and clean the wood carefully.
Half-lap joints offer a flush finish for framing but require precise measurements to accommodate irregularities.
Tongue-and-groove systems help minimize gaps in paneling or flooring once milled after stabilizing the boards.
For quick, non-load-bearing assemblies, butt joints with concealed fasteners work well.
If you’re reconnecting shorter pieces, finger joints can match grain orientation for seamless strength.
Modern techniques like pocket-hole joinery and biscuit joiners improve alignment and stability, while metal brackets discreetly reinforce load-bearing connections.
Using these methods *guarantees* durability while respecting the aged character of reclaimed wood.
Finishing Approaches to Highlight Patina and Texture
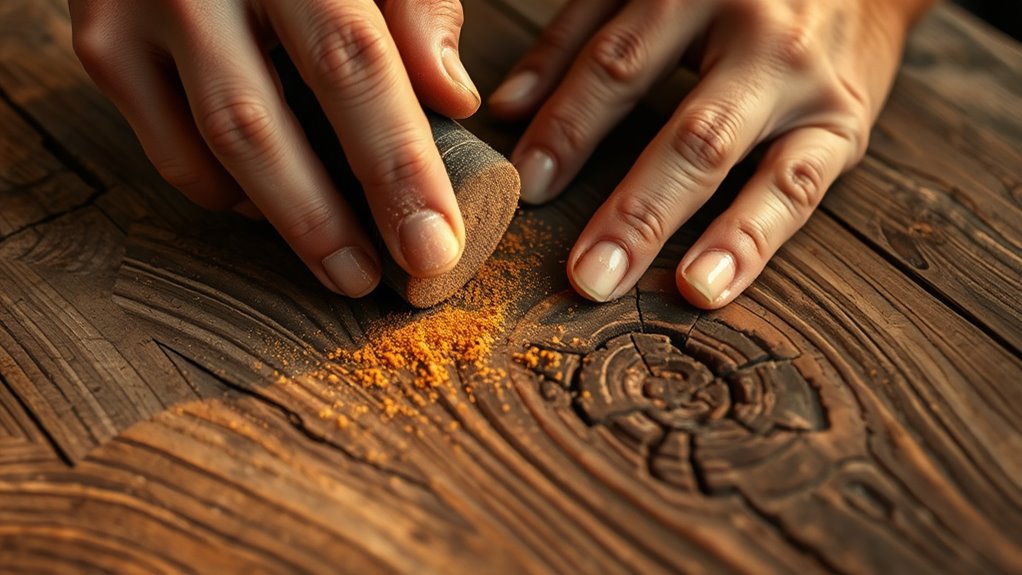
To effectively highlight the patina and texture of reclaimed wood, thorough preparation and cleaning are essential. Inspect the wood carefully, removing debris, grease, or old finishes that could interfere with new coatings.
Clean the surface thoroughly and sand it progressively to create a smooth base that emphasizes texture. Use chemical strippers safely to remove old paint, if necessary, and allow the wood to dry completely to prevent warping. Understanding the importance of color accuracy can help in choosing finishes that best showcase the wood’s natural hues and grain patterns. Proper planning and understanding of retirement planning concepts can also inform how you approach restoration projects, ensuring lasting quality. Incorporating appropriate butter tips and techniques can further enhance the wood’s appearance and durability.
Choose finishes designed for reclaimed wood, such as oils like tung oil, which enrich natural color and texture, or polyurethane and varnish to enhance grain patterns and add sheen. Apply multiple thin coats using brushes or rags to build depth without obscuring detail.
Allow adequate drying time between coats to achieve a clear, textured finish that preserves the wood’s character.
Incorporating Hardware and Hardware Repurposing
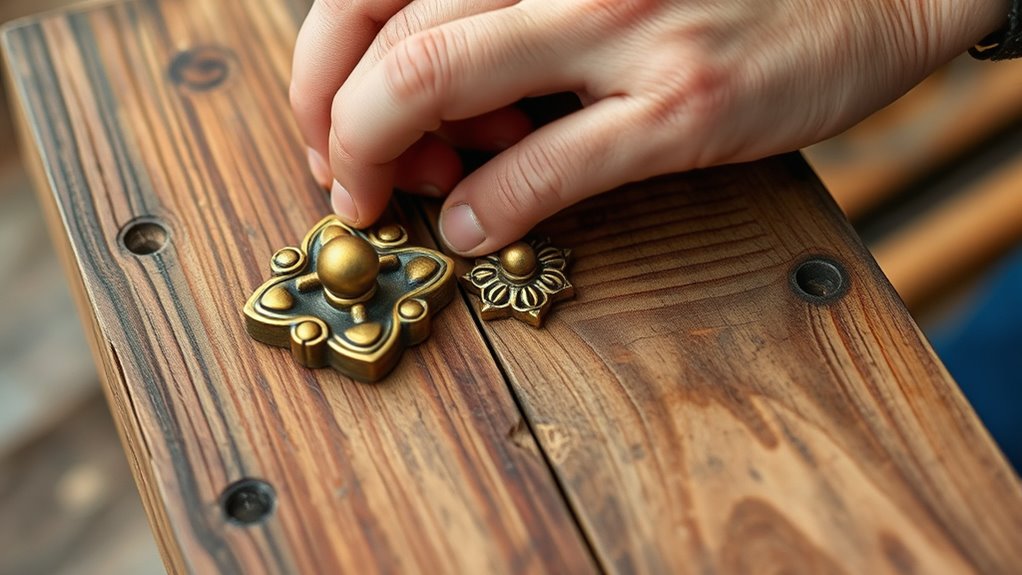
Incorporating hardware into reclaimed wood projects involves careful selection and preparation to guarantee both functionality and aesthetic harmony. First, remove all old nails, screws, and fixtures to prevent damage during refinishing.
Inspect the hardware and wood for rust, wear, and structural issues, choosing pieces that complement the wood’s aged look—vintage or industrial styles work well.
Clean metal hardware with rust removers or vinegar to restore its appearance without losing the patina.
Salvage hardware from old structures, like barn doors or pallets, to add a unique, authentic touch.
Repurposing these elements as hinges, handles, or decorative accents not only enhances the piece’s character but also promotes sustainability.
Properly selecting and preparing hardware guarantees your project remains durable and visually cohesive.
Managing Moisture and Acclimation Processes
Managing moisture and acclimation processes is essential to guarantee your reclaimed wood remains stable and durable over time. First, measure the moisture content with a moisture meter to ensure it matches the environment’s equilibrium moisture content (EMC).
Proper moisture management ensures reclaimed wood remains stable and durable over time.
Allow the wood to acclimate in a controlled space that mimics its final environment, preventing warping or cracking. Store the wood in conditions with 30-50% humidity to maintain stability. Use dehumidifiers or humidifiers as needed to keep humidity steady.
Ensure the wood is fully dried after cleaning or kiln-drying before installation. Applying sealers on all sides helps lock in moisture, and giving the wood sufficient time to adjust minimizes risks.
Regularly monitor moisture levels to ensure ongoing stability throughout the project.
Safety Practices and Tool Maintenance for Working With Old Wood
Working with old wood requires careful attention to safety practices and tool maintenance to prevent accidents and guarantee a smooth renovation process. First, be aware of potential lead hazards from paint, insect infestations, and chemical residues.
Always wear protective gear such as respirators, gloves, goggles, and long sleeves to guard against harmful dust, splinters, and chemical exposure. Use a metal detector before cutting to avoid damaging tools on hidden nails or screws.
Regularly inspect and sharpen your tools to prevent accidents and reduce wear from metal fragments. Keep your workspace organized, clear of debris, and store tools properly.
Have fire extinguishers nearby and ensure electrical tools are in good condition. Following these safety and maintenance practices safeguards your health and extends your tools’ lifespan.
Tips for Maintaining Authenticity and Weathered Appeal
Maintaining the authentic weathered look of reclaimed wood involves careful cleaning and preservation techniques that protect its unique character. Use a dry or damp cloth for gentle cleaning, avoiding abrasives like sandpaper or mechanical sanders that can damage the patina.
A dry brush helps remove splinters, pollen, and pests without harming the surface. When needed, scrub with a nylon brush and a small amount of soapy water, but steer clear of harsh chemicals that could strip the weathered finish.
To preserve the patina, avoid oversaturating the wood and opt for pH-neutral soaps or natural mixtures like vinegar, olive oil, and water. Regular dusting, minimal cleaning, and protecting from direct sunlight help maintain its weathered appeal while preventing damage over time.
Frequently Asked Questions
How Can I Identify Hidden Pests or Microbial Issues in Reclaimed Wood?
To identify hidden pests or microbial issues, start by inspecting all surfaces thoroughly. Look for exit holes, frass, galleries, or surface damage that hint at infestations.
Use a moisture meter to check for high humidity, indicating potential mold or fungal growth.
Smell for musty or sour odors, and examine cracks or hidden joints with a flashlight.
If you suspect problems, consider applying treatments like kiln-drying or borate solutions to guarantee safety.
What Are the Best Methods to Prevent Warping During Storage?
To prevent warping during storage, you should maintain consistent humidity levels around 40-60%, avoiding damp or fluctuating environments.
Always stack lumber properly using stickers for even air circulation, and keep boards on flat, level surfaces.
Choose straight-grain, kiln-dried wood, and seal all surfaces to prevent moisture absorption.
Store wood vertically or on supports, and regularly monitor humidity and temperature to make adjustments as needed.
How Do I Match New Finishes to Aged, Weathered Wood?
To match new finishes to aged, weathered wood, analyze the existing color nuances, including fading and darkening.
Test different dyes, stains, and glazes on scrap wood first.
Use layering techniques to replicate the depth of old finishes, and consider environmental factors like sunlight.
Distress new wood with tools or vinegar solutions for a weathered look.
Always test your methods before applying them to your project for the best result.
What Are Safe Disposal Options for Old Nails and Fasteners?
When disposing of old nails and fasteners, you should gather them in a sturdy container to prevent injuries. Recycle large quantities at scrap yards or check local recycling centers, which often accept scrap metal.
For rusty or non-reusable fasteners, wrap them securely in bubble wrap and cardboard before disposal. Avoid throwing them loosely in trash to prevent hazards.
Consider donating or repurposing reusable fasteners to reduce waste.
How Can I Ensure Compatibility of Adhesives With Vintage Surfaces?
They say, “Forewarned is forearmed.” To verify adhesive compatibility with vintage surfaces, you need to test first.
Start by cleaning and lightly sanding the area to promote adhesion.
Try the adhesive on a small, hidden spot to check for discoloration or bonding issues.
Use the right type—hide glue for reversibility, PVA for neutral bonding, or epoxy for strength—matching it to your project’s needs.
Conclusion
Working with reclaimed wood is like breathing new life into a weathered story. With patience and care, you’ll transform these aged pieces into stunning creations that echo history. Respect its character, handle it gently, and nurture its beauty through proper techniques. Think of yourself as a steward of time—honoring the past while crafting something truly unique. Embrace the journey, and let each reclaimed piece tell its story once more.