
To sharpen woodworking tools effectively, you need the right tools like honing guides, flat stones, and abrasive papers. Set correct bevel angles—typically between 25° and 30°—using guides for consistency. Start with coarse grit to reshape the edge, then finish with finer grits and stropping for a razor-sharp finish. Regularly flatten blades and check for burrs to maintain performance. Keep following these steps, and you’ll master the techniques to keep your tools precise and long-lasting.
Key Takeaways
- Use honing guides and angle-measuring tools to maintain consistent bevel angles during sharpening.
- Flatten sharpening stones regularly with abrasive papers or lapping plates to ensure flat, effective surfaces.
- Start with coarse grit stones to shape the edge, then switch to finer grits for polishing and refining.
- Apply honing compounds and strops to polish edges and remove micro burrs for a sharper finish.
- Properly set and file saw teeth to ensure clean, straight cuts and maintain saw blade performance.

Bench Grinder Belt Sander Combo, 6-Inch Bench Grinder & 2"x27" Belt Sander, 2.5A Induction Motor, Dual Function Sharpening and Sanding Machine for Knives, Wood, and Metal Work
【Dual Grinding & Sanding Combo Tool】 This bench grinder belt sander combo integrates a 6-inch grinder wheel with...
As an affiliate, we earn on qualifying purchases.
Essential Sharpening Tools and Accessories
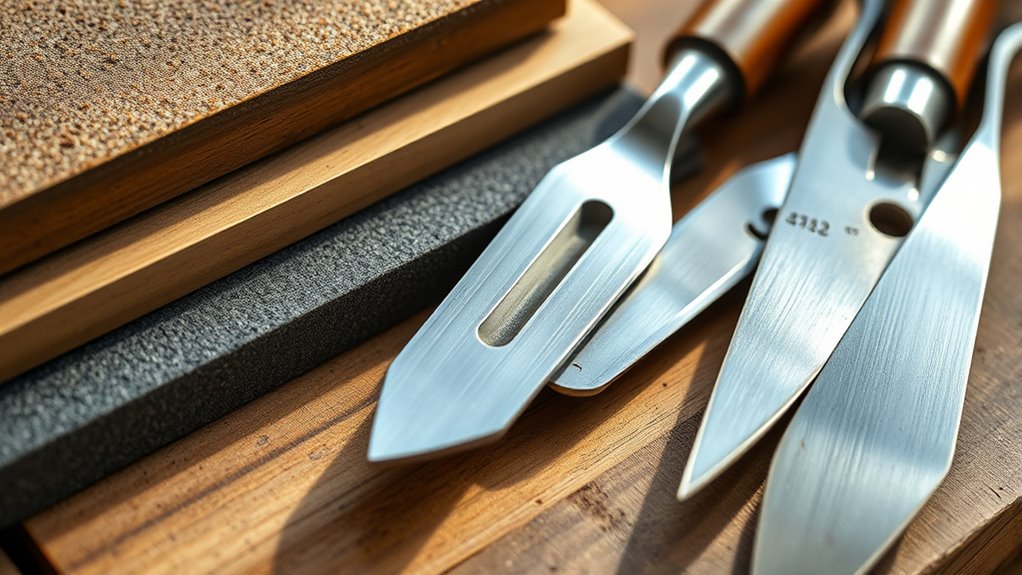
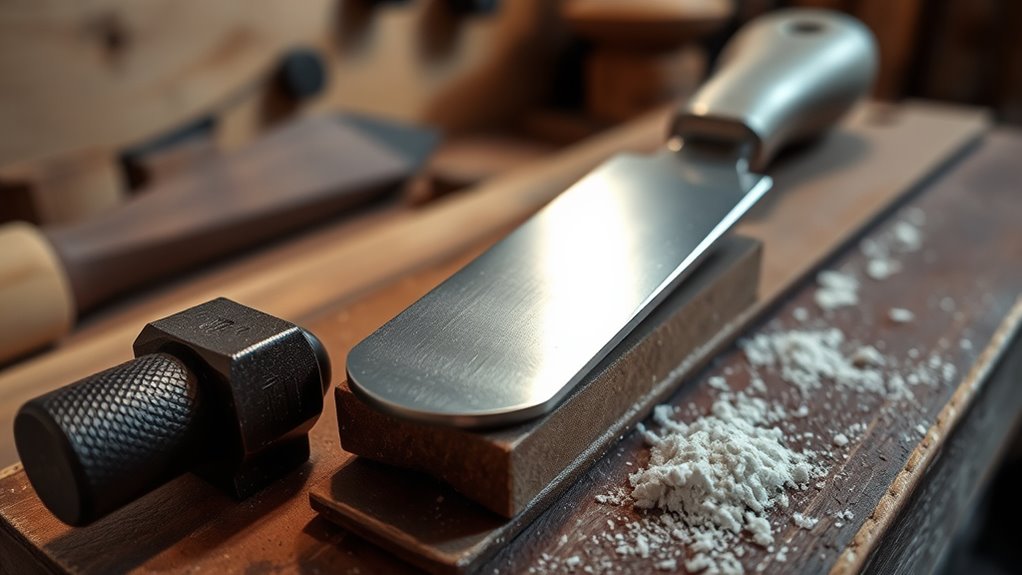
To achieve a sharp and precise edge on your woodworking tools, you need the right set of essential sharpening tools and accessories. First, honing guides help you control the bevel angle during freehand sharpening, improving consistency. Plate glass or lapping plates provide flat, stable surfaces to flatten stones and maintain a uniform sharpening surface. A grit progression system, including coarse to fine stones or pads, lets you refine edges step-by-step. Lubricants like water, oil, or honing fluid facilitate smooth sharpening and carry away metal particles. Abrasive papers, such as wet/dry sandpaper, are handy for flattening stones or polishing edges on flat surfaces. Using essential oils in your maintenance routine can also help preserve and clean your sharpening tools, ensuring longevity and optimal performance. Proper tool maintenance extends the life of your sharpening equipment and maintains their effectiveness. Incorporating professional techniques can further improve sharpening precision and consistency. Additionally, understanding the industrial manufacturing process of sharpening tools can help you select high-quality equipment that withstands frequent use. These tools form the foundation for effective sharpening, ensuring your tools stay sharp, accurate, and safe to use.
WEN Benchtop Belt and Disc Sander with 1 x 30 in. Belt and 5 in. Sanding Disc (6515T)
Two-in-one sanding machine includes both a 1-by-30 inch belt and a 5-inch disc
As an affiliate, we earn on qualifying purchases.
Preparing Your Tools: Flattening and Backing
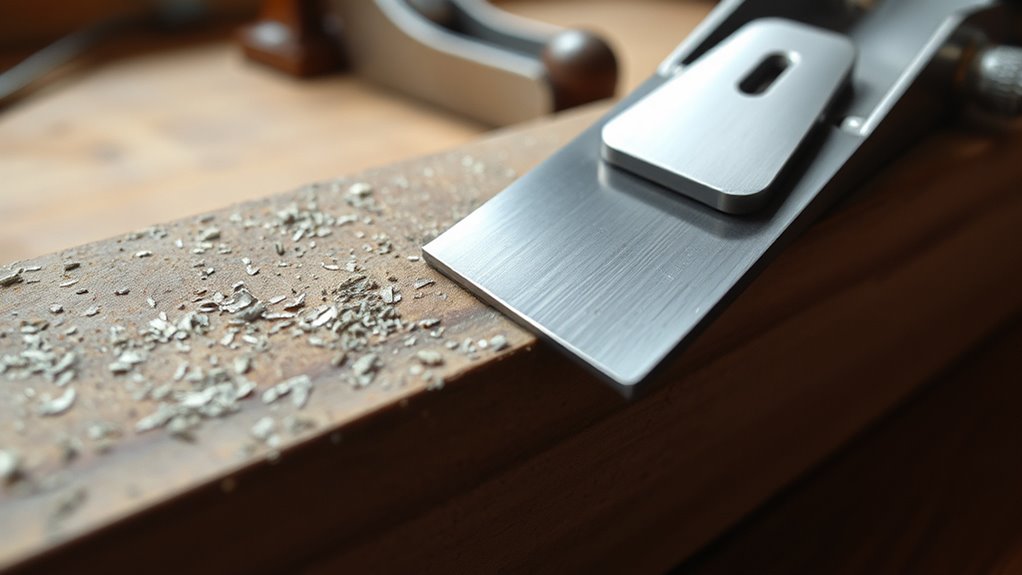
Preparing your woodworking tools for sharpening begins with ensuring their surfaces are properly flattened and backed. Start by using a jointer or trying plane to remove high spots and create a flat surface. Support the workpiece firmly on a flat surface or shimmed box to prevent movement. Creating a cozy and inviting space can help you work more efficiently and comfortably during your sharpening routines. Proper workspace setup, including adequate lighting and ventilation, also plays a significant role in achieving precise results. Additionally, understanding the sharpness level of your tools can guide you in achieving sharper and more durable edges. When using a planer, place the board face down on a thickness planer to achieve parallel faces. For wide boards, secure them on a level support with shims to avoid flexing. Recognizing the importance of filter maintenance from your paint sprayer knowledge can also be applied to ensure clean, debris-free sharpening abrasives and prevent contamination. Understanding the contrast ratio of your tools’ edges can guide you in achieving sharper and more durable edges. Hand planes like toothing planes are useful for working on tricky grain or knots. Always check your progress with straightedges or winding sticks. Proper flattening and backing prepare your tools for effective sharpening, ensuring even contact and optimal edge performance.

Vertical Oscillating Spindle Sander and Belt Sander 2 in 1 Woodworking Machine with 5 Sanding Sleeves 4x24 Inch Belt Tilting Table 0-45 Degrees for Curves Contours Detailed Workpieces
【Powerful Dual Sander Performance】This combination spindle sander and belt sander delivers robust power with 58 oscillations per minute...
As an affiliate, we earn on qualifying purchases.
Correct Angles and Techniques for Blade and Edge Sharpening
Achieving the correct bevel angles is essential for effective and durable woodworking blades. Most effective cutting edges are formed where the back bevel meets the primary or secondary bevel, typically between 25° and 45°. A good balance of sharpness and strength is found with angles between 25° and 30°. For chisels and plane blades, a primary bevel around 25° is standard, providing durability and sharpness. Secondary and tertiary bevels serve to refine the edge and reduce sharpening time. The secondary bevel creates a small, sharp bevel on the primary, while the tertiary offers a polished edge. When sharpening, focus on honing a small section of the primary bevel, and polish only along the edge. Using guides and angle-measuring tools helps maintain consistent angles, ensuring *ideal* blade performance and longevity. Additionally, understanding sharpening techniques can significantly improve the precision and durability of your tools. Properly maintaining your blades through correct angle measurement can extend their lifespan and improve your woodworking results. Incorporating consistent slope assessments during sharpening can further optimize edge angles for specific woodworking tasks. Regularly checking tire pressure on your tools and equipment ensures optimal performance and safety during woodworking projects. Practicing these techniques regularly will lead to more precise cuts and longer-lasting edges.

KAKA INDUSTIRAL Spindle Sander,Drum Sander Vertical Oscillating Edge Belt and Spindle Sander 2 in 1 Compact Woodworking Machine for DIY Hobbyists 450W Motor 5 Sleeves Included WS-100D
Space Saving 2 in 1 Drum Sander DesignRapidly switch between oscillating drum sander and edge belt sander modes...
As an affiliate, we earn on qualifying purchases.
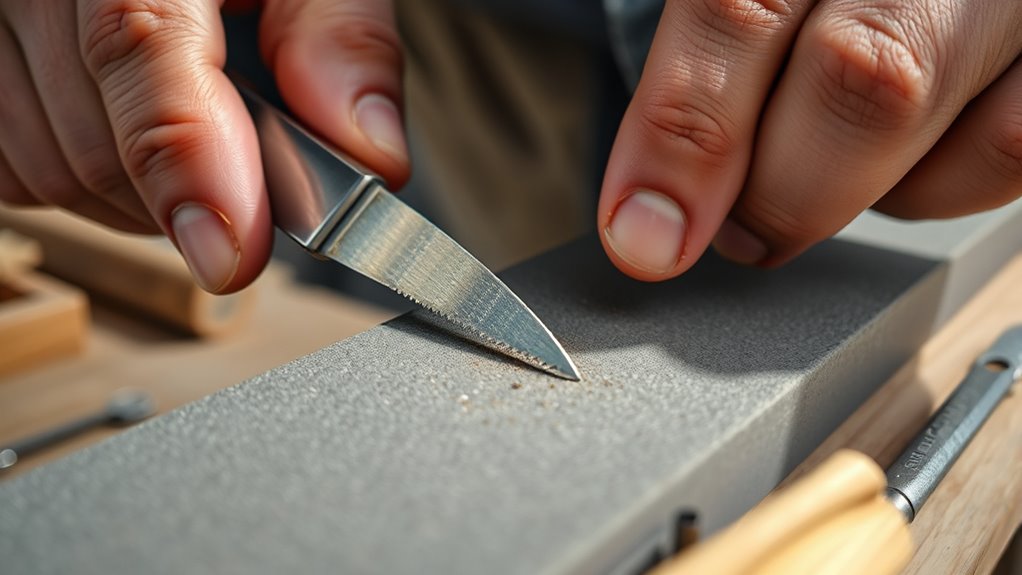
Step-by-Step Chisel and Plane Blade Sharpening

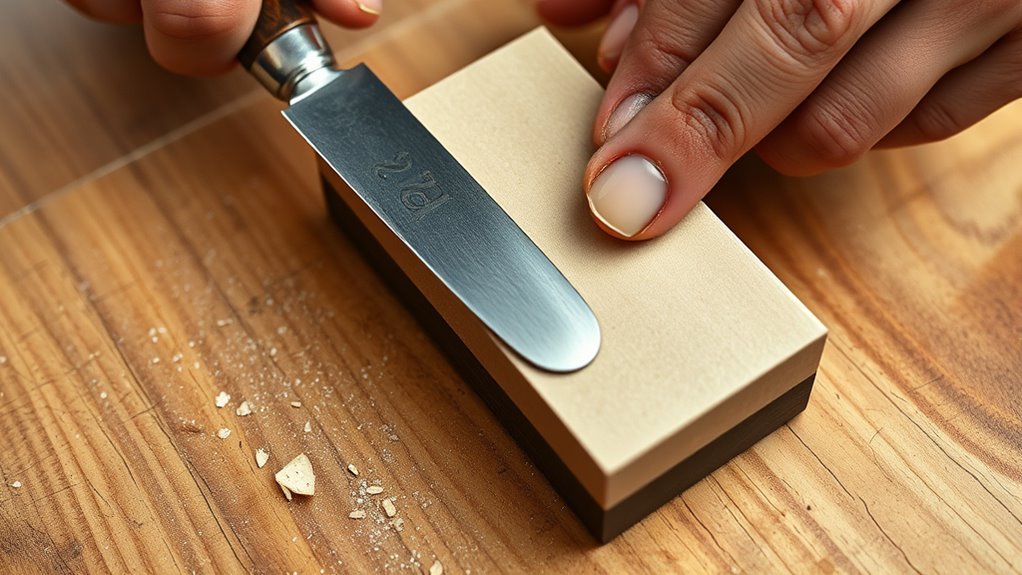
Begin by securing your chisel in a honing guide set to approximately 30° to establish a precise micro-bevel angle. Use a digital angle guide or setup block to guarantee accuracy. Keep the chisel aligned squarely in the guide, though minor deviations are acceptable. Avoid placing the edge directly on the stone initially to prevent dulling the surface.
Lubricate the stone with oil to reduce friction. Start with a coarse grit (around 1000) to grind the micro-bevel, moving steadily and maintaining contact with the guide rollers. Switch to a finer grit to refine and polish the edge. Regularly check the bevel angle, ensuring consistency, and pay attention to proper tool maintenance to keep your blades performing at their best. Practicing consistent sharpening techniques is essential for achieving a fine edge and prolonging tool life.
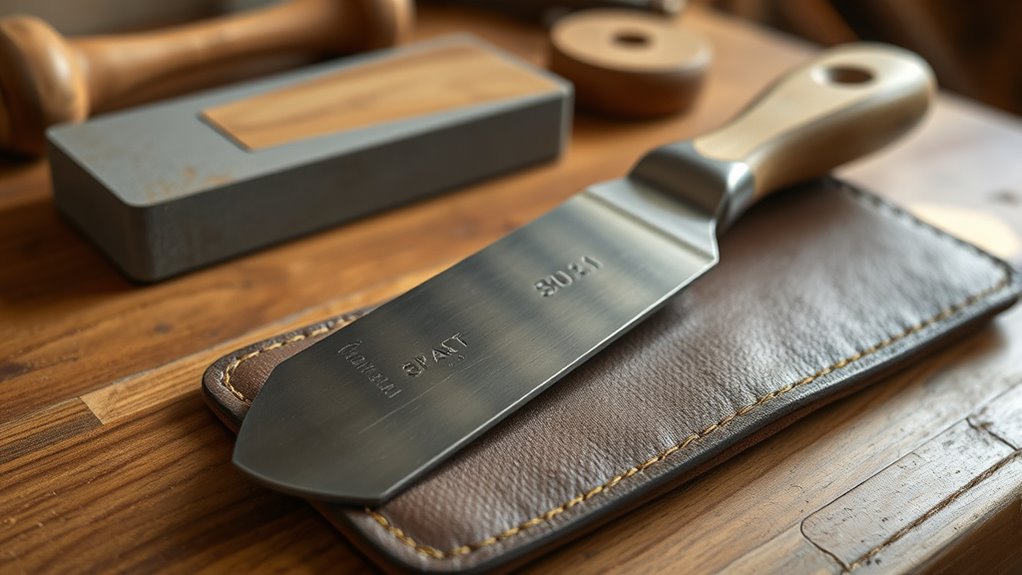
After sharpening, flatten the back on a flat surface using finer abrasives to remove warps. Finish by removing burrs and stropping on a charged leather surface for a razor-sharp edge.
Additionally, incorporating proper storage techniques can help maintain the sharpness of your tools over time.
Saw Tooth Filing and Setting Best Practices
Properly filing and setting your saw teeth are essential steps to guarantee smooth, efficient cuts and a straight kerf. To do this, start by jointing the teeth with a mill file held perpendicular to the saw blade side, running from heel to toe with moderate pressure. Usually, 2 to 4 passes are enough to create a flat facet, ensuring uniform height.
Clamp the saw securely with about 2 inches of blade above the vise jaws for stability. When filing, position the saw with the heel on the right, and file each tooth fully into the gullet from heel to toe, maintaining a perpendicular angle. Use gentle, consistent strokes to sharpen the teeth without shortening them. Proper jointing and filing restore sharpness and uniformity, essential for clean, straight cuts. Additionally, Kia Tuning techniques can inform maintenance practices to keep your tools in optimal condition. Regular inspection and saw tooth setting ensure the teeth are properly spaced for smooth operation and minimal binding. Keeping your saw blades clean and free of debris also enhances filing accuracy and overall performance. To maintain optimal performance, consider preppy dog names that reflect a meticulous approach, much like the care needed for your tools.
Using Guides, Jigs, and Honing Compounds for Precision
Using guides, jigs, and honing compounds is essential for achieving precision in woodworking tool sharpening. Guides help maintain a consistent bevel angle on chisels and plane irons, resulting in uniform edges that cut better. Side-clamping honing guides securely hold blades, making it easier to adjust for different widths and angles, reducing errors and fatigue. They stabilize the tool, minimizing wobble and uneven pressure. Jigs, like the Oneway Wolverine, provide precise control over bevel formation, turning sharpening into a repeatable process. They accommodate various tools and abrasive media, ensuring stability and accuracy. Honing compounds, applied on leather or synthetic strops, polish and refine edges after sharpening, removing micro burrs. Proper technique in using these tools is crucial for maintaining sound design and ensuring optimal performance of your woodworking tools. Combining guides, jigs, and honing compounds guarantees consistent angles, sharp edges, and enhanced tool longevity.
Troubleshooting Common Sharpening Mistakes
Even with guides, jigs, and honing compounds in place, common sharpening mistakes can still undermine your efforts. One mistake is switching grits too soon, which prevents raising a proper burr and leaves your blade blunt.
Skipping grits altogether results in a rough or overly polished edge, decreasing sharpness and durability. Not following a proper grit progression can stop you from achieving a polished, sharp finish.
Also, inspecting the grit progress is crucial—rely on scratch patterns rather than feeling for a burr with finer grits. Using the wrong grit for each stage can hinder your progress.
Additionally, inconsistent angles, excessive pressure, and poor tool stabilization can cause uneven bevels and damage. Proper preparation and inspecting the edge after sharpening help avoid these common pitfalls and ensure a razor-sharp result.
Frequently Asked Questions
How Often Should I Sharpen Woodworking Tools for Optimal Performance?
You wonder how often to sharpen your woodworking tools for the best results. It depends on what you’re working with and how often you use them.
For denser woods or rough cuts, sharpen more frequently—maybe every few projects or weekly. Softer woods and fine cuts require less sharpening.
Regular maintenance, like honing and stropping, keeps your tools sharp longer. Pay attention to how your tools perform, and sharpen when they start to dull.
Can I Sharpen Tools Without Using Specialized Guides or Jigs?
Sure, you can sharpen tools without guides—think of it as ballet dancing on a tightrope with a butter knife. Keep your angle steady by eye and touch, using your fingers as the dance partners.
Practice makes perfect, and with patience, you’ll develop an intuitive feel for the bevel. Just remember, no jig means more wiggle, so steady hands and sharp eyes are your best friends in this balancing act.
What Is the Best Way to Remove Burrs After Sharpening?
You want to know the best way to remove burrs after sharpening. To do this, you should start with fine-grit sandpaper or a scraper to smooth out the edge.
Then, gently strop on leather or fabric to polish and eliminate fine burrs. Using a light high-angle pass over a stone or strop can also help dislodge stubborn burrs.
Consistently maintain your edge angle to ensure effective burr removal.
How Do I Know if My Sharpening Angle Is Correct?
Imagine you’re Sherlock Holmes, deducing if your sharpening angle’s spot-on. You can check by resting the blade flat on the stone and lifting it gradually until the bevel contacts the surface.
Use an angle guide or a protractor to measure if it matches your desired angle—say 30° or 25°.
Test the edge on wood, observing cut quality and resistance—these clues reveal if your angle’s right or needs adjustment.
What Are Signs That My Tool Needs Sharpening or Honing?
You’ll know your tool needs sharpening when the teeth edges look rounded or dull under a magnifying glass, and you see burrs on the opposite side. If your cuts become rough, splintered, or uneven, it’s a sign.
You’ll also feel increased resistance and notice more vibration or chatter. A dull tool produces less crisp sounds and often snags or jumps on the wood, indicating it’s time to sharpen or hone.
Conclusion
Mastering sharpening is like tending a garden—you need patience and care to keep every tool thriving. With the right techniques and tools, you’ll carve, cut, and shape with confidence, turning rough edges into razor-sharp precision. Each step you take sharpens more than just your tools; it sharpens your skill and craftsmanship. Keep practicing, stay attentive, and soon, your workshop will be a symphony of perfectly honed tools, ready to bring your woodworking visions to life.