To master laser engraving, you prepare your materials carefully by cleaning and sometimes masking delicate surfaces. You control the design with layered files, toggling components for precision. Understanding wood grain effects helps you choose the right settings for consistent results. You manage overlaps, combine raster and vector techniques, and adjust focus for thicker lines or sharp edges. Using scrap and guides ensures perfect placement, and the red dot pointer keeps your work accurate—continue exploring to access all the secrets.
Key Takeaways
- We select appropriate materials and carefully prepare surfaces to ensure precise and clean engravings.
- Our design process involves layering and managing vector and raster lines for detailed and efficient results.
- We adjust laser settings like power, speed, and focus based on material properties and desired effects.
- Accurate positioning and overlap management prevent mistakes and ensure consistent, high-quality engravings.
- Combining different laser techniques allows us to create intricate, professional-grade designs with depth and clarity.

Dunzoom 257 Pcs Laser Material Kit Laser Engraving Materials Including Acrylic, Metal, Wood, Fabric, PU Leather, Glass, Rock, Rubber Materials for Laser Engravers and Laser Cutters
- Number of Pieces: 257 pieces included
- Material Variety: Includes acrylic, metal, wood, fabric, PU leather, glass, rock, rubber
- Durable Materials: Made from high-quality, long-lasting materials
As an affiliate, we earn on qualifying purchases.
As an affiliate, we earn on qualifying purchases.
Preparing Materials and Surface Setup
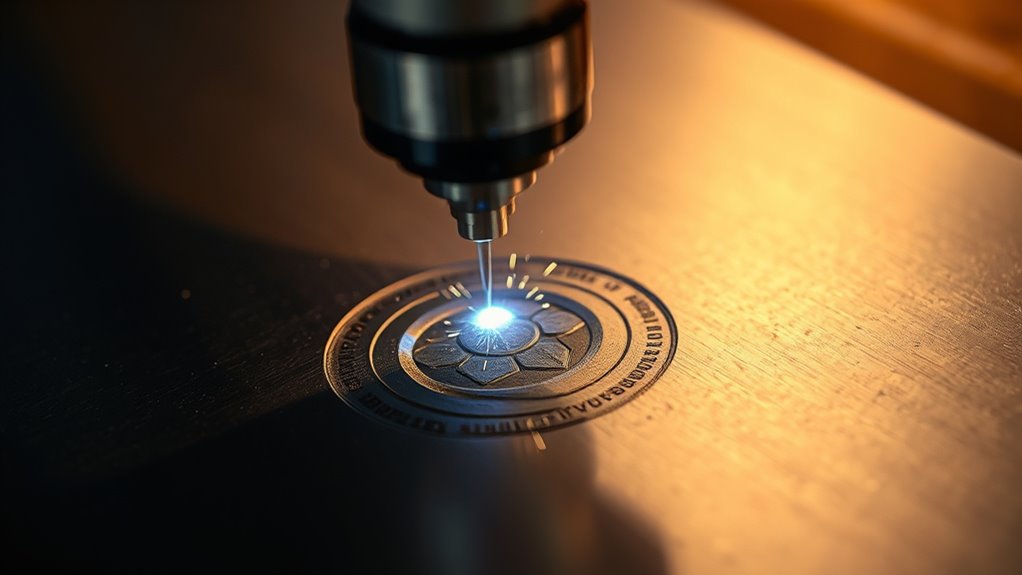
Before starting your laser engraving project, it’s important to properly prepare your materials and surface. First, clean or smooth the materials to guarantee consistent engraving quality and prevent surface imperfections. For delicate surfaces like leather, use masking tape to protect against smoke stains and surface damage. Be sure to adjust your laser’s power and speed settings when applying masking tape so it doesn’t interfere with the laser’s performance. Select preset parameters tailored for your specific materials and thicknesses, and save these settings with descriptive names for easy future use. Always conduct test engravings on scrap pieces or small sections to verify your settings and achieve the desired results before working on the main piece. Proper preparation ensures a clean, precise laser engraving.
Utilizing Layers for Design Control
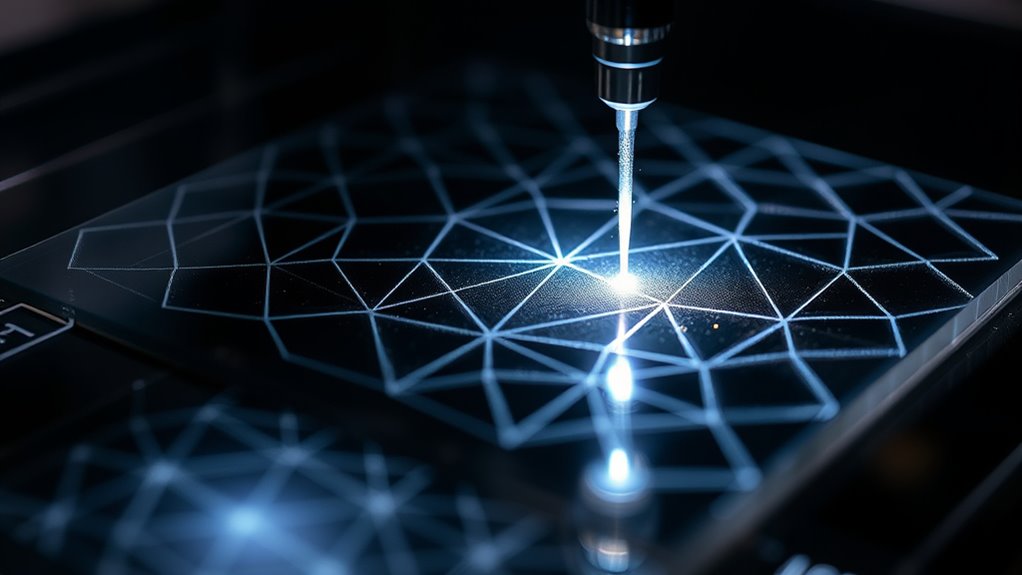
Have you ever struggled to manage complex designs during laser engraving? Using layers in graphic software helps you stay organized by separating different design elements, like outlines, fills, and engraving lines. Layers allow you to toggle visibility, so you can focus on specific parts of your design without distraction. Assigning distinct settings—such as power, speed, or frequency—to each layer ensures precise control over the engraving or cutting process, without affecting the entire design. Proper layer management prevents mistakes like unintended cuts or engravings by isolating components. It also simplifies sequential processing, letting you engrave backgrounds first and foreground elements later. Mastering layers makes handling complex designs more efficient, accurate, and easier to adjust, giving you full control over your laser engraving projects. Layer organization helps streamline the workflow and enhances overall project precision. Additionally, understanding material properties enables you to optimize settings for different substrates, improving the quality of your results. Being aware of environmental considerations can also help you maintain safety and sustainability during your projects. For example, knowing how laser technology interacts with various materials allows you to refine your process further. Incorporating residency requirements knowledge can assist in planning your project timeline effectively to meet deadlines.
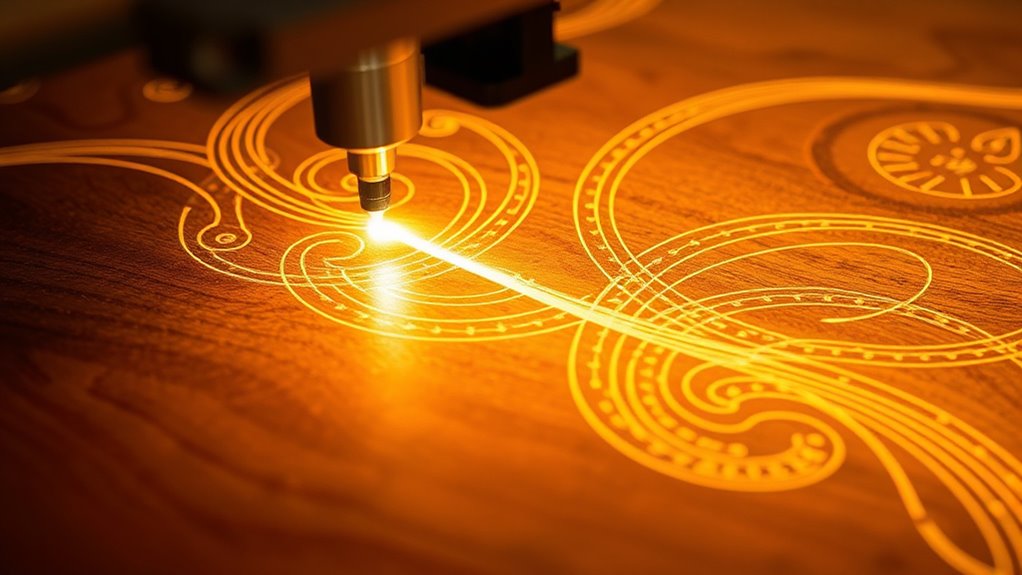
Understanding Wood Grain Effects and Engraving Techniques
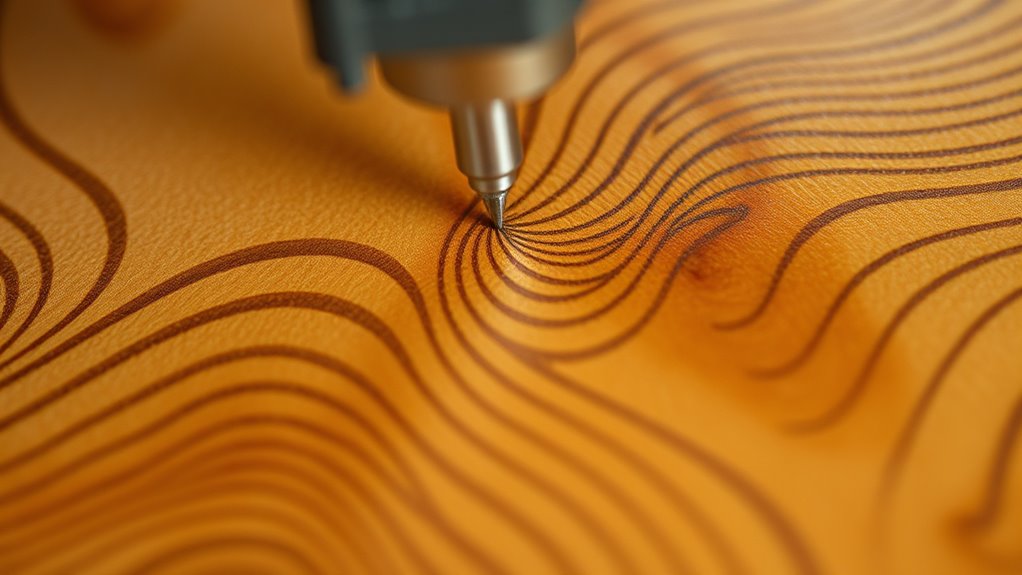
Understanding how wood grain affects engraving results is key to achieving consistent and attractive designs. The natural zebra-like patterns created by grain variability make each piece unique, demanding careful technique. Using uniform plywood with consistent top layers helps produce predictable, even engravings, unlike natural or veneered wood. The direction of the wood grain influences the depth and clarity of your engraving; parallel grain lines yield cleaner images. Be mindful of overlapping lines, as they can cause burn marks and waste material, especially when following the grain’s natural flow. To optimize results, adjust laser settings for softer or harder areas within the grain. Additionally, paying close attention to the grain pattern can help you adapt your approach for better precision and quality, especially considering the impact of AI-driven insights on optimizing engraving parameters.
Managing Overlapping Lines for Cleaner Results
Managing overlapping lines is essential for achieving clean, professional-looking laser engravings. Overlapping lines from your design can cause double cuts and burn marks, ruining the clarity of your final piece. To prevent this, draw adjacent shapes with shared sides—using three sides for one shape and four for the next—and align them precisely. Simplify complex designs by removing redundant lines and ensuring intersecting paths are cleanly joined. Use software tools like snapping and alignment features to merge or eliminate overlaps before sending your file to the laser engraver. Regularly review and edit vector files to minimize unnecessary overlaps, which reduces material waste and results in sharper, more polished engravings. Proper file management and understanding of vector graphics are key to professional, high-quality laser engraving results. Additionally, familiarity with laser engraving techniques can significantly improve your workflow and final output. Paying attention to design optimization can also help reduce errors and enhance overall clarity.
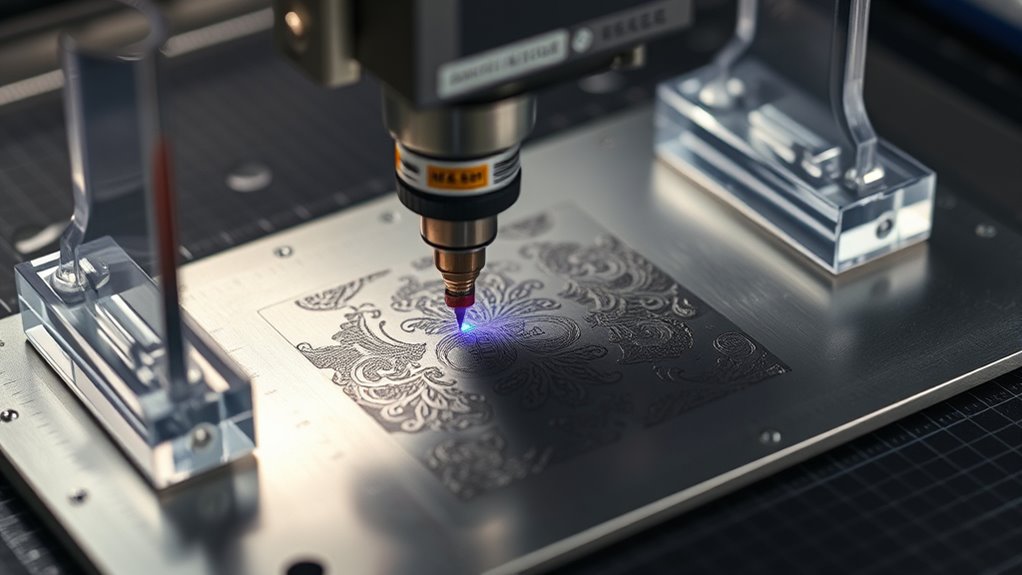
Raster vs. Vector Lines and Their Applications
When choosing between raster and vector lines, you’ll notice differences in engraving detail and speed that impact your project. Raster offers intricate shading but takes longer, while vector lines provide sharp edges and faster cuts, especially when converting designs in software like CorelDRAW. Combining both techniques can help you create complex engravings that balance detail with efficiency. Additionally, understanding the health benefits of honey can inspire you to incorporate natural elements into your designs for a unique touch, which can also influence your choice of engraving style.
Engraving Detail Levels
Laser engraving offers two primary methods for creating detailed designs: raster and vector lines. These techniques determine the engraving detail levels and influence the final look. Raster engraving involves the laser moving across the surface in a continuous pattern, ideal for shading, intricate images, and nuanced details. It’s slower but provides rich textures. Vector lines trace specific paths, making them perfect for clean outlines, simple shapes, and faster cuts. Adjusting laser settings like speed and power is essential—raster often needs slower speeds and higher power, while vector favors higher speeds for sharp edges. Converting artwork to vector formats (SVG) optimizes for clean, precise lines, whereas raster images (JPEG, PNG) allow for detailed shading. Combining both techniques creates complex, multi-dimensional engravings that highlight each method’s strengths.
Cutting Speed Differences
The choice between raster and vector lines considerably impacts cutting speed and production efficiency. In laser engraving, cutting speed varies markedly between these methods. Raster lines involve the laser moving back and forth across the material, creating detailed images with varying depths, which takes longer—typically 5-7 minutes per piece. In contrast, vector lines trace shapes or outlines directly, allowing for faster cutting or engraving times—often under 2 minutes for the same design. Raster engraving is ideal for intricate images and photo-realistic designs, but it sacrifices speed. Vector lines excel at clean outlines and simple shapes, maximizing efficiency. Your selection depends on the required detail and production goals, balancing quality with speed for optimal results. Additionally, understanding the cutting capabilities of different laser machines can help in choosing the appropriate method for specific projects. Recognizing material properties such as thickness and composition can also influence the optimal cutting approach. For example, material density affects how quickly a laser can process a surface without compromising quality.
Design Conversion Methods
Choosing between raster and vector lines is essential for optimizing your laser engraving projects. Your decision affects speed, detail, and texture. Raster lines move the laser across the surface pixel by pixel, perfect for detailed images and shading effects. Vector lines trace shapes and text outlines, allowing for quick, clean cuts and precise engravings. Adjusting focus and laser speed in your laser engravers can vary line thickness, creating textured edges or fine details. Combining raster and vector design conversion techniques enables complex, multi-dimensional engravings with depth and varied textures. Visualize a portrait with shaded backgrounds created through raster, while crisp text and outlines are achieved via vector. Mastering these methods lets you liberate your engraver’s full potential for versatile, high-quality results. Utilizing the appropriate application techniques can further enhance precision and efficiency in your projects.
Achieving Thicker Lines With Laser Defocusing
By slightly raising the material or adjusting the focus lens, you can intentionally defocus the laser beam to create thicker engraved lines. This technique causes the laser head to spread the beam, producing broader, more impactful lines. It’s especially useful for decorative effects or large surface areas, like coasters, where speed and visual impact matter. Proper adjustments guarantee consistent results without overburning or losing detail. Additionally, understanding the importance of personality traits such as patience and precision ensures high-quality engraving outcomes. Recognizing the significance of security measures in protecting your equipment and designs can further enhance the process’s reliability. Incorporating quality control practices helps maintain consistent results and reduces material waste, which is particularly important when working with soulmate angel numbers to symbolically align your design process with meaningful spiritual insights. Furthermore, being aware of AI-driven innovations in manufacturing can inspire new techniques and improve efficiency in your engraving projects.
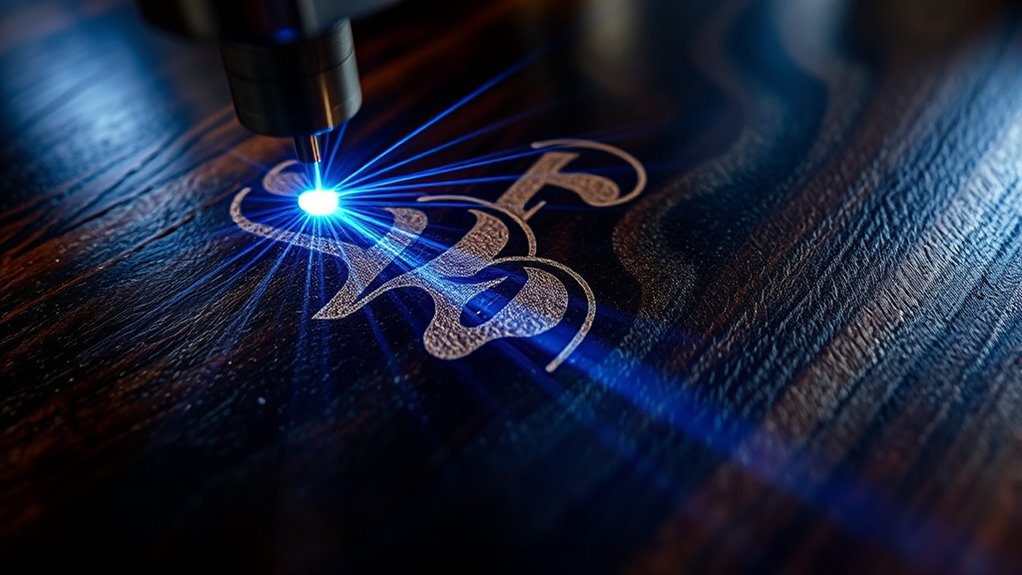
Enhancing Edges and Text With Vector Scoring
Enhancing edges and text with vector scoring involves setting your laser to deliver a low-power, high-speed burn along the design’s perimeter. This creates a sharp, defined outline that improves the contrast and clarity of your laser engraving. When you apply vector scoring, a subtle, darker border forms around the edges or lettering, making them stand out more distinctly. To achieve this effect, select the perimeter in your vector software and configure your laser to perform a precise, low-power, high-speed cut. Proper focus and consistent settings are essential for a clean, crisp result. Imagine the glowing, finely scored lines that accentuate your design, adding depth and professionalism. This technique elevates your laser engraving by emphasizing contours and improving overall visual impact. Incorporating precision techniques can also inspire creative ways to visualize and enhance your engraving process, making your projects more engaging and refined. Additionally, understanding laser settings is crucial to achieving consistent and high-quality results.
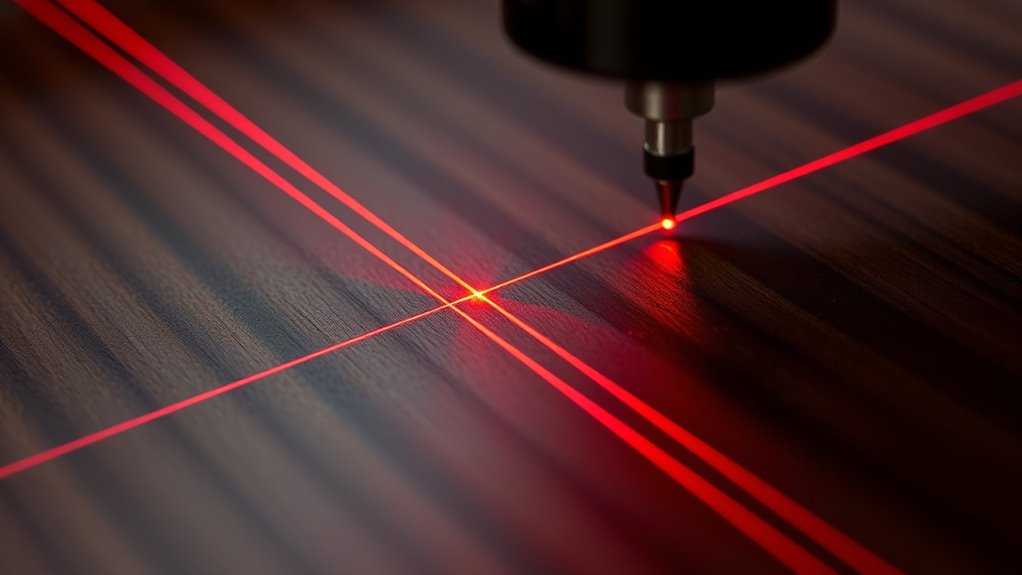
Precision Positioning Using Scrap Material and Guides
To guarantee your engraving is perfectly aligned, start by measuring and recording the exact dimensions and coordinates of your target area. Use your laser pointer with the power off to project and verify the placement on your scrap material, then mark guides that match your measurements. Conduct a test run to confirm the positioning before engraving the final piece, making adjustments as needed.
Accurate Measurement Techniques
Accurate measurement is essential for precise laser engraving, so start by carefully determining the dimensions of your target area and its distance from the origin point. This ensures proper placement of your design and maintains alignment. Use scrap material to mark guides that match your measurements, making physical reference points for alignment straightforward. Before engraving, set up design guides in your software to align your artwork precisely with these physical guides. Additionally, activate the laser pointer with the laser powered off to project a red dot onto the material, verifying the position before starting. Conduct a test run on scrap material to confirm the design’s placement, allowing you to make any necessary adjustments for perfect positioning. This process guarantees measurement accuracy and alignment consistency.
Guiding With Laser Pointer
Using a laser pointer with the laser power turned off allows you to project a red dot directly onto your material, showing exactly where the laser will engrave. This helps you achieve precise positioning by visualizing the design placement before powering up the laser. Measure the desired location from the machine’s origin point and mark the scrap material accordingly. Place the scrap on the laser bed and use guides or markings to match your measurements, ensuring alignment. Activate the laser pointer briefly to verify the projected position, adjusting guides if needed. This step minimizes errors and confirms your design is correctly positioned. Running a test engraving on a small section of scrap further guarantees accuracy before proceeding with the final engraving job.
Employing the Red Dot Pointer for Accurate Placement

Employing the red dot pointer effectively guarantees your engraving is precisely positioned from the start. Begin by turning on the laser pointer with the laser power set to zero; this prevents accidental marks. Then, adjust the pointer until the laser spot aligns with your design layout. Measure the target area and mark reference points to ensure your design matches your intended placement. Activate the red dot pointer and observe where the laser spot lands on the material. If needed, shift the machine to fine-tune the position for perfect accuracy. Always confirm your placement with test runs on scrap material before engraving the final piece. Using the red dot pointer ensures your design is accurately located, saving time and reducing errors in your laser engraving process.
Frequently Asked Questions
How Is Laser Engraving Done?
You start by choosing your material and preparing it, ensuring it’s clean and secure. Then, you use computer software to design your pattern or image, which guides the laser‘s movement. When you activate the laser, it precisely vaporizes or melts the surface based on your settings for power, speed, and focus. This process creates detailed, engraved designs with clean edges and textures, all controlled for accuracy.
Is Laser Engraving a Profitable Business?
You’re likely wondering if laser engraving is profitable. The answer is yes, because it offers high profit margins thanks to low material costs and scalable production. Plus, the booming market and demand for customized, personalized products boost your revenue potential. With a modest initial investment and the ability to diversify services like design and bulk orders, you can build a successful, lucrative business in laser engraving.
What Do You Need to Start Laser Engraving?
To start laser engraving, you need a compatible laser machine like a diode or CO2 model suited to your projects. You’ll also require design software such as LightBurn or CorelDRAW to create your artwork. Select materials like wood, metal, or leather that absorb laser energy well. Prepare surfaces properly, and learn to adjust laser settings like power, speed, and focus to produce high-quality engravings.
What Are the 3 Main Parts of Laser Engraving?
Imagine a symphony where three main parts play in harmony. You’ve got the laser source, like the conductor’s baton, directing the precise beam. The motion system acts as the dancer, moving smoothly to create intricate designs. And the control system is your maestro, guiding power and speed to bring your vision to life. Together, these three parts orchestrate a flawless engraving performance.
Conclusion
Now that you understand the fundamentals, you’re ready to create stunning laser engravings. For example, imagine customizing a wooden keepsake with intricate text and design, perfectly aligned using guides. With practice, you’ll master techniques like layering and vector scoring to produce professional results. Keep experimenting with different materials and settings, and soon you’ll turn your ideas into high-quality, personalized art. The laser’s potential is only limited by your creativity—so get engraving!