
To create a distressed look on new wood, start by selecting durable or visually striking woods like oak, maple, or hickory. Use techniques like wire brushing, scraping, and circular motions to add texture and simulate weathering. Layer sanding with different grits, focus on edges and high-contact areas, then apply multiple paint or stain layers, sanding between them for authentic wear. Incorporate deeper scratches or color shifts, and consider surface treatments like waxing or controlled cracking. If you keep exploring, you’ll discover more tips to enhance realism.
Key Takeaways
- Use physical techniques like wire brushing, sanding, and scraping to create scratches, dents, and worn textures on new wood.
- Apply layered paint or stain, then sand selectively to reveal underlying layers and simulate natural wear.
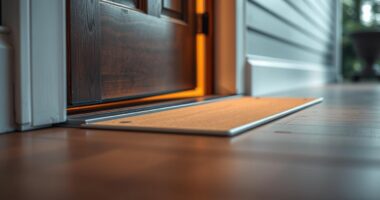
- Focus distressing on edges, high-contact areas, and raised surfaces for authentic aging effects.
- Incorporate surface treatments like wax or glaze to add depth and enhance the aged appearance.
- Simulate natural aging by exposing wood to cyclic environmental stresses or controlled light and moisture conditions.
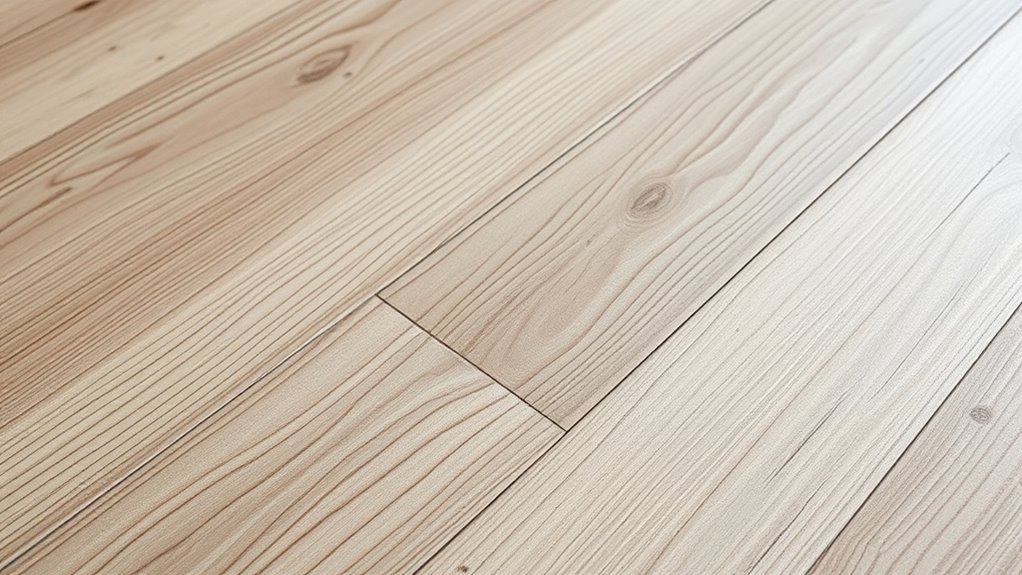
Selecting Suitable Wood for Distressed Effects
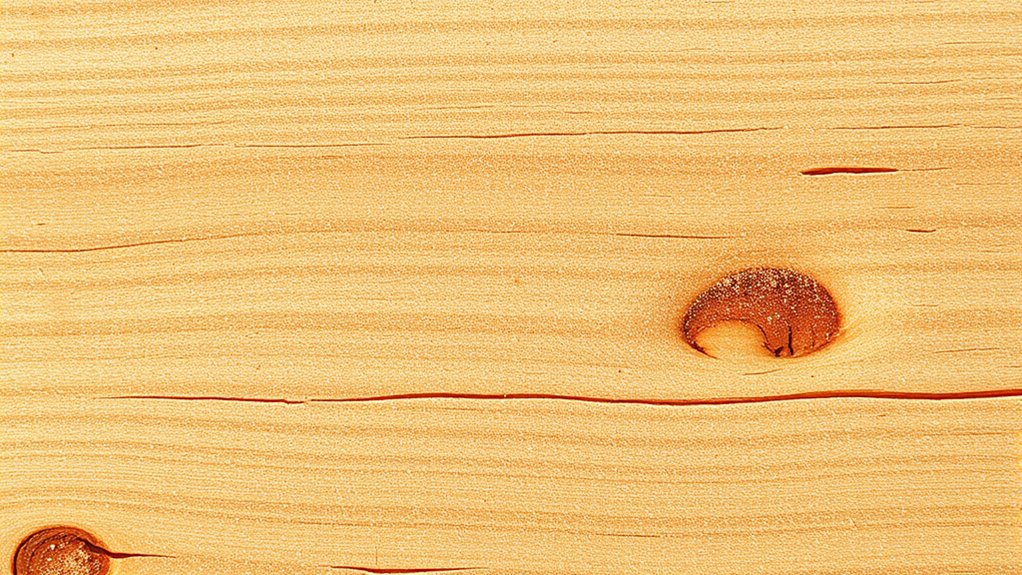
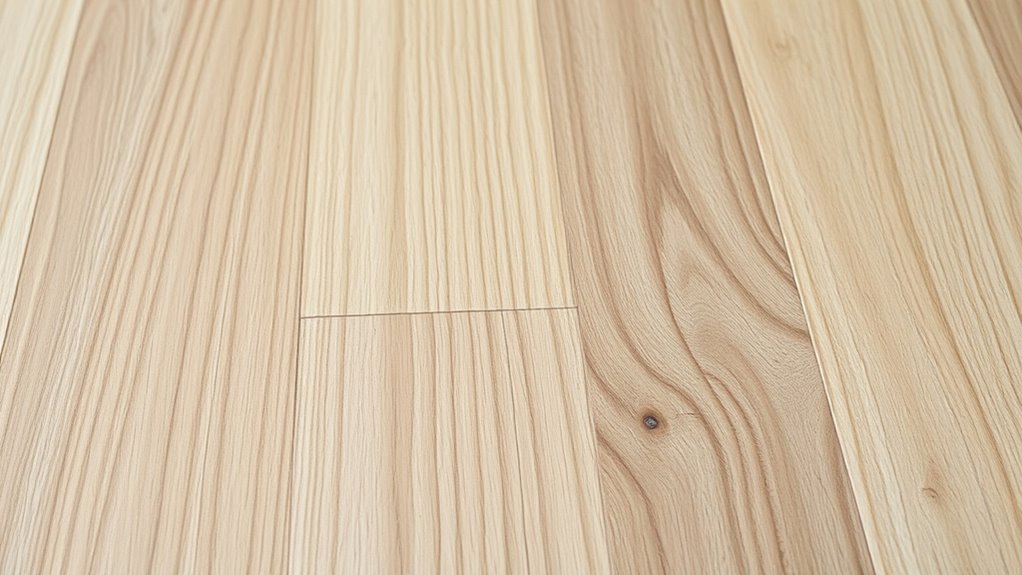
Choosing the right wood is vital when aiming for a convincing distressed look, as not all types respond well to texturing techniques. You’ll want durable woods like oak and maple because they withstand various distressing methods without losing their strength or integrity.
Woods with striking, unique grain patterns, such as hickory and wormy maple, naturally enhance the aged appearance. If budget matters, pine offers a cost-effective option, while barnwood provides an authentic weathered look but at a higher price.
Coarse-textured woods with visible imperfections, like knotty hickory, are excellent for adding character. Additionally, environmental resistance is essential—teak, for example, maintains its distressed charm over time due to its water and pest resistance.
Selecting the right type guarantees your distressed furniture looks authentic and lasts.
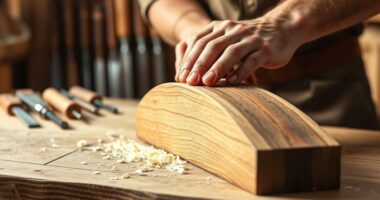
Applying Physical Texturing Techniques to Add Character
Have you ever wondered how to add authentic character to new wood? Physical texturing techniques can help you achieve a weathered, aged appearance.
Start with wire brushing to create distressed textures—run the brush along the grain or in cross-hatching patterns for visual interest. Use circular motions to add organic, weathered effects, varying pressure to control depth and intensity. Incorporating hybrid bike techniques such as adjusting tire pressure and positioning can inspire innovative approaches to surface treatment, encouraging experimentation with different textures and finishes. Exploring surface aging methods can also inform your approach to surface wear, as understanding how materials age and degrade over time helps achieve a truly authentic distressed look. Additionally, considering bike maintenance practices can provide insights into how natural wear develops, which you can imitate in your finishing process.
Begin with wire brushing along the grain or in cross-hatching patterns to create weathered, distressed textures.
Wooden wire brushes offer a softer touch compared to metal, giving more subtle textures. Incorporate hand scrapers or rasps for fine scratches or subtle irregularities. Exploring toilet maintenance methods can also inform your approach to surface wear, as understanding how materials age and degrade over time helps achieve a truly authentic distressed look.
Combining these techniques allows you to craft layers of character, making the surface look more natural and aged. Additionally, sound vibrations can influence the perception of depth and authenticity in textured wood finishes.
Always wear protective gear and work in a safe environment to guarantee a smooth, effective process.
Utilizing Layered Sanding for Authentic Wear
To achieve authentic wear on new wood, layered sanding is essential because it mimics natural erosion over time. You’ll start with coarse grits (60-80) to remove paint or stain quickly, creating deep distressing.
Next, use medium grits (100-120) to shape moderate wear patterns along edges and corners, adding realism. Finish with fine grits (150-220) to soften harsh marks and blend distressed areas seamlessly.
Vary your pressure and use cross-hatch motions to produce irregular, natural-looking wear. Focus sanding on high-contact zones like edges and raised surfaces, and consider sanding through the topcoat to expose underlying layers for added character.
Alternating grit types between passes prevents uniformity, helping your piece achieve a layered, timeworn appearance that feels genuine and aged.
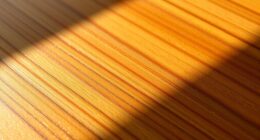
Enhancing Depth With Strategic Stain Application
Strategic stain application can considerably enhance the depth and realism of distressed wood by highlighting imperfections and creating visual layers. When you apply stain, it gathers in dents, scratches, and damaged areas, accentuating these features for a more authentic aged look. This technique mimics the natural aging process seen in floating on water, where water’s effects create layered textures and subtle variations. Different woods absorb stain variably, adding natural texture and depth. Allowing the stain to soak longer deepens the color, especially in distressed spots. Choosing stains with strong pigmentation or layering multiple stains can create complex, rich hues that add dimension. Proper moisture control and wood conditioning ensure consistent absorption and color. Using stains like Dark Walnut, Jacobean, or Red Mahogany enhances the aged effect, and understanding wood absorption helps in achieving the desired finish. Additionally, selecting the right stain application techniques can further refine the distressed look and ensure a more natural, layered appearance. Employing preparation methods such as sanding and cleaning the wood surface can also significantly improve stain adhesion and overall results. Incorporating knowledge of electric power generation can help in creating custom lighting or decorative elements that complement the distressed aesthetic.
Creating a Worn Appearance Through Paint Distressing
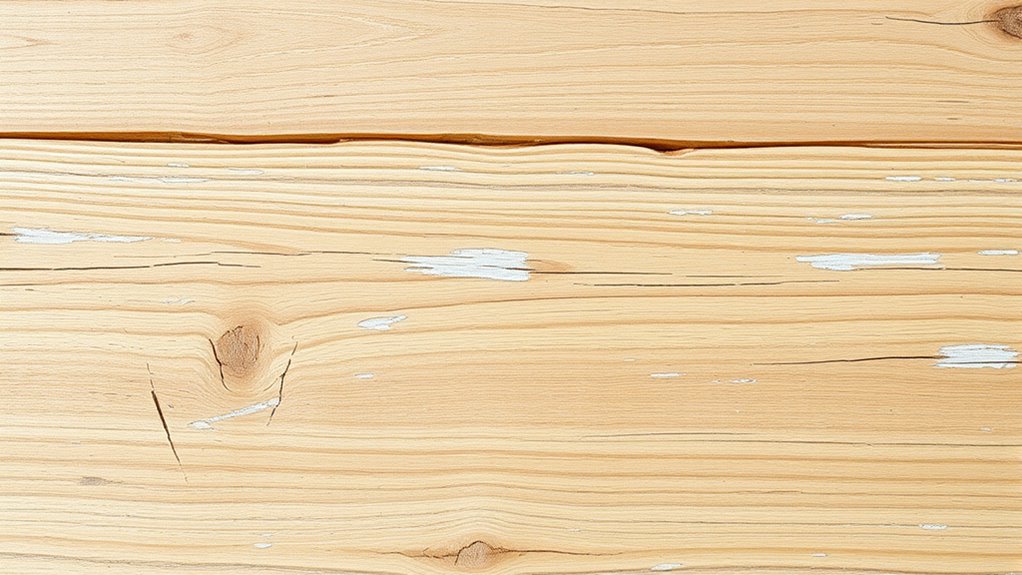
Sanding is one of the simplest and most effective ways to create a worn appearance on painted or unpainted wood. You can focus on edges and spots that typically experience bumps or scratches to mimic natural wear. Incorporating vintage decor elements during the distressing process can further enhance the aged look by adding authentic character to the surface. Applying multiple paint layers with drying time between coats, then sanding each layer, adds depth and authenticity. Hand sanding edges after painting, especially with chalk paint, reveals underlying layers or wood grain, enhancing the aged look. Using different grit sandpapers allows you to control the distressing intensity; rougher grits produce more pronounced wear marks. Combining sanding with techniques like applying candle wax before painting creates natural chipped or worn spots. Understanding paint layering techniques can help you achieve a more realistic and durable distressed finish. Being aware of currency fluctuations can also inform you about timing your purchases or sales of materials for your project, ensuring cost-effectiveness. Additionally, employing a distressing toolkit with various tools can help achieve different textures and patterns, making your piece uniquely aged. Exploring emotional connection to your work can deepen your appreciation for the craftsmanship involved, resulting in a more satisfying finish. This approach lets you craft a convincingly aged surface, giving your project a charming, vintage feel.
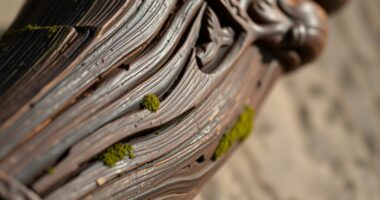
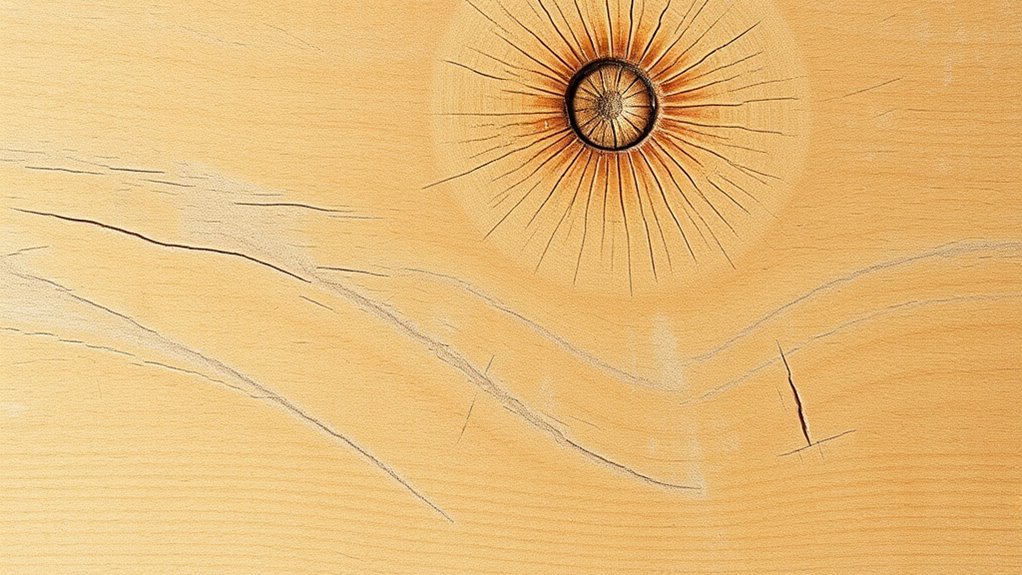
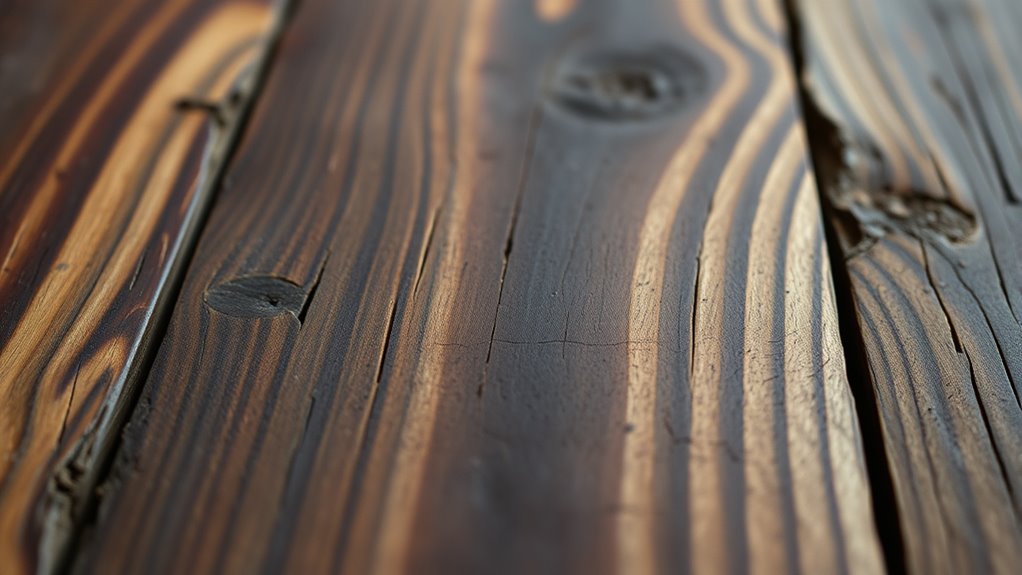
Incorporating Advanced Aging Methods for Realism
Incorporating advanced aging methods enhances the realism of your distressed wood projects by simulating natural weathering processes more accurately. You can accelerate aging using controlled heat, humidity, oxygen, and UV exposure, often cycling between dry heat and condensation at around 50-55°C. This process can also benefit from insights gained through data privacy challenges, as managing sensitive environmental data can help refine treatment conditions. This mimics outdoor conditions, causing chemical changes like lignin degradation and physical alterations such as surface cracks and color shifts. Techniques involving UVA-340 lamps replicate sunlight and dew cycles, adding authenticity. The careful application of these methods can be guided by sound design principles to create more immersive and convincing textures. Incorporating protective coatings can further enhance the durability and appearance of aged wood surfaces, ensuring longevity and realism. Precise measurement tools like FTIR, SEM, and DSC help monitor chemical and microstructural changes, ensuring the process reflects natural aging. Additionally, understanding the effects of environmental stressors allows for better control of the aging process to achieve desired aesthetics. Moreover, implementing cyclic environmental stresses yields more realistic results than constant extreme conditions. Remember, mimicking cyclic environmental stresses yields more realistic results than constant extreme conditions.
Frequently Asked Questions
How Long Does a Distressed Finish Typically Last Before Reapplication?
You’re wondering how long a distressed finish lasts before needing reapplication. Typically, the lifespan varies based on finish type and exposure.
For indoor polyurethane, expect decades of beauty, while outdoor oil-based finishes may last 8-10 years.
Two-coat wet systems on rough wood can last up to 10 years, but environmental factors like UV and moisture affect durability.
Regular inspections help you decide when to touch up or reapply to maintain the distressed look.
Can the Techniques Be Applied to Outdoor Wood Furniture?
Yes, you can apply distressing techniques to outdoor wood furniture. First, prepare your surface by sanding and priming.
Use methods like texturing, staining, or dry brushing to achieve the desired aged look.
After distressing, protect your furniture with a weatherproof sealant to guard against the elements.
Make sure to choose durable woods and perform regular maintenance to keep the distressed finish looking great over time.
Are Specific Stains Better for Achieving an Authentic Aged Look?
Think of choosing stains like selecting paints for a masterpiece—each color tells a story. For an authentic aged look, opt for weathered or grayish stains like Weathered Oak or Classic Gray; they mimic natural wear.
Layer different shades, starting light and building depth. Your goal is to create a weathered tapestry, so select stains that highlight grain and imperfections, making your wood look like it’s weathered through time.
What Safety Precautions Should Be Taken During Physical Texturing?
When you’re doing physical texturing, you need to prioritize safety. Always wear PPE like safety goggles, gloves, and dust masks to protect against debris, splinters, and dust inhalation.
Keep your workspace organized and tools in good condition to prevent accidents. Carve away from your body, maintain a stable stance, and use tools correctly.
Take regular breaks to avoid fatigue, and supervise inexperienced helpers to make certain everyone stays safe.
How Do I Prevent Over-Distressing That Looks Unnatural?
Picture your project like a weathered, well-loved treasure chest—each scratch and worn edge tells a story. To prevent over-distressing, build layers gradually, like peeling back paint slowly. Focus on natural high-contact spots, avoiding uniform wear everywhere.
Use multiple techniques—sanding, dings, paint removal—in moderation. Step back often, like inspecting a landscape, to make certain the look stays authentic and balanced, avoiding harsh, unnatural damage.
Conclusion
Now that you’ve explored each step, think of your project as a journey through time, each technique a brushstroke of history on your wood. With patience and a keen eye, you’ll craft a piece that feels truly aged and full of character. Embrace the process like tuning a fine instrument—every detail adds depth and authenticity. Before long, your distressed wood will tell a story that’s rich, warm, and undeniably yours.