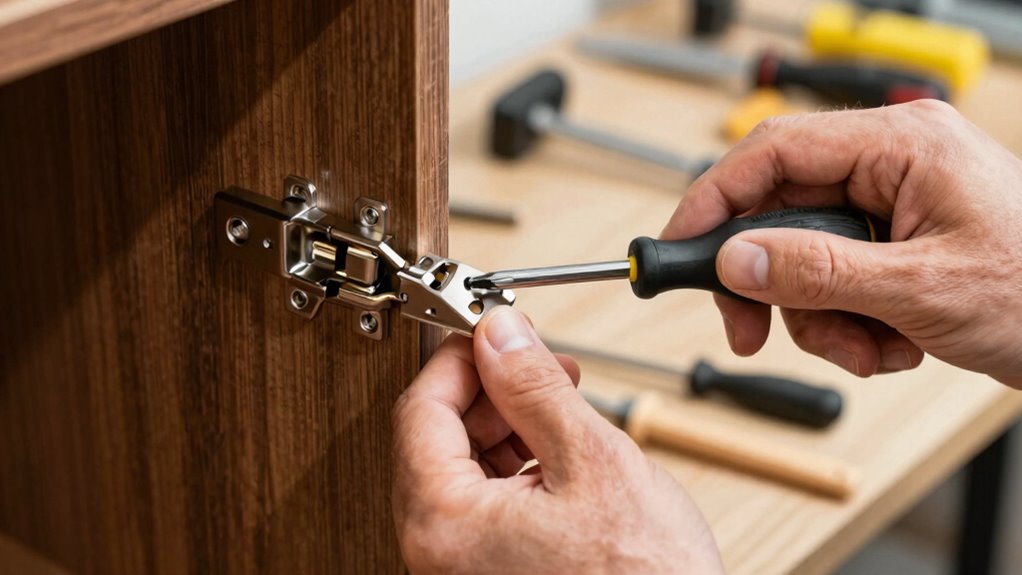

To master hinge adjustments for perfect cabinet doors, you need to understand the different hinge types and locate the adjustment screws. Use a screwdriver or hex key to tweak side-to-side, vertical, and depth screws gradually, checking the alignment after each turn. Patience and small adjustments lead to professional results that last. If you keep at it, you’ll discover effective tips to refine your skills and achieve stunning, functional cabinets.

Get business pricing on tools and workshop supplies
- Business-only prices and quantity discounts
- Tax-exempt purchasing
- Multiple users, one account, clear invoices
Key Takeaways
- Identify hinge types to determine the appropriate adjustment tools and techniques.
- Locate and understand adjustment screws on hinges for effective door alignment.
- Make small, incremental turns to adjust horizontal, vertical, and depth positioning.
- Use a level and check door gaps frequently for precise, even alignment.
- Practice patience and routine maintenance to ensure long-lasting, well-aligned cabinets.
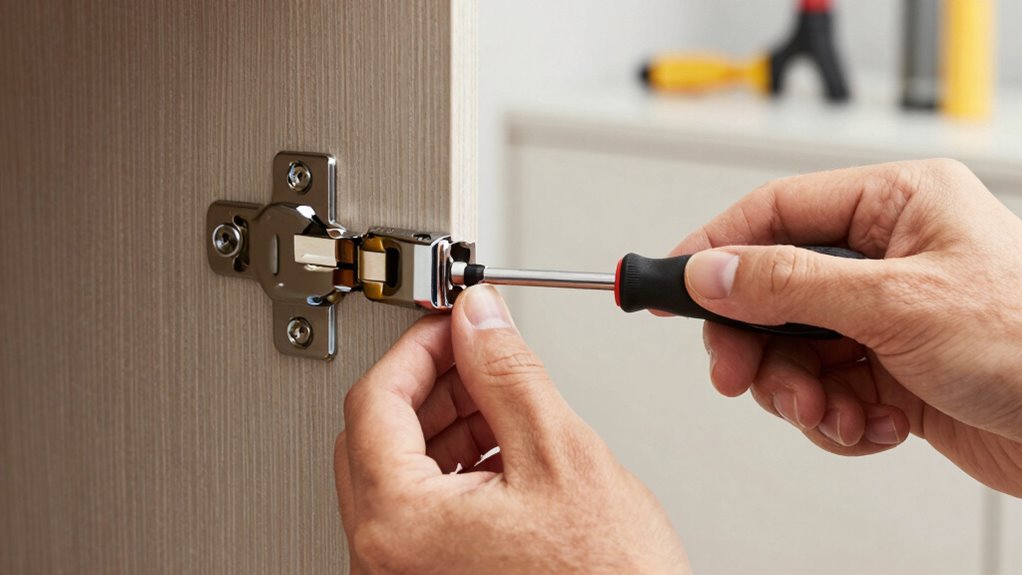
If your cabinet doors aren’t closing properly or appear uneven, adjusting the hinges can often fix the problem quickly. Before you dive in, it’s helpful to understand the different cabinet hinge types you might encounter. The most common are overlay, inset, and European hinges. Overlay hinges allow the doors to cover the cabinet frame, inset hinges fit inside the frame for a flush look, and European hinges, also known as cup hinges, are adjustable and hidden when the door is closed. Recognizing these types helps you know what adjustment tools you’ll need and how to approach the process.
Understanding hinge types is key to easy, effective cabinet door adjustments.
When you’re ready to adjust, the first step is gathering the right adjustment tools. Most hinges come with built-in adjustment screws, which can be turned with a Phillips or flat-head screwdriver. Some high-end hinges may require Allen wrenches or hex keys. Having a small level on hand also helps ensure your doors are perfectly aligned. Understanding hinge types helps you know what tools and adjustments to use for each situation. With the appropriate tools, you can make precise adjustments to improve your cabinet’s appearance and functionality. Additionally, being familiar with cabinet hinge mechanisms can help you troubleshoot common issues more effectively. Knowing how these mechanisms work allows for smoother adjustments and better long-term results.
To start, open the cabinet door and locate the adjustment screws. These are typically on the hinge plate attached to the cabinet or on the hinge arm itself. If your door is misaligned horizontally, you’ll want to turn the screw that adjusts the door side to side. Usually, turning this screw clockwise moves the door inward, while turning it counterclockwise pushes it outward. For vertical alignment, look for a screw that raises or lowers the door. Turning it clockwise will lift the door, and counterclockwise will lower it. Properly understanding hinge adjustment techniques can make the process more efficient and prevent over-tightening or damaging the hinges. If the door’s gap isn’t even at the top and bottom, these screws are your go-to tools for quick corrections.
In addition to the side-to-side and up-and-down adjustments, some hinges also allow for depth adjustment. This is crucial if your door is sticking or not closing flush against the cabinet frame. Using the adjustment screw for depth, you can push the door slightly inward or outward to achieve the perfect fit. Remember, small turns make a big difference, so adjust gradually and check your work frequently. After each tweak, gently close the door to see if it aligns correctly. Repeat the process until you’re satisfied with the fit.
Mastering hinge adjustments not only improves the look of your cabinets but also extends their lifespan. With a good understanding of your hinge types and the right tools, you’ll find that small tweaks can make a huge difference. Practice patience, take your time, and soon, cabinet adjustments will become a simple, satisfying part of your DIY skills. Being aware of proper maintenance techniques can also help keep your cabinets looking great for years to come.
As an affiliate, we earn on qualifying purchases.
Frequently Asked Questions
What Tools Are Best for Hinge Adjustments?
You’ll want a Phillips or flat-head screwdriver for hinge adjustments, as they’re essential for tightening or loosening screws. A small Allen wrench is useful if your hinges have hex screws. Keep some hinge lubrication on hand to guarantee smooth movement, and if hinges are too damaged, hinge replacement might be necessary. With these tools, you can easily fine-tune your cabinet doors for perfect alignment and operation.
How Often Should Hinges Be Adjusted During Use?
Did you know that most hinges need adjustment every 6 to 12 months? You should check and adjust your hinges regularly, especially if you notice misalignment or difficulty closing doors. During use, hinge lubrication can extend adjustment intervals, but frequent adjustments may indicate underlying issues. Keep an eye on how your cabinet doors perform, and don’t hesitate to tweak hinges as needed to maintain smooth operation and prevent wear.
Can Hinge Adjustments Fix Door Sagging?
Yes, hinge adjustments can fix door sagging. When you notice a sag, start by checking hinge alignment and ensuring the cabinet clearance is even. Adjust the hinges to realign the door properly, which will lift or lower it as needed. Proper hinge alignment and consistent cabinet clearance are key to preventing and fixing sagging, allowing your cabinet doors to function smoothly and look perfectly aligned.
Are There Different Hinge Types Requiring Unique Adjustments?
You bet there are different hinge types, each needing unique adjustments. For example, concealed hinges, ball-bearing hinges, and European hinges all vary in hinge material and installation methods. You have to know which hinges you’re working with to make proper adjustments without causing damage. Think of it as matching the right key to the lock—you’ll get smoother operation and longer-lasting cabinets if you understand each hinge’s quirks.
How Do I Prevent Hinges From Loosening Over Time?
To prevent hinges from loosening over time, regularly check and tighten the screws as needed. Applying hinge lubrication can reduce wear and tear, keeping the hinges smooth and secure. If hinges become too loose or damaged, consider hinge replacement to restore stability. Routine maintenance like lubrication and tightening guarantees your cabinet doors stay aligned and functional, preventing the need for frequent adjustments and prolonging the lifespan of your hinges.
Conclusion
Now that you’ve mastered hinge adjustments, imagine your cabinets gleaming perfectly, their doors closing with a satisfying click, like a whisper of precision. Every tweak and turn brings you closer to a flawless finish, transforming your space into a reflection of your craftsmanship. Feel the pride swell as your handiwork stands tall and proud, a proof to your skill. With each door aligned just right, you create a harmony that turns your DIY project into a lasting masterpiece.
Fall Picks
fall essentials
As an affiliate, we earn on qualifying purchases.