
To carve feather detail on wooden bird figures, start by studying bird anatomy and natural feather patterns for guidance. Use fine gouges, veiners, or micro chisels to make controlled, light cuts following the natural flow of feathers. Carve broader lines initially, then add finer lines for texture and depth, gradually layering for realism. Keep your tools sharp and focus on subtle, soft edges to create a lifelike appearance. Continue exploring these techniques to bring your bird figures to life.
Key Takeaways
- Study bird feather patterns and directions to accurately replicate natural layering and flow.
- Use fine, sharp carving tools like micro chisels and gouges for detailed feather textures.
- Begin with light, broad strokes to establish the overall pattern, then add fine lines for detail.
- Carve deeper lines selectively to create shadows, depth, and realistic feather separation.
- Regularly assess your work from different angles and refine details for lifelike realism.

Carving feather details on wooden birds transforms a simple sculpture into a lifelike masterpiece. To achieve this, you need to understand bird anatomy, especially how feathers are layered and structured. Knowing how feathers lie on a bird’s body helps you carve more realistic details that mimic nature. Observe reference images or actual birds to get a sense of feather patterns, sizes, and directions. This knowledge guides your hand when shaping each feather, ensuring your sculpture captures the bird’s true essence.
Start by selecting the right carving tools for the job. Fine gouges, veiners, and micro chisels are essential for detailing feathers. These tools allow you to carve delicate lines and subtle textures that bring your wooden bird to life. Always keep your tools sharp; dull tools can cause uneven cuts and damage your work. A sharp blade or chisel will give you greater control and precision, making it easier to create the fine lines and intricate patterns that resemble real feathers.
Use sharp, precise tools like gouges and chisels for detailed feather carving.
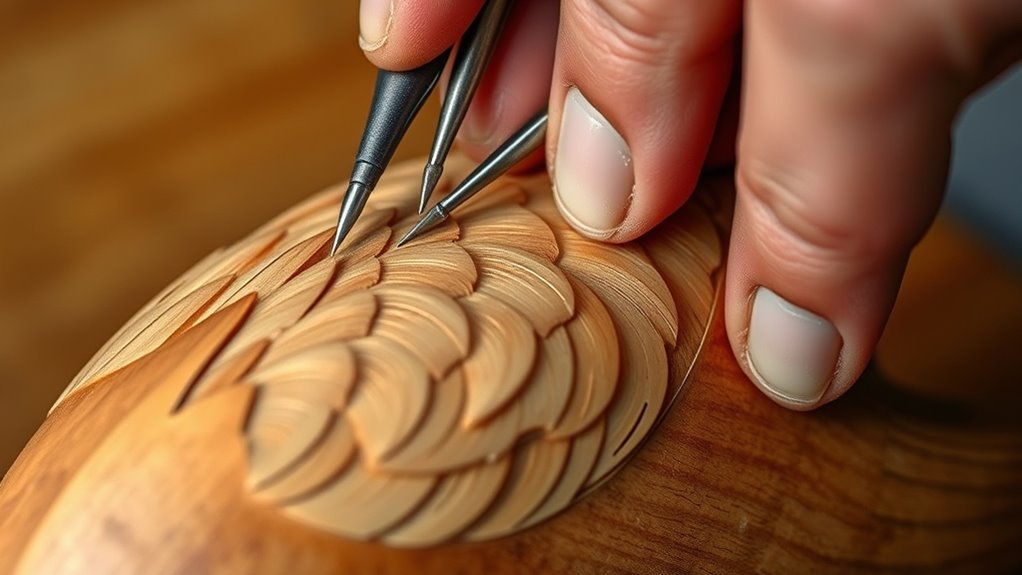
When you’re ready to carve, begin with light, controlled cuts along the areas where you want to add feathers. Use your carving tools to etch gentle lines that follow the natural flow of the bird’s plumage. Start with broader strokes to establish the basic feather pattern, then gradually add finer lines for detail. Remember, feathers are layered, so carve some lines deeper to suggest shadows and depth, while lighter lines can indicate the softer edges of individual feathers. Pay attention to the direction of your cuts, following the contours of the bird’s body, and avoid over-carving—less is often more when it comes to feather details.
As you work, constantly step back and examine your progress from different angles. This helps you see if the feather patterns look natural and consistent with the bird’s anatomy. Use a fine-tipped tool or a pin to add tiny, precise details for the most delicate feathers, especially around the head and wings. Layering these details carefully will give your wooden bird a textured, realistic appearance. Take your time, and don’t rush the process—carving feather details demands patience and a steady hand.
Additionally, studying bird anatomy can provide insights into how feathers are distributed and layered, helping you achieve more accurate and lifelike carvings. Finally, once you’ve finished carving, smooth out any rough edges with fine sandpaper or a small file, being careful not to lose your detailed lines. Seal and finish your sculpture to protect the carved feathers and enhance the realistic look. With practice, your ability to carve feather details will improve, transforming your wooden birds into stunning, natural-looking works of art that truly capture the beauty of bird anatomy.
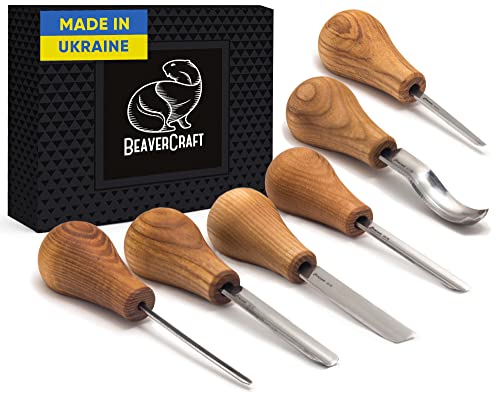
BeaverCraft Wood Carving Gouges Kit SC05 – Wood Carving Chisels Set with Palm Gouge & Flat Straight Chisel, Rounded Short Bent, V-chisels – Whittling Knives, Tools for Beginners and Profi Carvers
- Ergonomic Ashwood Handles: Lightweight, comfortable for extended use
- Palm Carving Tools Only: Designed for hand carving, not for mallet use
- Made in Ukraine: Ensures high-quality craftsmanship worldwide
As an affiliate, we earn on qualifying purchases.
As an affiliate, we earn on qualifying purchases.
Frequently Asked Questions
What Tools Are Best for Detailed Feather Carving?
When aiming for detailed feather carving, you want the right tools to enhance your carving techniques and achieve feather accuracy. Use fine-point gouges and small chisels for precision, along with detail knives for intricate lines. Micro-carbide rotary tools can also help refine feather textures. These tools give you control, allowing you to create realistic feather patterns and depth, making your wooden bird figures look lifelike and beautifully detailed.
How Do I Prevent Wood From Splintering During Carving?
To prevent wood from splintering during carving, you need to understand your wood grain and carve with it, not against it. Always use sharp tools for better control, which enhances carving safety. Make shallow cuts first, gradually deepening to avoid tearing the wood fibers. Support your work securely, and take your time. Proper technique and attention to grain direction help make sure clean, splinter-free feather details on your wooden bird figures.
Can Feather Details Be Added After the Bird Is Assembled?
You can add feather accents after assembling your wooden bird by using feather attachment techniques like glue or small nails for secure placement. It’s best to carve or shape the feather details before assembly, but if needed, you can carefully add fine feather details afterward. Just make certain the surface is smooth, and use a strong adhesive to prevent the feathers from falling off during handling or display.
What Types of Wood Are Ideal for Feather Carving?
When choosing wood for feather carving, you want a wood with a fine, straight grain that responds well to detailed carving techniques. Hardwoods like basswood, cherry, or maple are ideal because they allow precise work without splintering. These woods hold intricate feather details well, making your carving process smoother. Avoid soft or knotty woods, as they can be difficult to carve cleanly and ruin the fine details you’re aiming to achieve.
How Do I Achieve Realistic Feather Textures and Patterns?
You can achieve realistic feather textures by mastering feather pattern techniques like fine line carving and layered cuts. Use shallow, precise incisions to mimic the natural flow of feathers, and vary your carving depth for depth and shadow. For realistic texture tips, incorporate subtle variations in your patterns, and consider using a fine detail tool for intricate lines. Practice these methods consistently to make your wooden bird figures look more lifelike and detailed.
Conclusion
As you finish carving, remember that each feather is a tiny story, a whisper of nature’s grace. Your hands become the wind, guiding the delicate lines that bring life to your wooden bird. With every stroke, you weave a symbol of freedom and flight, turning raw wood into a vessel of dreams. Let your work be a gentle reminder that beauty lies in the details, and within each feather, the spirit of the bird soars anew.