Transform scrap wood into Instagram-worthy wall art in just one afternoon by selecting weathered or smooth pieces, then sketching simple geometric or intricate designs. Sand and clean the wood before arranging your pieces into a pattern, using glue or nails for assembly. Finish with paint, stain, or sealant to match your style. Add hanging hardware, then showcase your unique creation. For tips on sourcing materials and perfecting your design, keep exploring.
Key Takeaways
- Collect and clean weathered or smooth scrap wood, sanding for safety and aesthetic appeal.
- Design simple geometric or intricate patterns, marking measurements accurately on the wood.
- Arrange pieces in your chosen layout, then secure with glue, nails, or screws for stability.
- Finish with paint, stain, or sealant to match your decor style and enhance visual interest.
- Attach hanging hardware and display your unique wall art in a prominent spot for instant style.
Turning scrap wood into wall art is a creative way to give new life to leftover materials while adding a personalized touch to your space. Whether you’re a seasoned DIYer or just starting out, transforming scrap wood into eye-catching decor is achievable in an afternoon. The key lies in mastering some simple DIY techniques and sourcing materials thoughtfully. You don’t need fancy tools or expensive supplies—just a bit of creativity and resourcefulness.
Transform scrap wood into personalized, eco-friendly wall art with simple DIY techniques and creative sourcing.
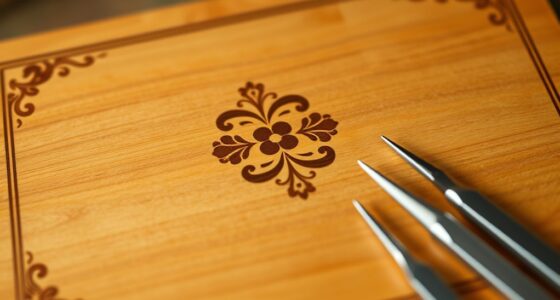
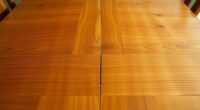
First, you’ll want to gather your scrap wood. Look around your garage, basement, or local hardware store for leftover planks, pallets, or discarded wood pieces. Sourcing materials is often the most overlooked step, but it’s vital to keep costs low and make your project sustainable. Check for weathered, rustic pieces that add character or smooth, sanded boards if you prefer a cleaner look. Once you’ve collected enough, clean and sand the wood to remove splinters and rough edges. This step guarantees safety and gives your project a polished finish. Ensuring proper color accuracy in your stain or paint will enhance the visual appeal of your finished piece.
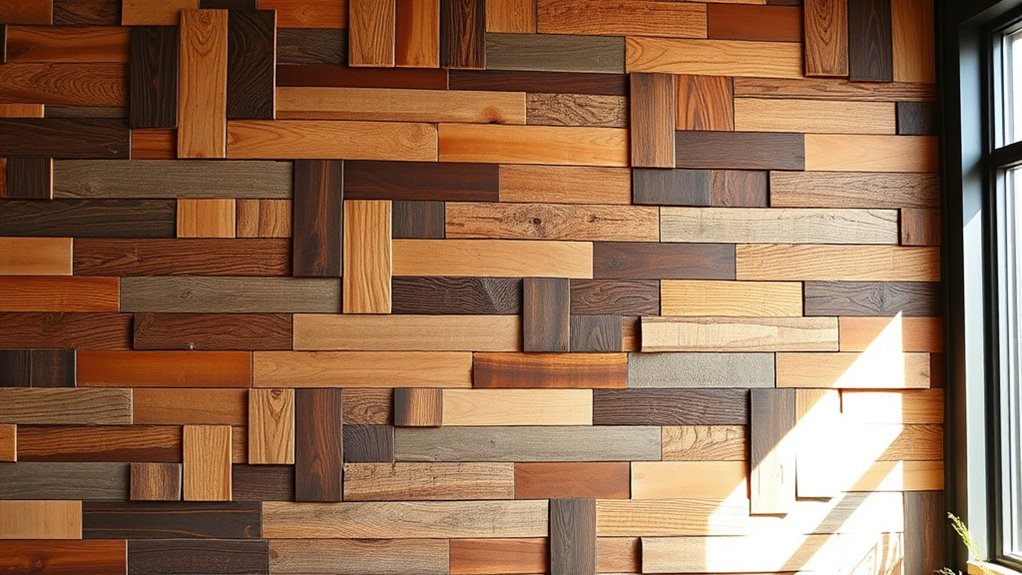
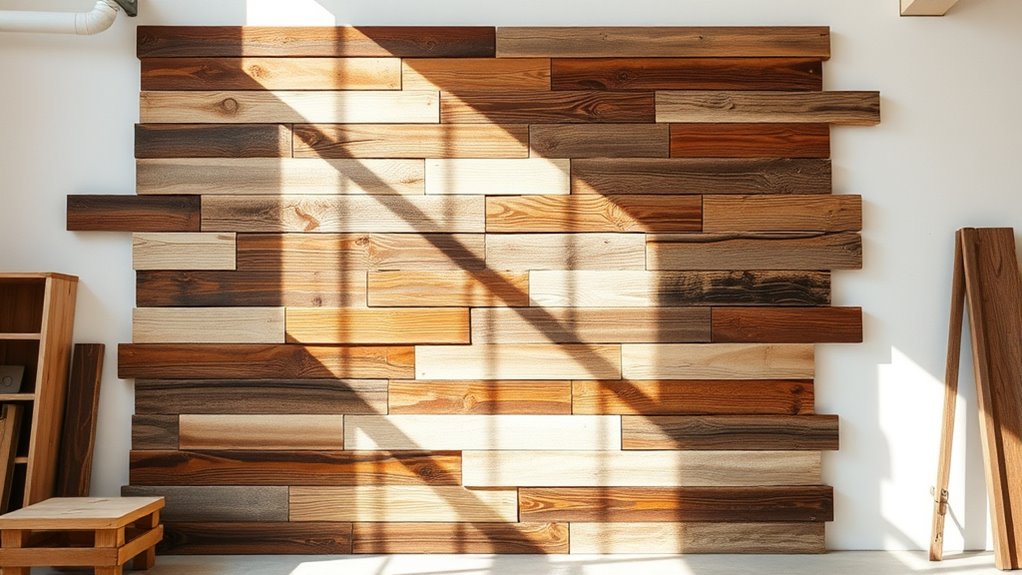
Next, consider your design. Simple geometric shapes like triangles, squares, or chevrons work well for creating modern wall art. You can also go for more intricate patterns, but keep in mind that the complexity may require more time and skills. Sketch your design on paper first or directly onto the wood with light pencil marks. Using a measuring tape and a square guarantees your lines are straight and proportional. For added visual interest, you might cut the wood into different lengths or angles, then arrange these pieces into a cohesive pattern before attaching.
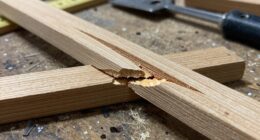
When it’s time to assemble, use basic DIY techniques like glue and nails or screws, depending on the thickness and weight of your pieces. A hot glue gun is quick and effective for smaller or lighter parts, while a drill and screws provide extra stability for larger pieces. Play around with arrangements before committing to the final layout; this step helps you visualize the finished piece and make adjustments.
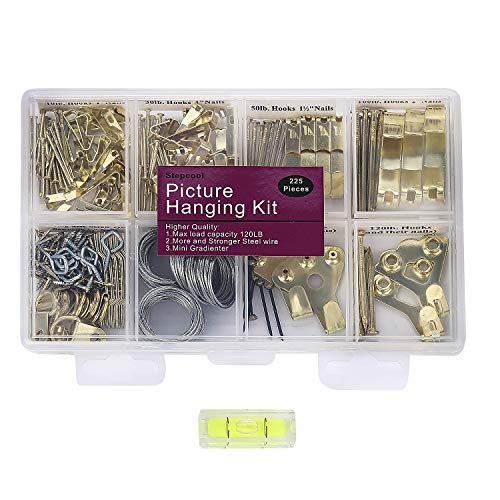
Finally, finish your wall art with paint, stain, or a clear sealant to match your decor style. Painting allows for bold colors or geometric accents, while staining can enhance the wood’s natural beauty. Once dry, attach hanging hardware on the back—D-rings or sawtooth hangers work well—and find the perfect spot on your wall. With just a few hours, you’ll have a stunning, Instagram-worthy piece that showcases your DIY skills and creativity. Turning scrap wood into wall art isn’t just satisfying; it’s a fantastic way to elevate your space with personalized, eco-friendly decor.

Cor cordium Wood Whittling Kit with Basswood Blocks Sets for Adults and Beginners,Carving Set Includes 3pcs Widdling Knife & 8pcs Blocks & Gloves,Gifts for Christmas,Fathers Day,Mothers Day
【Knife with Wood】Our whittling kits include 3 kinds of whittling knives, 8 basswood woodblocks, and cutting gloves, which…
As an affiliate, we earn on qualifying purchases.
As an affiliate, we earn on qualifying purchases.
Frequently Asked Questions
What Tools Are Essential for This Project?
To create stunning wall art from scrap wood, you’ll need essential tools like power tools—such as a saw, drill, and sander—for precise cuts and finishes. Make sure to wear safety gear like goggles, gloves, and a dust mask to protect yourself during the project. These tools and safety precautions make the process easier and safer, helping you craft beautiful, Instagram-worthy art from your scrap wood in just one afternoon.
How Do I Select the Best Scrap Wood?
When choosing scrap wood, focus on wood selection that suits your design and durability needs. Look for pieces with interesting grains, textures, and colors to add character. Avoid warped or rotted wood, as it can be difficult to work with. Pick scraps that are clean and free of nails or staples. By carefully selecting your scrap wood, you’ll create a stunning, one-of-a-kind wall art piece with ease.
Can I Customize the Design Easily?
Think of your wall art as a blank canvas—design flexibility and material variety let you create exactly what you envision. You can easily customize your piece by choosing different shapes, colors, and patterns, adapting to your space and style. For example, I once added personal touches with painted accents, and it turned out uniquely mine. With scrap wood, you have the freedom to experiment, making your art truly one-of-a-kind.
How Long Does the Entire Process Take?
You’ll find that creating your wall art takes about a few hours, depending on your design complexity. The process involves selecting scrap wood, which offers great recycling options, and applying eco-friendly finishes for sustainability. To speed things up, prep your materials beforehand. This way, you can enjoy a quick, eco-conscious project that results in stunning, Instagram-worthy art, all while reducing waste and embracing eco-friendly options.
What Safety Precautions Should I Follow?
Think of your workspace as a battlefield where safety is your shield. You should always wear protective gear like goggles and gloves to guard against splinters and dust. Keep your area tidy to prevent accidents, ensuring tools are in good condition. By prioritizing workspace safety, you protect yourself from injury and make your creative journey smoother. Safety precautions aren’t just rules—they’re your armor for a successful project.
Picture Hangers, Picture Hanging Kit, 225pcs Heavy Duty Frame Hooks Hardware with Nails, Hanging Wire, Screw Eyes, D Ring and Sawtooth for Wall Mounting
【More Heavy Duty Hangers】:Our picture hangers kit contains more large load capacity hooks than others: Besides 50lb., 100lb.,…
As an affiliate, we earn on qualifying purchases.
As an affiliate, we earn on qualifying purchases.
Conclusion
Once you finish your project, it’s like turning a pile of rough, leftover wood into a stunning piece of art—proof that even scraps can become treasures. I remember transforming a dusty pallet into a vibrant wall piece that instantly became the conversation starter in my living room. Just like turning scrap wood into wall art, small efforts can create something beautiful and meaningful, reminding you that with a little creativity, you can turn everyday clutter into a masterpiece.

Water-Based Gel Stain – 6.7oz Gel Stains for Wood – Gel Wood Stain – Wood Stain for Board, Planks, Cabinet, Craft, Room & Outdoor Furniture – Smoke Gray
TIMELESS BEAUTY: Gel stains for wood are a fast-drying, high-concentration wood stain suitable for all indoor and outdoor…
As an affiliate, we earn on qualifying purchases.
As an affiliate, we earn on qualifying purchases.

ROMECH Full Size Hot Glue Gun with 60/100W Dual Power and 21 Hot Glue Sticks (7/16"), Fast Preheating Heavy Duty Industrial Gluegun with Storage Case for Crafting, DIY and Repairs (Gray)
✅[DUAL POWER OUTPUTS] RoMech hot glue guns offer dual temperature setting, feed glue at your pace. The simple…
As an affiliate, we earn on qualifying purchases.
As an affiliate, we earn on qualifying purchases.