To DIY wood aging, start by thoroughly cleaning and lightly sanding the surface to remove dirt and smooth it out. Use tools like wire brushes, jigsaws, or hammers to add texture and create scratches or dents that mimic natural wear. Apply chemical solutions like vinegar-soaked steel wool or baking soda to develop authentic color tones, then finish with sealants. For a personalized touch, experiment with household ingredients and techniques—more tips await to help you master the look.
Key Takeaways
- Prepare the wood surface by cleaning, light sanding, and sealing to ensure even aging and durability.
- Use mechanical tools like wire brushes, jigsaws, and scrapers to create natural wear, scratches, and texture.
- Apply chemical solutions such as vinegar and steel wool or natural dyes like tea and baking soda for authentic coloration.
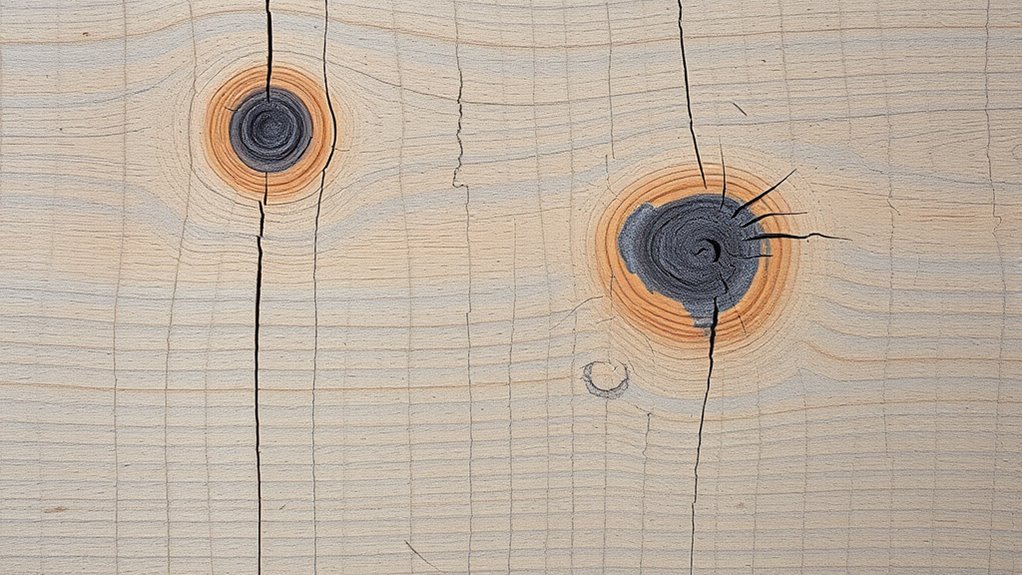
- Enhance texture and character by highlighting knots, imperfections, and edges, and layering different techniques.
- Finish with protective sealants to preserve the aged look and prevent further damage.

Oak Aging Barrel Restoration and Maintenance Kit For 1-5 Liter Mini Wooden Whiskey Barrels | For Whiskey Barrel Kits, Bourbon Barrel Kits and All Other Small Aging Barrel Products
RESTORE YOUR BARREL: Barrels used for wine or other low alcohol spirits or cocktails should be renewed after…
As an affiliate, we earn on qualifying purchases.
As an affiliate, we earn on qualifying purchases.
Preparing the Wood Surface for Aging
Before applying any aging techniques, it’s essential to properly prepare the wood surface. Begin by removing all dirt, dust, grease, and previous finishes using a mild detergent or wood cleaner. This ensures the aging treatments adhere evenly. Use a vacuum or tack cloth to clear away dust, especially in crevices and grain, which can interfere with chemical or stain absorption. If the surface is rough or uneven, lightly sand it with fine-grit sandpaper (around 220 grit) to smooth without losing character. Avoid harsh chemicals or metal brushes that could damage the fibers. Make sure the wood is completely dry before proceeding; moisture can cause uneven absorption and discoloration. Proper preparation guarantees a consistent, natural-looking aged finish, and understanding practical support can help in managing any issues during the process. Additionally, being aware of sound healing science can inspire calming, mindful practices during your project to enhance focus and patience. Paying attention to energy efficiency during your work can also create a more sustainable and mindful crafting environment. For optimal results, consider suction power and the type of finish to ensure even application and durability of your aging effects. Incorporating regional flavors and traditions can also inspire authenticity in your finished piece, especially if you aim for a regional aesthetic.
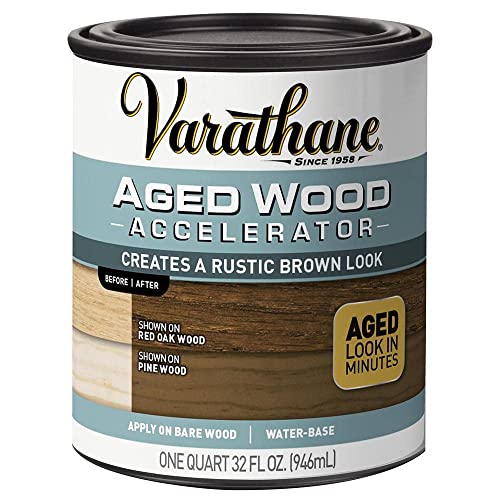
Varathane 331305 Aged Wood Accelerator, Quart, Brown
For interior use on bare or untreated wood to create an aged look
As an affiliate, we earn on qualifying purchases.
As an affiliate, we earn on qualifying purchases.
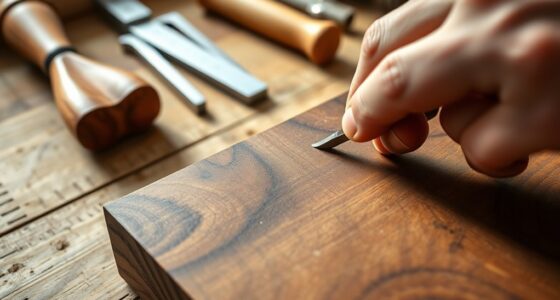
Using Physical Tools to Create Natural Wear
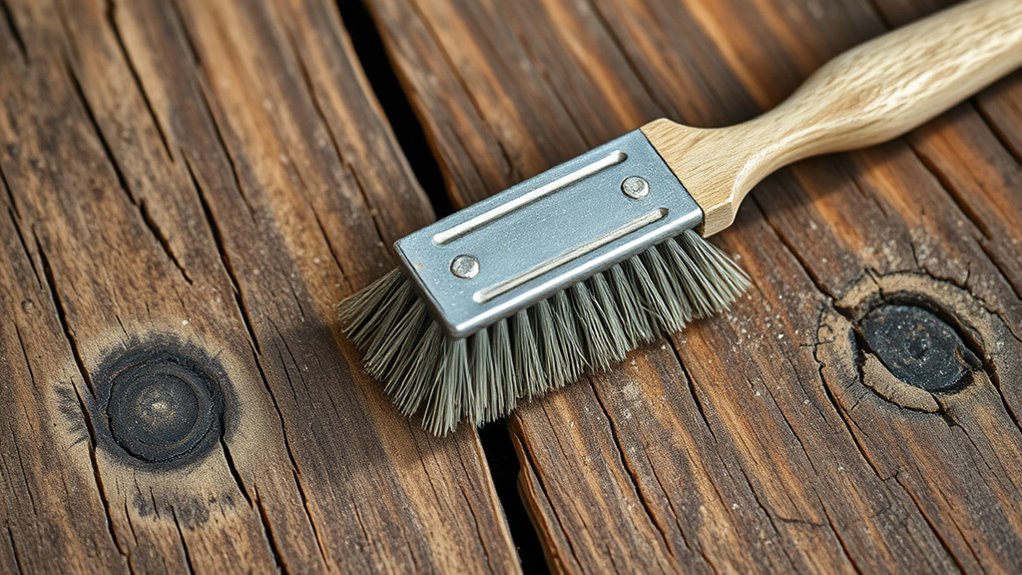
Using physical tools is an effective way to create authentic natural wear on wood surfaces. Wire brushes attached to drills can remove soft fibers, roughening the grain and adding texture. Applying varying pressure produces different levels of etching, ideal for softer woods. Consistent feedback can help refine your technique and ensure the wear looks natural. Planers and jigsaws help create irregular cuts, gouges, and scratches that mimic natural aging. Combining these with sanding smooths sharp edges and blends the wear marks, enhancing realism. Hand tools like awls, hammers, and scrapers allow precise detailing, forming dents, divots, and fine splits that replicate long-term use. Incorporating knowledge of automation in business can also assist in planning efficient workflows for your project. Understanding psychological aspects of dreaming can inspire more intuitive design choices during the aging process. Layering techniques—using multiple tools on different areas—adds depth and dimension. Additionally, understanding material properties helps select the appropriate tools and techniques for different wood types and desired effects. Employing visualization techniques can further guide your approach to achieve a convincingly aged appearance. This approach results in a layered, naturally aged appearance, making your piece look genuinely weathered without artificial effects.

YIHUA 930-IV Pyrography Wood Burning Pen Kit Adjustable Temperature, Power Switch, Heat Deflector, Rubber Grip with 10 Pyrography Tips, 2 Wood Pieces, Flip-Up Pen Stand, for Woodburning DIY Crafts
14-IN-1 Wood Burning kit – Package includes YIHUA 930-IV Pyrography Pen, 10 Pyrography Tips, 2 Unfinished Wood Pieces…
As an affiliate, we earn on qualifying purchases.
As an affiliate, we earn on qualifying purchases.
Applying Chemical Solutions for Quick Aging
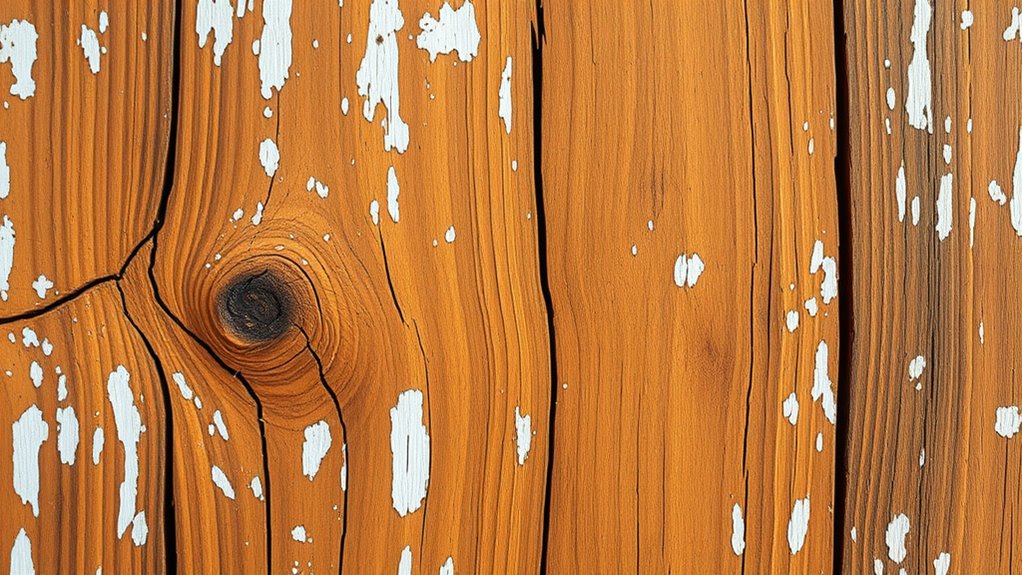
Applying chemical solutions is a quick and effective way to age wood, especially when you want noticeable results in a short period. Steel wool soaked in vinegar creates an oxidation reaction that reacts with tannins in woods like oak, cherry, or mahogany, producing weathered gray tones. Brush on the solution and let it react for several minutes to hours, depending on the wood type.
For darkening, dissolve baking soda in warm water and apply it with a brush; it reacts with tannins to deepen the color. Using brewed black tea enhances natural tannins, resulting in warmer, aged hues, especially when combined with other treatments.
Be cautious with nitric acid, as it causes rapid, dramatic color changes but requires proper safety measures. Testing on scrap wood first helps predict the final effect.

Roxil Wood Sealer Liquid (1 Gallon Clear) – 10 Year Waterproof Outdoor Wood Protection Liquid for Deck, Fence, Sheds and Furniture
Waterproofs & Seals Softwood Timber – Advanced silicone wood sealer penetrates deeply to create a durable waterproof wood…
As an affiliate, we earn on qualifying purchases.
As an affiliate, we earn on qualifying purchases.
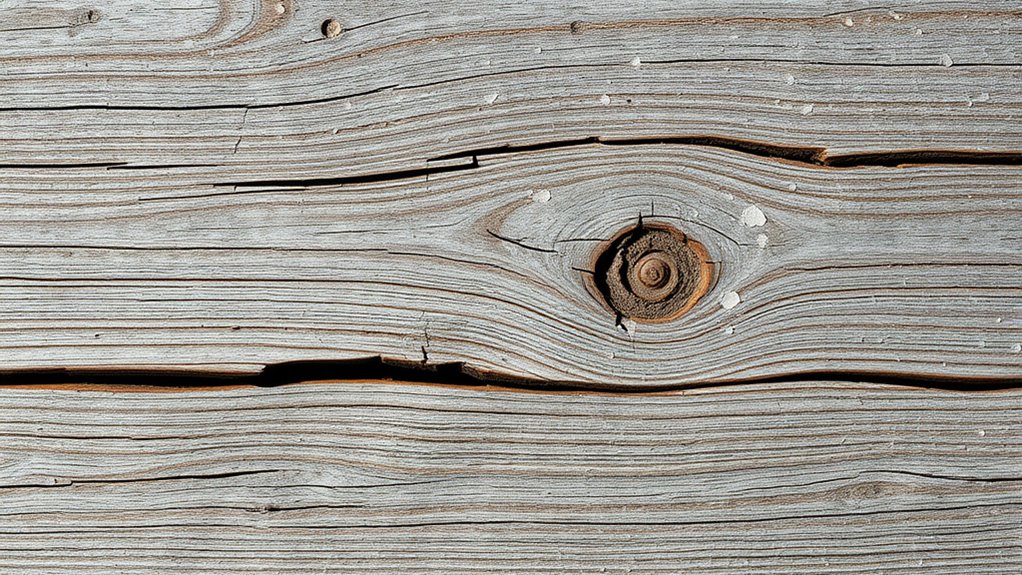
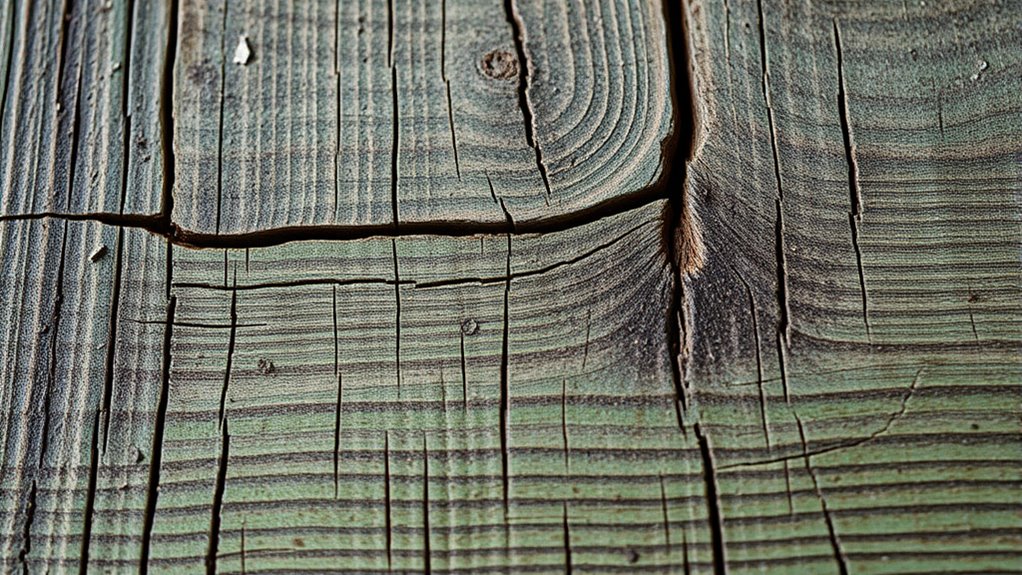
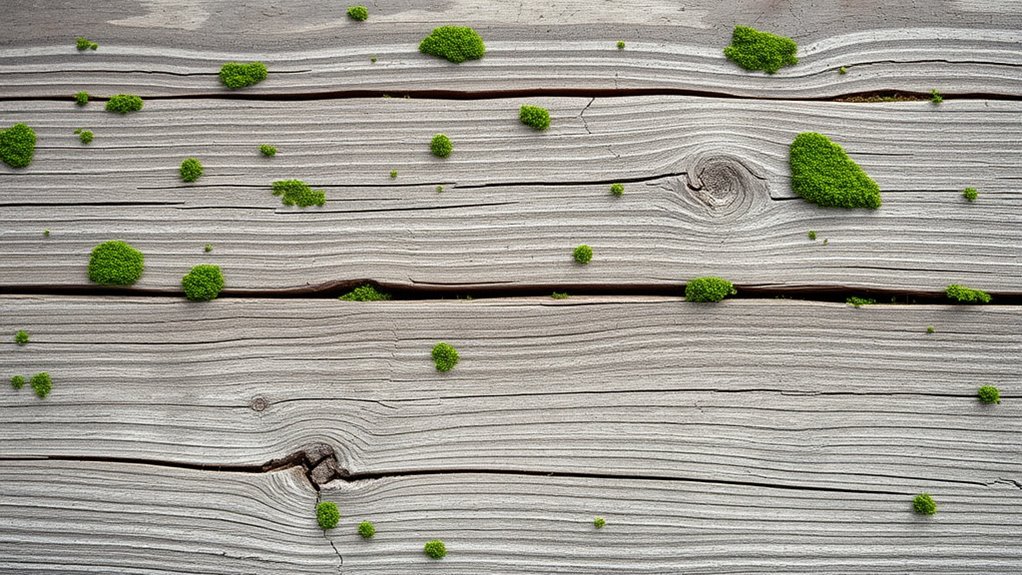
Enhancing Texture With Wire Brushes and Saw Marks
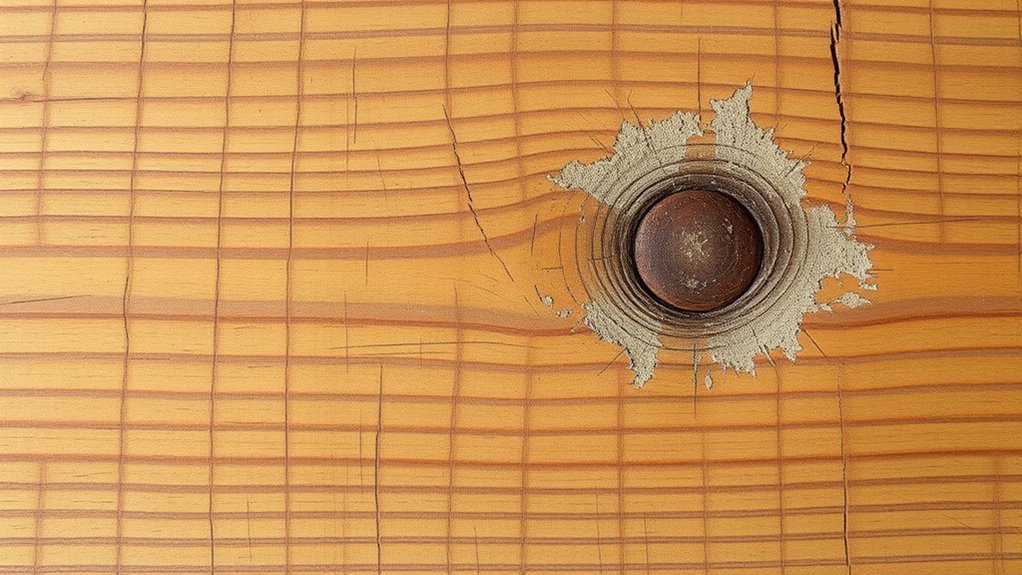
Enhancing wood texture with wire brushes and saw marks is an effective way to create a rustic, aged appearance. Start by attaching a wire brush to your drill and brushing along the wood grain to wear away softer areas, revealing a raised, textured surface. This method works best on woods with prominent grain, like oak. Self Watering Plant Pots can sometimes be made from aged or reclaimed wood to enhance their visual appeal and durability.
After brushing, sand the surface to smooth rough edges. For added realism, use a jigsaw to carve saw marks, focusing on areas where natural wear would occur. Combining wire brushing and saw marks produces a deeply textured, authentic aged look. Always secure your wood and wear safety gear. Finish by applying a protective sealant like polyurethane or wax to preserve the texture and prevent further damage.
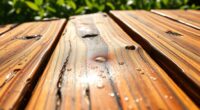
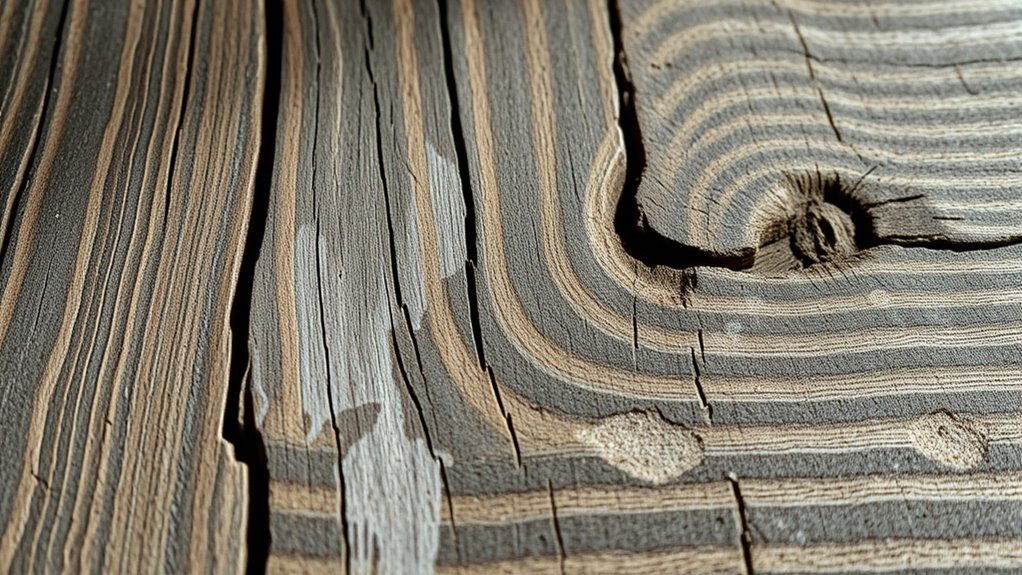
Creating a Weathered Look With Household Ingredients

Creating a weathered look on wood with household ingredients offers an easy and affordable way to achieve a rustic, aged appearance. One popular method is soaking steel wool in vinegar for 12 to 24 hours. This creates iron acetate, which reacts with tannins in the wood to darken it quickly.
Filter out the steel wool particles before applying the solution with a brush or cloth. For added depth, you can first brew and cool black tea to introduce tannins, enhancing the aging process. Applying tea before the vinegar solution results in a richer, more authentic patina.
You can also combine vinegar with rusty nails or steel scraps to produce rusted iron acetate, further deepening the color. These simple household ingredients allow you to mimic natural weathering without harsh chemicals.
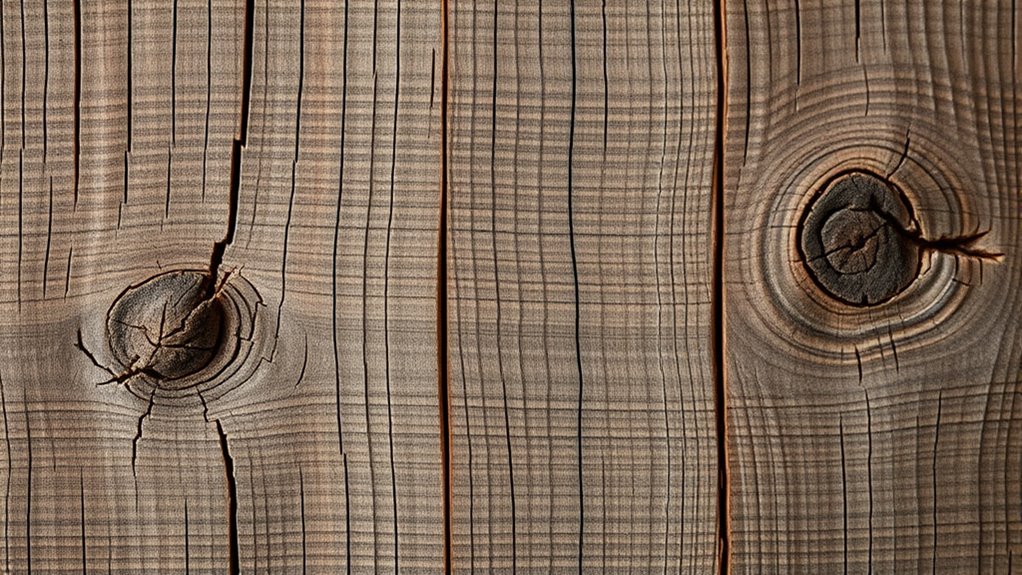
Combining Tea and Vinegar for Gradual Patina
Combining tea and vinegar for gradual patina offers a natural way to age wood with subtle, authentic character. Start by brewing a strong black tea—about three cups of boiling water per jar—steep for at least three hours, or longer for a deeper tannin concentration. Strain out the tea bags and particles before applying the solution to a clean surface.
Once dry, brush on a vinegar-soaked steel wool solution, which reacts with the tannins in the tea to darken the wood gradually. The chemical reaction creates a rich, aged appearance that develops over time. You can repeat the process for a deeper effect, controlling the darkness by adjusting the tea steeping time and vinegar-steel wool soaking duration.
This method offers a natural, customizable aging process that mimics authentic weathering.
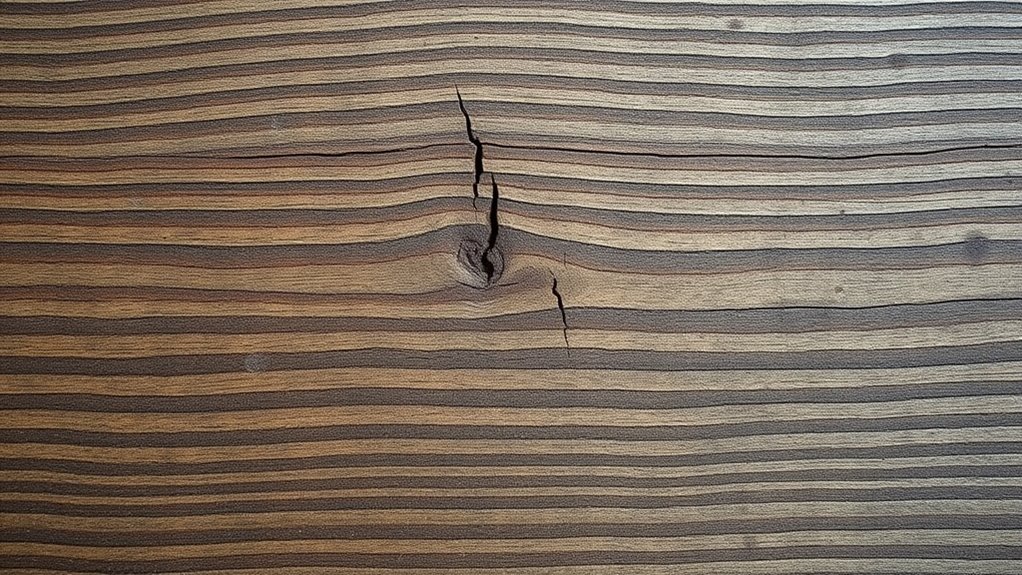
Distressing High-Tannin Woods With Baking Soda
High-tannin woods like cherry and mahogany respond vividly to baking soda treatments because their tannins react chemically to produce noticeable color changes. When you apply a baking soda solution, the alkaline reacts with the tannins inside the wood, often resulting in a darker, weathered appearance.
This reaction accentuates the grain and gives your piece an aged, textured look. To achieve the best results, prepare a solution using about one tablespoon of baking soda per cup of warm distilled water.
Before applying, lightly sand the surface with 120-grit sandpaper and dampen it to help absorb the solution. Use a brush or towel to apply even coats, allowing each layer to dry. Multiple applications deepen the effect, creating rich, natural-looking patinas that mimic aged wood.
Sealing and Protecting Your Aged Finish
Sealing and protecting your aged wood is essential to preserve its character and guarantee durability. Choosing the right sealant depends on your desired look and use. Polyurethane offers excellent protection, especially on darker woods, while polycrylic works well on lighter woods like pine and cedar, maintaining their natural color. For a softer, natural finish, wax provides a gentle sheen, ideal for decorative pieces. Water-based polyurethanes help preserve the raw appearance without darkening the wood. Before sealing, ensure the surface is thoroughly cleaned, lightly sanded, and completely dry. Apply sealants in thin, even coats with the grain, allowing each layer to dry fully. Lightly sanding between coats improves adhesion. Use sealants that are non-yellowing and low-VOC for a natural, protected finish. Incorporating meditation techniques during the drying process can enhance your focus and mindfulness, making the project a calming and meditative experience. Additionally, understanding wood aging processes can help you choose the most suitable sealing method to enhance your piece’s character and longevity. Being aware of vetted products ensures you select quality sealants that will perform well over time. Reviewing reviews and ratings can also guide you toward trusted options that meet safety and durability standards. Moreover, selecting sealants with environmentally friendly properties can contribute to a healthier workspace and greater peace of mind.
Finishing Techniques to Highlight Texture and Color
To effectively highlight the texture and color of aged wood, you need to employ specific finishing techniques that enhance its natural features. Use wire brushing to open up the grain, revealing intricate patterns and adding tactile depth. Incorporating textural contrast can further emphasize the wood’s aged appearance and appeal. Sandpaper with varying grits can smooth or roughen surfaces for contrast, while planing creates irregular marks that mimic wear. Jigsaw marks emphasize edges and corners, enhancing the aged look. For color, apply oxidation solutions with steel wool and vinegar to quickly stain, or use stains and dyes for richer hues. Natural methods like tea and vinegar painting or baking soda paste deepen the color organically. Layering stains or waxes builds complexity, while highlighting knots, imperfections, and edges accentuates the wood’s character. Understanding the cultural significance of aged wood techniques can deepen your appreciation of their artistic and historical value. Additionally, exploring traditional craftsmanship methods can inspire more authentic finishes. Engaging with creative practice and experimenting with different techniques can lead to unique and personalized results. These techniques collectively bring out the wood’s natural beauty and aged charm.
Practical Tips for Achieving Authentic Results
Achieving authentic aged wood results requires careful planning and attention to detail. First, let your vinegar and steel wool solution sit at least 24 hours to guarantee full oxidation before application. Incorporating visualization techniques can help you better envision the final outcome and guide your process. Use multiple thin layers of treatments, allowing each to dry completely, to deepen the color and texture gradually. Focus mechanical distressing on naturally worn areas like edges, corners, and contact points for realism. Always test on scrap wood first to calibrate chemical strength and distressing intensity. Combine chemical and mechanical techniques thoughtfully—such as applying tea followed by vinegar—to mimic natural aging patterns. Seal the finished piece only after you’re satisfied with the color and texture to preserve the aged appearance. Patience and experimentation are key to achieving genuine, authentic results.
Frequently Asked Questions
Can DIY Methods Achieve the Same Durability as Commercial Aged Wood Finishes?
You wonder if DIY methods can match commercial finishes’ durability. While DIY aging techniques create authentic, attractive looks, they usually lack the long-term protection commercial products provide.
DIY finishes are more vulnerable to weather, UV damage, and wear without proper topcoats. To improve longevity, you’ll need to add durable sealants like polyurethane and perform maintenance.
How Long Does the Chemical Aging Process Typically Take?
The chemical aging process usually takes from 30 minutes to a few hours, depending on the method and conditions.
For example, using oxidizing solutions or nitric acid can quickly alter the wood’s color within an hour.
Factors like wood type, chemical concentration, temperature, and light influence the speed.
Typically, rapid aging techniques produce noticeable changes fast, but longer treatments may deepen the patina or stabilize the color over time.
Are There Safety Precautions for Working With Vinegar and Steel Wool Solutions?
Imagine walking through a garden where gentle breezes carry subtle scents, soothing your senses.
When working with vinegar and steel wool solutions, you should wear gloves to avoid skin irritation and prevent contamination.
Use glass containers to avoid unwanted reactions, and work in a well-ventilated area.
Keep away from flames, cover your clothes, and dispose of leftovers responsibly.
These precautions help keep your project safe and enjoyable.
Can These Aging Techniques Be Applied to Outdoor Wood Furniture?
You wonder if aging techniques like vinegar and steel wool work on outdoor furniture. Yes, they can, but you need to seal the wood afterward to safeguard it from weather. Proper surface prep and sealing help guarantee durability.
Keep in mind, these methods may fade or wear over time outdoors, so regular maintenance and choosing weather-resistant wood types improve long-term results.
What Are the Best Practices for Restoring or Reversing Aged Effects if Needed?
Imagine a weathered, darkened surface transformed into a fresh, vibrant look. You start by gently sanding and cleaning to remove surface grime, then carefully strip old finishes with chemical or heat methods.
Rehydrate the wood with conditioners, filling cracks with wax or oils. Lightly sand between coats, then subtly adjust color with stains or dyes.
This process reverses aged effects, restoring beauty while preserving the wood’s character and integrity.
Conclusion
Now that you’ve revealed the secrets to aging wood, your projects will tell stories of time and character. Think of your finished piece as a weathered treasure, each scratch and stain a chapter of its history. With patience and a touch of creativity, you can turn plain wood into a rustic masterpiece that whispers tales of years gone by. Embrace the process, and let your craftsmanship age gracefully like a well-loved antique.