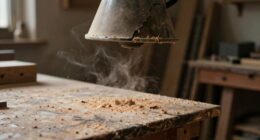

To get a cleaner finish directly off the planer, make certain your blades are sharp and well-maintained. Adjust your settings based on the wood type—use thinner cuts for hardwoods to reduce tear-out. Always plane with the grain to avoid splinters and monitor the wood’s moisture content for best results. After planing, a light sanding can further refine the surface. Keep these tips in mind, and you’ll uncover more secrets to achieving flawless finishes effortlessly.
Key Takeaways
- Keep planer blades sharp to ensure a clean cut and avoid tearing wood fibers.
- Adjust settings based on wood type, using thinner cuts for hardwoods to minimize tear-out.
- Always plane with the grain to prevent splintering and achieve a smoother surface.
- Monitor wood moisture content and acclimate wood to the workshop environment for consistent results.
- Perform light sanding after planing to refine surfaces and eliminate minor imperfections.
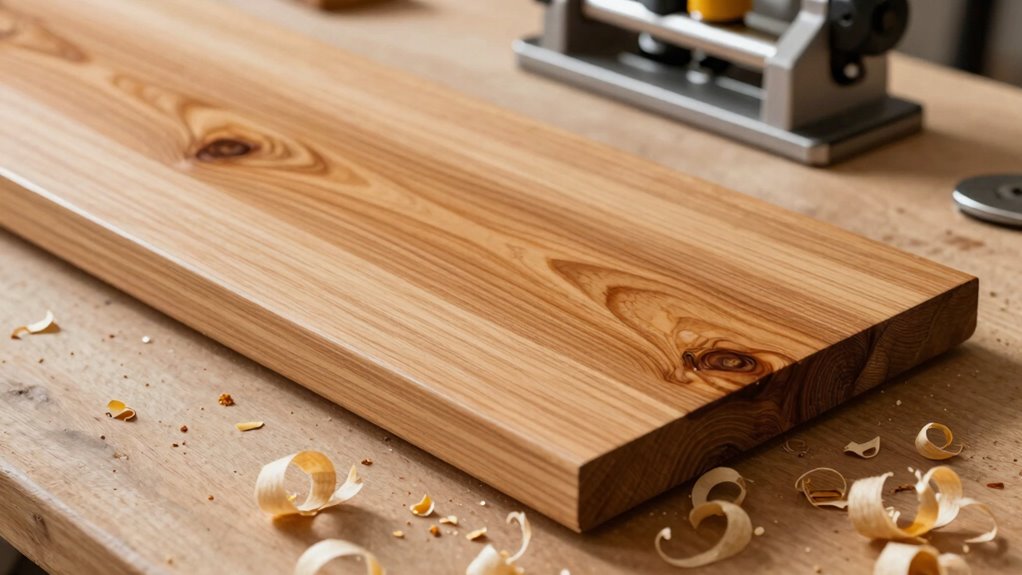
Getting a cleaner finish off the planer can transform your woodworking projects, leaving you with surfaces that are ready for finishing without much extra work. To achieve this, you’ll want to pay close attention to your planer settings and the wood types you’re working with. The right combination can make a world of difference.
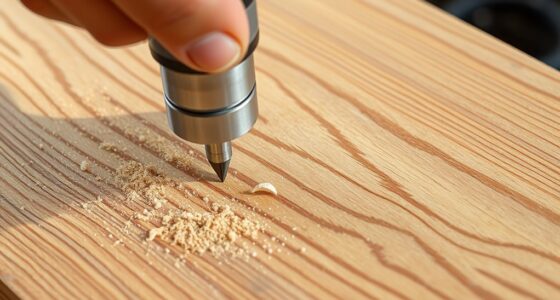
First, make certain your planer blades are sharp. Dull blades tear the wood fibers rather than cutting them cleanly, leading to a rough surface. If you notice any tear-out or unevenness, it’s time to replace or sharpen your blades. Regular maintenance keeps your tools in top condition and guarantees a cleaner cut.
Next, adjust your planer settings based on the wood types you’re using. Different woods react differently to planing. Hardwoods like oak and maple may require different settings than softer woods such as pine or cedar. For instance, when working with hardwoods, try a thinner cut to minimize tear-out and secure a smoother finish. A depth of around 1/32 inch is often ideal. For softer woods, you might be able to take a slightly thicker pass without compromising the finish. Additionally, understanding the grain direction of the wood and how to work with it can significantly improve your results. Paying attention to wood moisture content can also influence the quality of the finish, as overly dry or wet wood can affect planing outcomes. Ensuring proper wood acclimation can help maintain stability and prevent movement after planing.
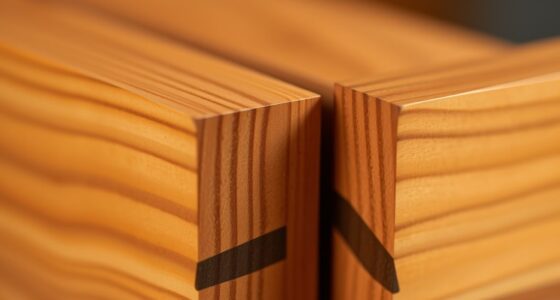
It’s also essential to take into account the grain direction of the wood. Always plane with the grain, not against it. Going against the grain can lead to splintering and a rougher surface, making additional sanding necessary. If you’re unsure about the grain direction, take a quick test pass on a scrap piece of the same material to see how it behaves.
Temperature and humidity can also affect the finish you get off the planer. Wood tends to expand and contract with changes in moisture content, so it’s best to work with wood that’s acclimated to your workshop environment. If you’ve stored your wood in a different climate, give it time to adjust before planing. Proper wood acclimation helps prevent movement after planing, ensuring a cleaner finish. Additionally, maintaining consistent environmental conditions can help reduce wood movement and improve the overall quality of your planed surfaces.
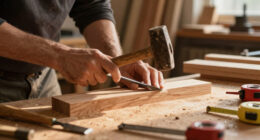
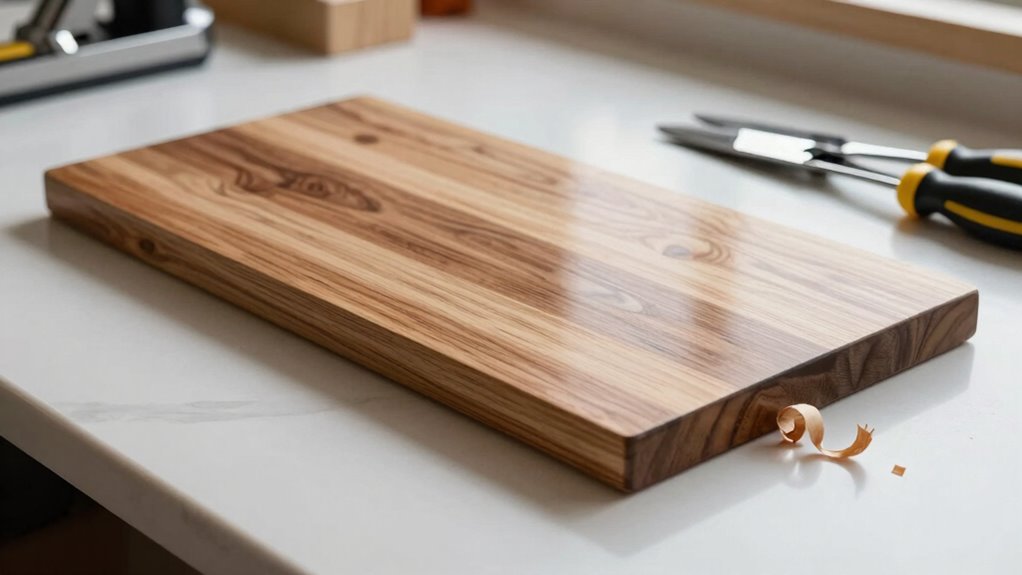
Lastly, after planing, think about using a smoothing plane or sandpaper to refine the surface even further. A light sanding can eliminate any minor imperfections and prepare the surface for finishing. Remember, achieving a clean finish off the planer is about combining sharp tools, proper settings, and careful attention to detail. With these tips, you’ll find yourself producing beautifully finished pieces that require less effort down the line. Enjoy the satisfaction of a job well done!

BLSGBUIDING 12" Jointer Planer Blade Sharpener, Woodworking Knife Sharpening Jig Aluminum – 1pack
【Application】This Jointer Blade Sharpener is designed for sharpening the blade cutting edge of woodworking Knifes and planer. The…
As an affiliate, we earn on qualifying purchases.
As an affiliate, we earn on qualifying purchases.
Frequently Asked Questions
What Type of Wood Produces the Best Finish off the Planer?
Hardwood varieties like maple, cherry, and oak often produce the best finishes off the planer due to their fine, consistent wood grain. When using planer techniques, make certain your blades are sharp and set correctly to minimize tear-out. While softwood finishes can be appealing, they may not achieve the same level of smoothness as hardwoods. Experimenting with different woods helps you find the perfect combination for a clean, polished surface.
How Often Should I Sharpen My Planer Blades?
If you want your planer blades to stay sharper than a ninja’s sword, you should sharpen them every 20 to 50 board feet, depending on the wood type. Regular blade maintenance keeps your finish smooth and prevents tear-out. Use various sharpening techniques, like honing or grinding, to guarantee your blades stay effective. Don’t wait until they’re dull; a little upkeep goes a long way in enhancing your woodworking experience!
Can I Use a Planer on Rough-Sawn Lumber?
Yes, you can use a planer on rough-sawn lumber. Start by ensuring your planer’s blades are sharp for the best results. Use proper planer techniques to avoid tear-out and achieve a smoother finish. It’s essential to feed the lumber evenly and adjust the depth of cut carefully. This’ll help you with lumber preparation, making it easier to work with in your projects, whether you’re building furniture or crafting detailed pieces.
What Settings Should I Use for Different Wood Types?
When you’re working with different wood types, set your planer speed according to the wood moisture content. For hardwoods, like oak, use a faster speed to reduce tear-out, while softer woods, like pine, benefit from slower settings for a smoother finish. Always check for moisture levels; if it’s too high, you might get a rough surface. Trust your instincts, and you’ll find the right balance for each project!
How Do I Avoid Snipe When Using a Planer?
To avoid snipe when using a planer, try employing snipe prevention techniques like using a longer infeed and outfeed support. Make certain your planer feed speed is consistent; too fast can increase the chance of snipe. Additionally, place a scrap board at the beginning and end of your workpiece to help maintain stability. Regularly check your planer blades for sharpness, as dull blades can contribute to snipe issues too.
wood planer with adjustable settings
As an affiliate, we earn on qualifying purchases.
As an affiliate, we earn on qualifying purchases.
Conclusion
By following these tips, you’ll transform your planing experience from rough to smooth, like polishing a gem to reveal its brilliance. Remember to keep your blades sharp, adjust your feed rate, and maintain proper grain direction. With a little practice and attention to detail, you’ll achieve a cleaner finish that’s ready for your next project. Embrace the journey of woodworking, and soon enough, you’ll be crafting pieces that shine just as brightly as your skills.

FOXBC 3-1/4 Inch Industrial Carbide Hand Planer Blades for Craftsman CMEW300, Milwaukee M18, Makita, DeWalt, Bosch, Wen, Ryobi and Most 3-1/4 Planer (10 Pack)
3-1/4 Inch Industrial Carbide Hand Planer Blades – (10 Pack)
As an affiliate, we earn on qualifying purchases.
As an affiliate, we earn on qualifying purchases.

General Tools MMD4E Digital Moisture Meter, Water Leak Detector, Moisture Tester, Pin Type, Backlit LCD Display With Audible and Visual High-Medium-Low Moisture Content Alerts, Grays
HUMIDITY SENSOR: Our handy meter tool can quickly determine what level of remediation is needed to keep your…
As an affiliate, we earn on qualifying purchases.
As an affiliate, we earn on qualifying purchases.