To create wooden picture ledges for your art display, choose durable hardwood like oak or maple and finish it to match your decor. Install sturdy hardware, such as D-rings or picture rails, into wall studs for stability, using a level to guarantee straightness. Support the weight of your artwork properly to prevent damage, and regularly check that everything remains secure. Continue exploring for tips to make your ledges both stylish and long-lasting.
Key Takeaways
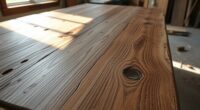
- Select durable hardwoods like oak or maple and finish them to match your decor style.
- Measure and cut ledges accurately, smoothing edges for a polished look.
- Mount hardware into wall studs for stability, using a level to ensure even placement.
- Choose appropriate hanging hardware based on artwork weight, such as D-rings or picture hooks.
- Regularly inspect and maintain hardware and wood finish to ensure safety and longevity.
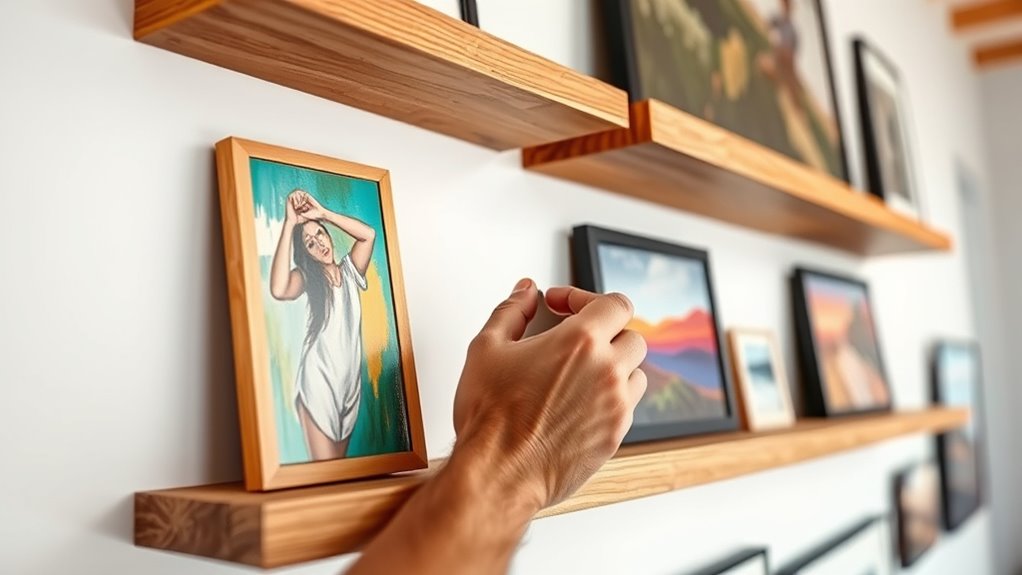
If you want to display your artwork stylishly and effortlessly, creating wooden picture ledges is a simple and practical solution. These ledges not only add a touch of elegance to your space but also make swapping out art quick and easy. To start, you’ll need to focus on two key aspects: hanging hardware and material selection. Getting these right guarantees your ledges are sturdy, safe, and visually appealing.
When it comes to hanging hardware, you want to choose options that support the weight of your artwork without risking damage to your wall or ledge. Heavy-duty picture hangers or D-rings paired with strong hooks are ideal for larger, heavier frames. For lighter pieces, adhesive wall strips or picture rails with built-in hooks can suffice, reducing the need for drilling. Make sure to install hardware into wall studs whenever possible, especially if you’re planning to display larger or heavier artwork. Using a level during installation helps keep your ledges straight, giving your display a polished look. Remember, the right hanging hardware not only supports your art but also enhances the longevity of your display.
Material selection plays a vital role in the durability and aesthetic of your wooden picture ledges. Opt for hardwoods like oak, maple, or walnut if you want a sturdy, long-lasting ledge with a rich appearance. Softwoods like pine or cedar are easier to work with and lighter, making them suitable for smaller or less heavy displays. Consider the finish you want—natural wood, stained, or painted—to match your decor. Make sure the wood is properly sealed to prevent warping or damage from humidity. Some materials are more resistant to wear and tear, ensuring your ledges stay beautiful over time. If you’re aiming for a minimalist look, sleek, narrow ledges in a light finish can blend seamlessly into modern spaces. For a more rustic or traditional vibe, thicker, darker wood options work well. Whichever material you choose, ensure it’s cut precisely and sanded smooth for a professional appearance and safe handling.

Forbena Wood Picture Ledge Shelf for Wall 4-Pack, 48 Inch Long Rustic Floating Shelves with Lip for Classroom Library, Farmhouse Wooden Wall Ledge for Photo Frames Books (Dark Brown)
- Ideal wall display solution: 48-inch floating shelves with lip
- Durable and lightweight wood: Made from sustainable Paulownia wood
- Easy to install and disassemble: Pre-assembled with included hardware
As an affiliate, we earn on qualifying purchases.
As an affiliate, we earn on qualifying purchases.
Frequently Asked Questions
What Is the Ideal Wood Type for Picture Ledges?
You should choose pine or maple for your picture ledges, as they offer a smooth wood grain that looks great when finished. Both woods accept a variety of finish options, like stain or paint, allowing you to match your decor. Pine is budget-friendly and easy to work with, while maple provides a sleek, modern look. Consider your style and budget to pick the best wood for your project.
How Do I Prevent Warping Over Time?
To prevent warping over time, you should apply wood sealants to protect against moisture and humidity fluctuations. Additionally, maintain consistent humidity levels in your space to minimize expansion and contraction. Avoid placing your ledges in direct sunlight or near heat sources, as temperature changes can cause warping. Regularly inspect and reapply sealants as needed, ensuring your wooden ledges stay stable and secure for displaying your artwork.
Can I Customize the Length of the Ledges?
Did you know that a custom-cut wooden ledge can enhance your space by up to 30%? Yes, you can customize the length of your ledges easily. Using adjustable length options and custom cut techniques, you can tailor each ledge to perfectly fit your wall and display needs. Whether you want shorter or longer ledges, these techniques give you flexibility, making your art display both functional and stylish.
What Tools Are Necessary for Installation?
You’ll need a drill, level, measuring tape, and a stud finder to install your picture ledges. Make sure to gather mounting hardware like brackets and screws suitable for your wall type. Follow safety precautions by wearing eye protection and working carefully. Use the level to guarantee the ledges are straight, and locate studs for secure mounting. These tools and precautions help you achieve a sturdy, professional-looking display.
How Do I Maintain and Clean the Wooden Ledges?
You probably think your wooden ledges are invincible, but dust removal and wood polishing are your best friends. Regularly wipe them down with a soft cloth to remove dust, preventing buildup that turns your art display into a dusty museum. For extra shine, gently apply wood polish—just enough to make them gleam without turning your walls into a greasy mess. Keep them looking fresh, and your art will thank you.
Conclusion
Now that you’ve crafted your wooden picture ledges, you’ve turned your space into a personal gallery, reminiscent of the great artists’ studios. Just like Monet’s brushstrokes or Picasso’s bold lines, your ledges showcase your unique style. Keep experimenting with arrangements and displays, and let your creativity flow freely. Remember, every masterpiece begins with a simple step—so go ahead, transform your walls into a stunning artful sanctuary, much like the masters before you.