
When gluing veneer, choose an adhesive that matches your environment and project needs—PVA glue offers flexibility and durability for most situations, while epoxy resists moisture and temperature changes. Use clamps to apply even pressure, distributing it uniformly with bar clamps or cauls. Maintain proper pressure and timing to guarantee a strong, seamless bond without squeezing out adhesive or causing gaps. For expert tips on achieving perfect results, keep exploring the details below.
Key Takeaways
- Choose adhesives like PVA for durability and flexibility, or epoxy for moisture and temperature resistance.
- Use even pressure with bar clamps or cauls to ensure uniform adhesion without gaps or bubbles.
- Follow manufacturer’s instructions for clamping time to achieve optimal bond strength.
- Avoid over-tightening clamps to prevent veneer deformation and adhesive squeeze-out.
- Inspect the bond carefully after clamping, ensuring proper alignment before final removal.
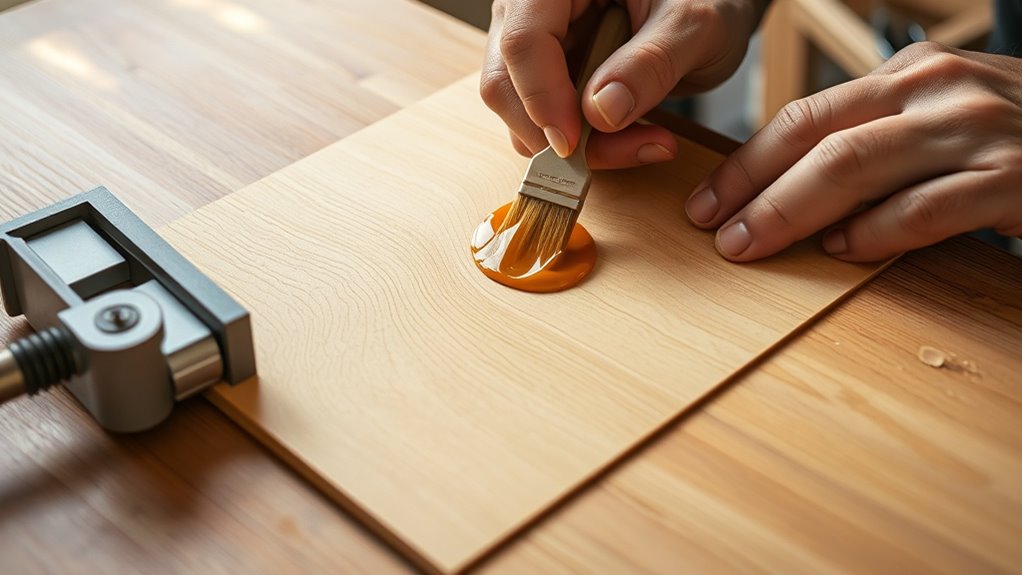
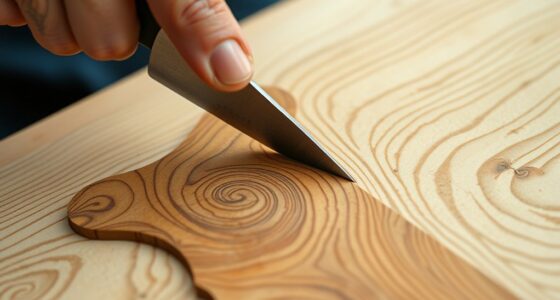
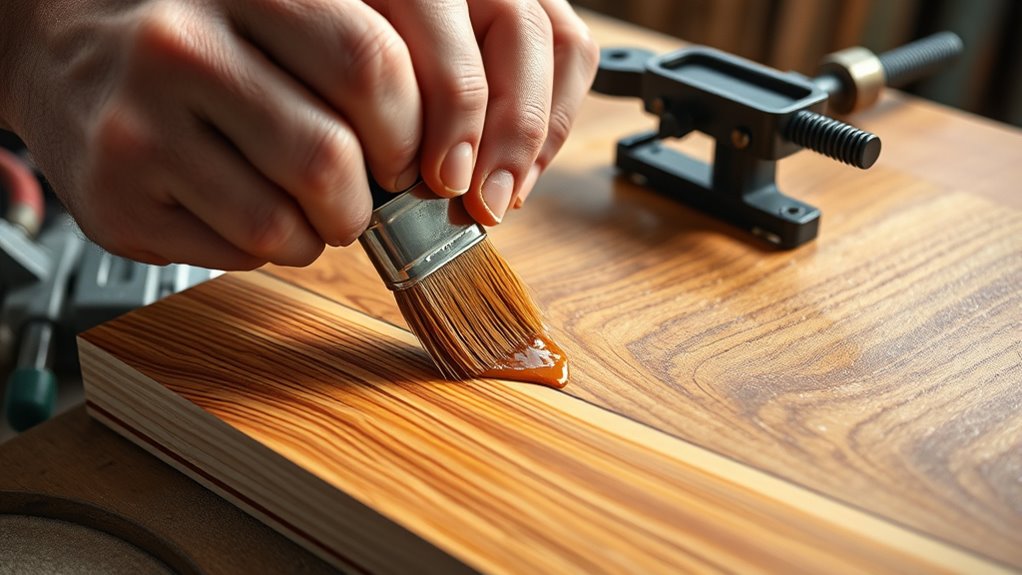
Gluing veneer is a fundamental step in achieving a smooth and professional finish on woodworking projects. The success of your veneer application hinges on choosing the right adhesive and applying proper clamping techniques. When considering adhesive types, it’s essential to focus on adhesive durability, since the bond needs to withstand environmental changes and regular handling over time. High-quality contact adhesives, PVA glues, and epoxy resins each have their strengths. For most veneer work, a good PVA glue provides a durable, flexible bond that resists cracking and peeling. However, if you’re working on a piece subject to moisture or temperature fluctuations, epoxy might be the better choice, as it offers superior adhesive resilience. No matter what you select, the key is to ensure the adhesive can handle the stress and environmental conditions your finished project will face.
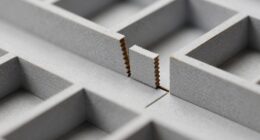
Applying the adhesive correctly is just part of the process; clamping pressure plays an equally essential role. Proper clamping ensures that the veneer adheres evenly without gaps or bubbles, which can ruin the final look. Too little pressure, and the veneer won’t bond securely, risking delamination or lifting over time. On the other hand, excessive pressure can squeeze out too much adhesive or deform the veneer, resulting in an uneven surface. You want just enough clamping pressure to create a tight, uniform bond across the entire veneer surface. Many woodworkers use bar clamps or cauls to distribute pressure evenly, making sure the veneer sits flush against the substrate. The amount of clamping time also matters; most adhesives require a specific duration to develop maximum strength, so follow the manufacturer’s instructions carefully.
Timing is essential when clamping and removing clamps. Once you’ve applied the adhesive and positioned the veneer, clamp it firmly but avoid over-tightening. Check that there are no gaps, and ensure that the veneer remains aligned throughout the process. You might need to adjust clamps or add extra support to maintain consistent pressure. After the recommended clamping period, typically several hours, gently remove the clamps and inspect your work. Proper clamping pressure not only guarantees a seamless surface but also enhances the adhesive’s durability, making your finished piece more resistant to damage over time. Remember, patience during this step pays off in the long run, delivering a professional-looking veneer application that will stand the test of time.
Gorilla Wood Glue, 8 oz., Water Resistant PVA Wood Glue for Indoor & Outdoor Projects, Fast Clamp, Natural Color, Paintable & Sandable
Complete Projects Fast: Requires only 20-30 minutes of clamp time; fully cured in 24 hours. Quickly creates an…
As an affiliate, we earn on qualifying purchases.
As an affiliate, we earn on qualifying purchases.
Frequently Asked Questions
How Long Should Veneer Be Left to Cure After Gluing?
You should leave the veneer to cure for at least 24 hours after gluing to guarantee proper curing time and veneer stability. During this period, avoid moving or stressing the surface, as this can weaken the bond. For some adhesives, a longer curing time of up to 48 hours might be necessary for maximum strength. Patience here guarantees a strong, durable veneer that stays securely in place.
Can I Reuse Veneer After Detaching It?
Did you know that over 80% of woodworkers reuse veneer? Yes, you can often reuse veneer after detaching it if the adhesive cleanup is thorough. Carefully peel it off, avoiding damage, then clean any residual adhesive from both surfaces. Keep in mind, the veneer’s quality might diminish with multiple uses, but with proper handling, you can extend its life and reduce waste while maintaining a beautiful finish.
What Environmental Factors Affect Veneer Adhesion?
Environmental factors like moisture impact and temperature sensitivity critically affect veneer adhesion. Excess moisture can weaken the bond by causing the adhesive to fail, while low humidity may lead to poor adhesion due to insufficient curing. High temperatures can accelerate curing too quickly or cause adhesive failure, whereas cold conditions slow down bonding. To guarantee strong adhesion, you should control moisture levels and maintain a stable temperature during the veneering process.
Is It Possible to Glue Veneer Over Painted Surfaces?
Gluing veneer over painted surfaces is definitely doable, but it’s no walk in the park. You’ll need to prep the surface thoroughly by sanding the paint to create a rough texture, ensuring the veneer sticks like glue. Proper veneer preparation is essential. Sand the painted surface evenly, remove dust, and use a strong adhesive. This prep work guarantees your veneer adheres securely, even on the most stubborn painted surfaces.
How Do I Remove Excess Glue Without Damaging the Veneer?
To remove excess glue without damaging the veneer, start by wiping it off with a damp cloth while the glue is still wet. For dried glue, gently scrape it with a plastic scraper or a fine blade, being careful not to gouge the surface. Use a mild solvent like mineral spirits for stubborn spots, but test first to prevent veneer damage. Always work gently to preserve your veneer’s finish.

Shabebe Epoxy Resin, 32OZ Epoxy Resin Crystal Clear, Not-Yellowing No-Bubble, Self Leveling Easy Pour/Mix 1:1 Casting Kit & Coating for DIY Jewelry Making, Art Resina Clear Crafts, Molds, River Tables
Safe and Odorless: Our Resin Epoxy is specially formulated for ARTISTS. The 2 part epoxy Crystal Clear &…
As an affiliate, we earn on qualifying purchases.
As an affiliate, we earn on qualifying purchases.
Conclusion
Now that you know the secrets of choosing the right adhesive and clamping method, you hold the brush to transform raw veneer into a masterpiece. Think of your project as a delicate dance—each glue and clamp a partner guiding you to perfection. With patience and care, you’ll turn simple sheets into a stunning work of art, like a sculptor revealing beauty from raw marble. Trust your hands, and let your craftsmanship shine through every glued layer.

VEVOR Bar Clamps for Woodworking, 4-Pack 36 inch Opening, Lockable F-Clamp with 600 lbs Load Limit, 2-1/2 inch Depth, Cast Iron and Carbon Steel, Easy to Use, Wood Clamps for Woodworking Metal Working
High-quality Materials: The jaws of our bar clamps is made of cast iron, sturdy and not easy to…
As an affiliate, we earn on qualifying purchases.
As an affiliate, we earn on qualifying purchases.

The Craft of Veneering: A Complete Guide from Basic to Advanced
As an affiliate, we earn on qualifying purchases.
As an affiliate, we earn on qualifying purchases.