To care for your pneumatic nailer, regularly oil it by adding a few drops of pneumatic tool oil into the air inlet before each use. Keep an eye on the pressure gauge to guarantee peak performance, and check for jams or leaks when troubleshooting. Always disconnect the tool from the air supply before maintenance. Proper lubrication and troubleshooting tips help extend its lifespan and ensure safe, smooth operation—discover more tips to keep your nailer in top shape.
Key Takeaways
- Regularly apply pneumatic tool oil into the air inlet to reduce friction and prevent rust.
- Check and maintain air pressure within the recommended 70-120 psi to ensure proper firing.
- Clear jams by removing stuck nails and inspecting the magazine and nosepiece carefully.
- Disconnect the nailer from the air supply before troubleshooting or performing maintenance.
- Keep safety gear on, follow manual guidelines, and inspect the tool regularly for reliable operation.

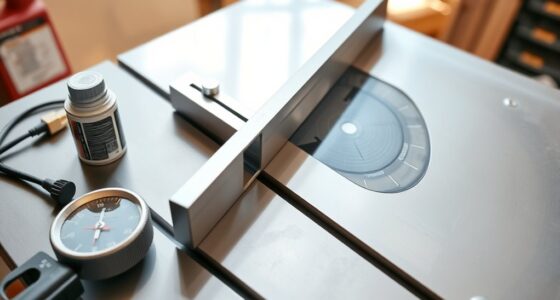
Proper care is essential to keep your pneumatic nailer functioning safely and efficiently. One of the most important aspects of maintenance involves paying close attention to air pressure maintenance. Your nailer relies on the right amount of compressed air to operate correctly, so regularly checking your air compressor’s pressure gauge is critical. Most nailers require a specific psi range, often between 70 and 120 psi, depending on the model. If the pressure is too low, your nailer may misfire or jam, while too high pressure can cause damage or reduce its lifespan. Always consult your user manual for the recommended settings and make adjustments accordingly. Keeping the air pressure within the ideal range ensures smooth operation and prevents unnecessary wear and tear. Additionally, maintaining consistent air pressure helps you avoid potential safety hazards, such as unintentional firing or sudden tool malfunction.
Maintaining proper air pressure ensures safe, efficient, and reliable pneumatic nailer operation.
Another essential element in caring for your pneumatic nailer is the importance of safety gear. When working with pneumatic tools, always wear appropriate safety equipment, including eye protection, hearing protection, and gloves. Safety gear isn’t just a precaution; it’s a necessity to prevent injuries from flying debris, loud noise, or accidental misfires. Proper safety gear allows you to focus on the task at hand confidently, knowing you’re protected. Also, ensure that you disconnect the nailer from the air supply before performing any maintenance, such as oiling or troubleshooting. This step prevents accidental firing and reduces the risk of injury.
Oiling your pneumatic nailer is a straightforward but essential task for prolonging its life. Regularly applying a few drops of pneumatic tool oil into the air inlet keeps internal components lubricated, reducing friction and preventing rust. Proper lubrication ensures your nailer operates smoothly, minimizes jams, and extends its overall lifespan. When oiling, always use the recommended pneumatic tool oil, and avoid over-oiling, as excess oil can contaminate the air supply or cause buildup inside the tool. It’s best to oil your nailer before each use or after long periods of storage. Additionally, using the correct air pressure helps maintain optimal performance and reduces wear on internal parts.
Troubleshooting common issues involves a few simple steps. If your nailer isn’t firing properly, first check the air pressure, as low pressure is often the cause. Clear any jams by carefully removing stuck nails and inspecting the magazine and nosepiece. Wear gloves to avoid injury during this process. If the nailer still malfunctions, verify that the safety features, such as the contact tip or trigger lock, are engaged correctly. Regularly inspecting and cleaning your tool ensures it remains in good working order and helps you identify potential problems early. Consistent maintenance, proper air pressure, and safety gear importance are the keys to keeping your pneumatic nailer safe, reliable, and efficient for all your projects.

3-IN-ONE Professional Grade Pneumatic Tool Oil, 4 OZ
Quickly dissolves gum and sludge, and provides rust prevention on all types of pneumatic tools
As an affiliate, we earn on qualifying purchases.
As an affiliate, we earn on qualifying purchases.
Frequently Asked Questions
How Often Should I Replace the Nailer’s O-Rings?
You should replace the nailer’s O-rings during your maintenance schedule or whenever you notice leaks or loss of pressure. Regular O-ring replacement helps prevent air leaks and maintains peak performance. Check your user manual for specific intervals, but generally, inspecting and replacing O-rings every 6 to 12 months is a good practice. Keeping up with this maintenance ensures your pneumatic nailer stays reliable and operates smoothly.
Can I Use Alternative Lubricants Besides Pneumatic Oil?
Yes, you can use lubricant alternatives or oil substitutes for your pneumatic nailer. However, verify they’re compatible and won’t damage internal parts. Light machine oils or silicone sprays are common options, but avoid petroleum-based products that can cause deterioration. Always check your manufacturer’s recommendations before trying alternative lubricants. Proper lubrication keeps your nailer functioning smoothly and extends its lifespan, so choose wisely and apply sparingly.
What Are Signs of a Failing Pneumatic Nailer?
If your pneumatic nailer shows signs of a failing, you might notice an air leak or inconsistent driving of nails. These issues indicate that parts like seals or the driver may be worn out or damaged. You should also listen for strange noises or observe if the nailer jams frequently. Addressing these signs promptly can prevent further damage and guarantee your tool works efficiently.
Is It Safe to Disassemble My Pneumatic Nailer for Cleaning?
Ever wonder if disassembling your pneumatic nailer is safe? While it can be, you must follow proper disassembly safety and cleaning procedures. Make sure the tool is unplugged and depressurize it before starting. Carefully remove parts according to the manufacturer’s instructions, avoiding force. If you’re unsure, consult the user manual or a professional. Proper disassembly and cleaning guarantee your nailer remains safe, functional, and extends its lifespan.
How Do I Fix Misfiring or Jammed Nails?
To fix misfiring or jammed nails, start by performing nail jam removal carefully. Disconnect your nailer, then clear any jammed nails using a tool or by hand. For misfire troubleshooting, check the air pressure and make sure the safety mechanism isn’t engaged. Clean and oil the tool if needed. Regular maintenance prevents future jams and misfires, keeping your nailer running smoothly. Always follow safety precautions during these steps.

SENCTRL 0-200 Psi Glycerin Liquid Filled Pressure Gauge, 2.5" Dial Size, 1/4" NPT Lower Mount, Stainless Steel Case, for Water Oil Pressure Test in Pipe Pool Pump Sand Filter Air Compressor
Brass and Stainless Steel wetted parts for measuring non-corrosive liquid and gas pressure. Such as water, oil pressure…
As an affiliate, we earn on qualifying purchases.
As an affiliate, we earn on qualifying purchases.
Conclusion
By regularly oiling and troubleshooting your pneumatic nailer, you keep it running smoothly and avoid unnecessary headaches. Think of it as tending a garden—you’ll reap the benefits of fewer breakdowns and longer-lasting tools. Don’t wait until it’s too late; give your nailer the care it deserves. When you stay on top of maintenance, you’ll keep your projects moving without hitting a snag. A little effort now saves a lot of trouble later.
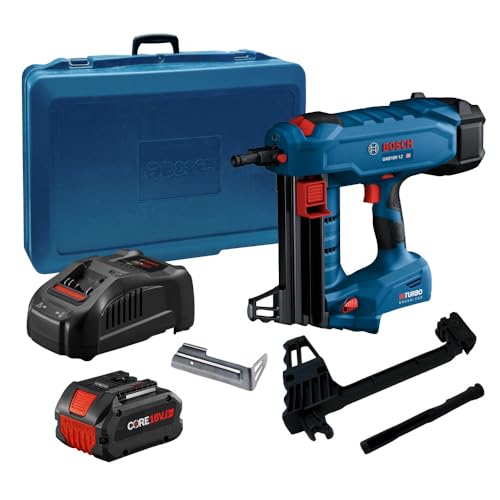
Bosch GNB18V-12K14 PROFACTOR™ 18V Concrete Nailer Kit with (1) CORE18V® 8 Ah High Power Battery
PROFACTOR 18V CONCRETE NAILER DESIGN: Provides heavy-duty power, fast operation, and a versatile open system
As an affiliate, we earn on qualifying purchases.
As an affiliate, we earn on qualifying purchases.
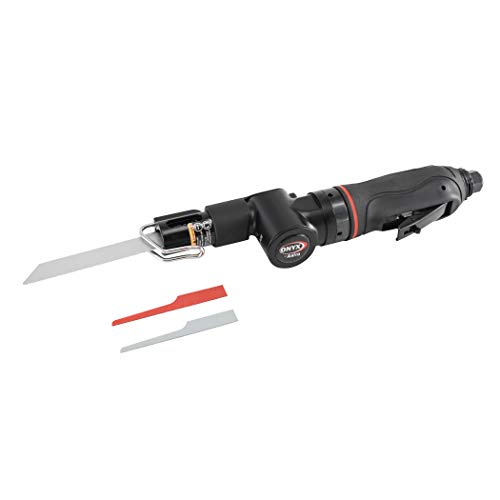
Astro Pneumatic Tool 936 Onyx Gear Driven Heavy Duty Air Saw
Industry leading gear-driven design with 250% more cutting capacity than standard air saws
As an affiliate, we earn on qualifying purchases.
As an affiliate, we earn on qualifying purchases.