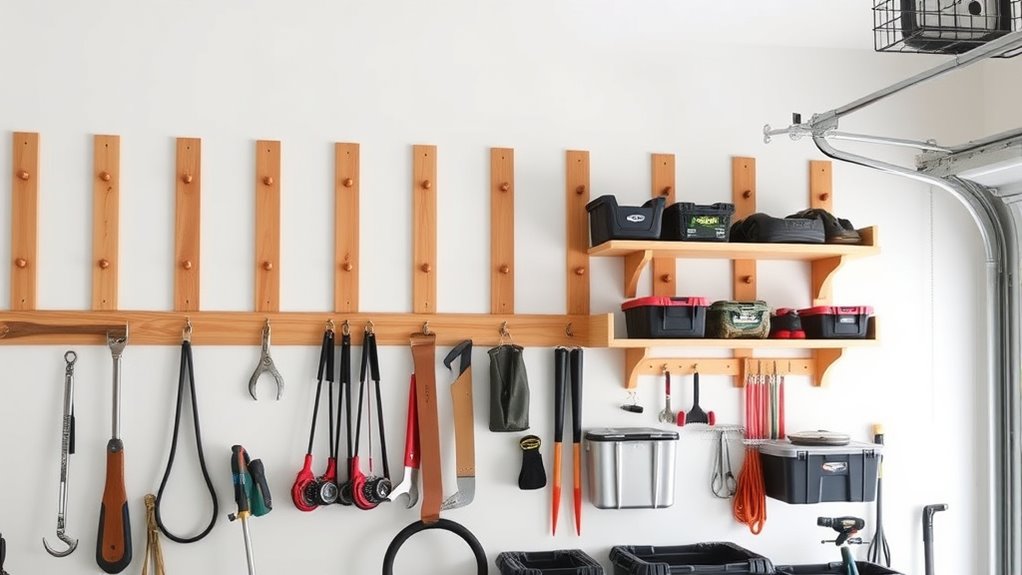

To master the French cleat system, start by selecting durable materials like hardwood or plywood and carefully measure your wall space. Install the top cleat securely into wall studs using appropriate anchors, making sure to pre-drill and level everything precisely. Interlock the wall-mounts with the hanging units, ensuring they’re firmly secured for safety and strength. Regularly check and tighten screws over time, and you’ll discover how versatile and reliable this modular storage solution is as you explore further details.
Key Takeaways
- Measure and plan wall layout carefully, marking cleat placement for balanced weight distribution and secure attachment.
- Install the top cleat first, ensuring it is level and anchored into wall studs for maximum support.
- Use pre-drilled holes, appropriate anchors, and screws matching load requirements for a strong, durable system.
- Regularly inspect and tighten cleats and screws to maintain system safety and longevity.
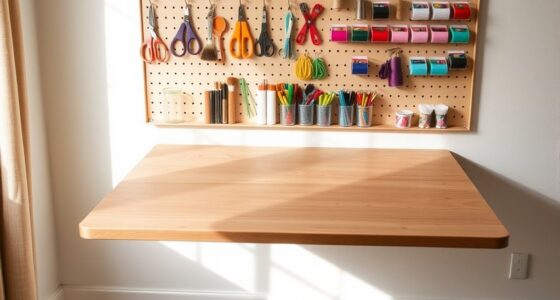
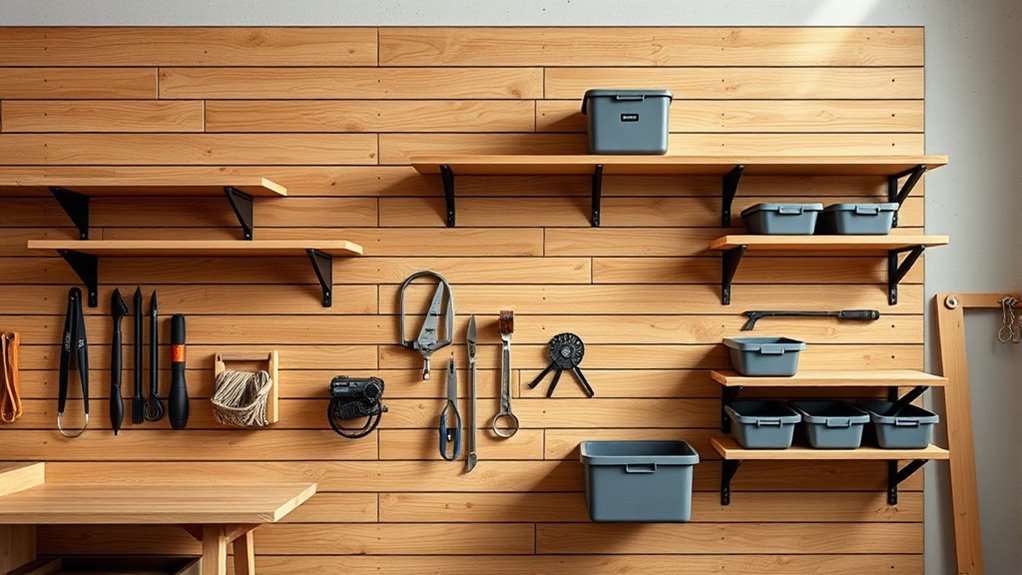
- Add, remove, or rearrange storage units easily without redoing the entire wall, thanks to the system’s modular design.
If you’ve ever struggled with hanging heavy or multiple items securely, mastering the French cleat system can be a game-changer. This method offers a reliable way to organize your space with modular wall storage that can bear significant weight. To get started, understanding the basics of installation tips and safety precautions is essential. First, choose the right materials—hardwood or plywood works best because they’re sturdy and durable. Measure your wall and plan your layout carefully, marking where each cleat will go to guarantee even weight distribution. Using a level is vital during installation; a crooked cleat can cause items to hang unevenly or fall, so double-check your measurements before drilling.
When installing the cleats, it’s important to use appropriate anchors and screws that match the weight of your stored items. For heavier loads, consider installing into wall studs rather than just drywall—this provides additional support and minimizes the risk of the cleat pulling away. Pre-drill holes into the cleat and the wall to prevent splitting the wood and to ensure accuracy. Secure the top cleat first, then align the corresponding wall-mount piece, locking them together with a firm press. This interlocking mechanism is what makes the system so strong and dependable.
Safety precautions should always be a priority. Before drilling, clear the area of any obstructions and double-check for hidden wiring or pipes behind the wall. Use appropriate safety gear, like goggles and gloves, to protect yourself from dust and splinters. If you’re unsure about the wall’s structure, it’s wise to consult a professional or use a stud finder to identify the best mounting points. Never underestimate the importance of proper tools—using a high-quality drill, level, and screwdriver will make the process easier and safer.
Additionally, understanding the importance of contrast ratio in projector image quality can help you create a more immersive home cinema experience when designing your space.
Once installed, regularly inspect the cleats for any signs of wear or looseness. Over time, screws can loosen due to weight or vibrations, so tighten them as needed. The beauty of the French cleat system is its modularity—you can easily add, remove, or rearrange storage units without having to redo the entire wall. By following these installation tips and safety precautions, you’ll maximize the system’s strength and longevity, transforming your space into a well-organized, efficient environment. Remember, patience and precision during installation will pay off in the long run, giving you a secure and versatile storage solution that adapts to your needs.
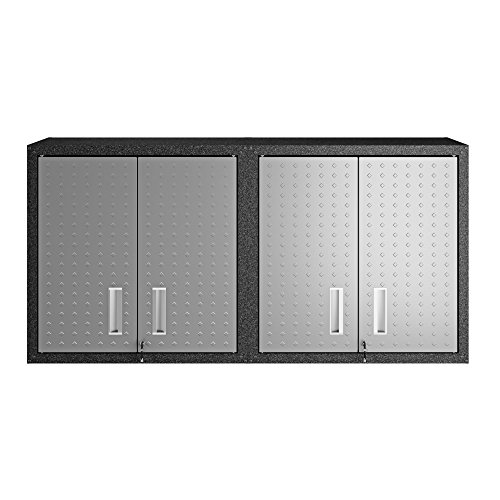
Manhattan Comfort Fortress 30" Floating Garage Storage Cabinet Set of 2, Lockable, Adjustable Shelves, Recessed Handles, Steel Wall Mounted Utility Cabinet for Workshop, Garage, Basement in Black/Grey
STURDY CONSTRUCTION: Made from durable 24-gauge metal, this garage storage cabinet ensures long-lasting use and reliability for all...
As an affiliate, we earn on qualifying purchases.
Frequently Asked Questions
Can the French Cleat System Support Heavy or Fragile Items?
The French cleat system can support heavy or fragile items if you pay attention to weight capacity and material durability. You should choose sturdy wood or metal cleats designed for high weight loads. Make certain proper installation into wall studs for added strength, and distribute weight evenly across cleats. With the right materials and installation, this system provides a secure solution for supporting a wide range of items safely.
What Tools Are Needed to Install the French Cleat System?
You need simple tools for installation basics, including a level to guarantee perfect alignment, a measuring tape for precise placement, a pencil to mark your spots, a drill for making holes, and screws or anchors to secure the cleats. These tools needed are straightforward and essential. By using them correctly, you’ll ensure a sturdy, professional-looking setup, making your modular wall storage both functional and visually neat.
Is the System Adjustable Once Installed?
Yes, the system is adjustable once installed. You can easily modify its position by using adjustment techniques like loosening and repositioning the cleats to suit your wall compatibility and storage needs. This flexibility allows you to change the arrangement without hassle, making sure your modular wall storage stays functional and tailored to your space. Just ensure your wall surface supports the cleats, and you’ll enjoy a customizable, adjustable setup.
Can the French Cleat System Be Used Outdoors?
You might worry about using the French cleat system outdoors, but it can work if you choose weather-resistant and UV-stable materials. These features help the system withstand sun, rain, and other elements, ensuring durability. Just make sure to select cleats made specifically for outdoor use, and you’ll enjoy a versatile, adjustable storage solution that stands up to the weather without losing strength or appearance.
How Do I Customize the Cleat System for Different Wall Types?
To customize the cleat system for different wall types, you need to consider wall anchors and surface preparation. First, identify your wall type—drywall, concrete, or wood—and choose appropriate anchors. Proper surface prep ensures a secure fit; clean and level the wall area. For uneven surfaces, use shims or padding. This way, your cleats stay stable, and your storage system remains reliable on any wall.

INTERGREAT 8-Drawers Rolling Tool Chest, Assembled Tool Chest with Wheels, Detachable Top Tool Box, Tool Cabinet for Repair Room,Warehouse, Rolling Tool Box with Hooks,Tray Divider,Liners(Black)
✅【Durable】 Tool chest is made of premium steel with powder coating, stable construction, avoids from scratching, denting, and...
As an affiliate, we earn on qualifying purchases.
Conclusion
Now that you’ve learned the French cleat system, you’re ready to create versatile, customizable storage solutions. Think of it like building a set of sturdy ladder rungs—you can easily add, remove, or rearrange your pieces whenever you want. With this simple yet powerful system, your walls become a canvas for organization and creativity. So, get started today and turn clutter into a sleek, functional space you’ll love to work in!

LARBANKE 7-Drawer Rolling Tool Chest with Lock&Keys and Swivel Casters,Tool Chest with Multi-Sizes Drawers and Multifunctional Countertop,Special Connect Rods for Connection with 5-Drawer Tool Cabinet
Large Capacity Drawers: The LARBANKE Tool Chest measures 24.6'' (W) x 13'' (D) x 28.7'' (H) and features...
As an affiliate, we earn on qualifying purchases.
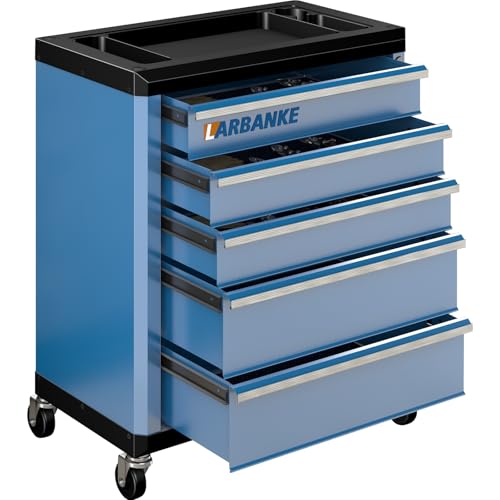
LARBANKE 5-Drawer Rolling Tool Chest with 360° Wheels and Lock&Keys,Tool Cabinet with Non-slip Pearl Cotton Mat and Multifunctional Countertop,Connecting Rods Can Be Connected with 7-Drawer Tool Chest
【Product Size】LARBANKE tool chest measures 24.6 ″W× 13.0 ″D× 28.7 ″H.The tool chest features two different drawer sizes...
As an affiliate, we earn on qualifying purchases.