To joint and mill lumber properly, guarantee your equipment is well-adjusted and blades are sharp. Always align cuts parallel to the grain to prevent tear-out and rough surfaces, which leads to better finishes. Control moisture levels to avoid warping or cracking by acclimating your wood and using a moisture meter. Paying attention to grain direction and proper setup results in more stable, smooth results that last. Keep going to learn essential tips for professional-quality surface preparation.
Key Takeaways
- Always mill parallel to the grain to prevent tear-out and achieve smooth surfaces.
- Ensure blades are sharp and properly aligned for clean, accurate cuts.
- Control moisture content through acclimation and use moisture meters for consistency.
- Properly set up equipment and adjust for grain direction to minimize surface defects.
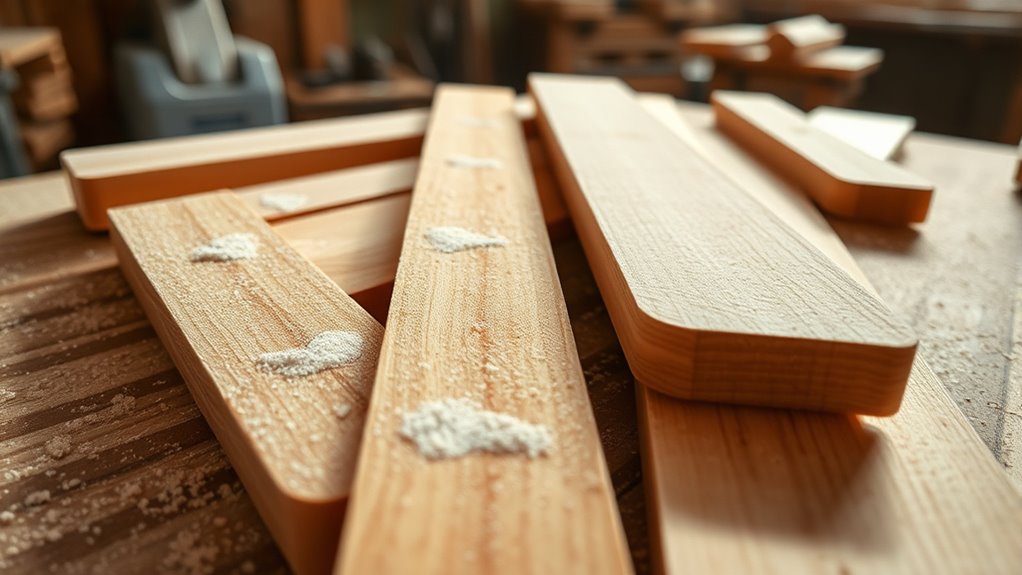
- Prepare surfaces by sanding and cleaning to enhance adhesion and finish quality.
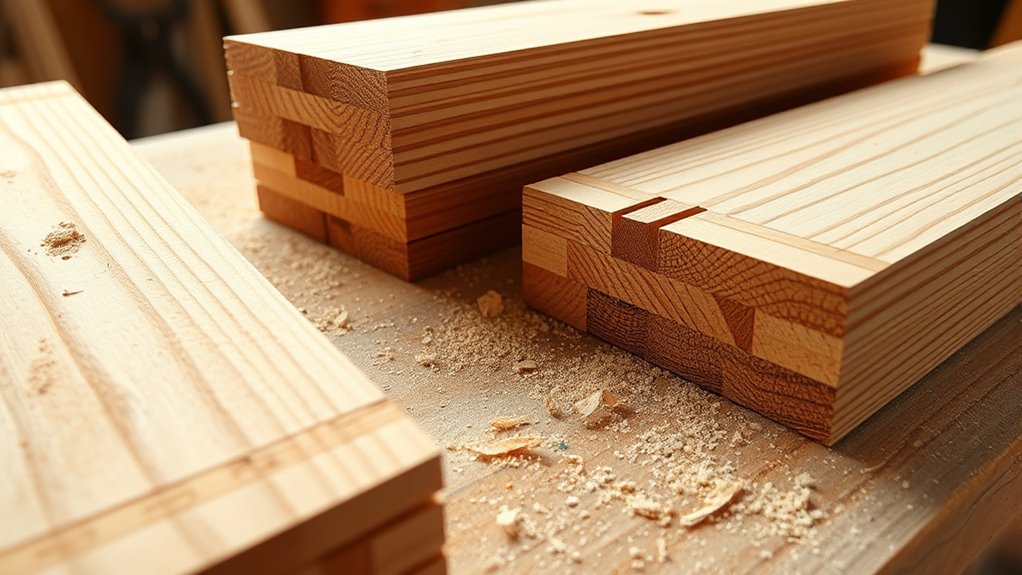
Have you ever wondered why surface preparation is a essential step before applying paint, coating, or adhesive? It’s because a properly prepared surface guarantees better adhesion, durability, and a professional finish. When working with lumber, jointing and milling are critical processes that set the foundation for a successful project. One of the key aspects you need to focus on during these steps is grain alignment. If the grain isn’t aligned correctly, the wood can warp, crack, or split over time, compromising the integrity of your work. Proper jointing and milling help straighten and smooth the wood, ensuring the grain runs uniformly, which not only improves appearance but also enhances strength and stability.
Moisture control is equally essential during surface preparation. Wood is hygroscopic, meaning it absorbs and releases moisture depending on environmental conditions. If you don’t manage moisture properly during jointing and milling, you risk working with wood that’s either too wet or too dry. Excess moisture can cause the wood to warp or swell after milling, while overly dry wood may be brittle and prone to cracking. By controlling moisture levels before and during milling, you help maintain consistent dimensions and surface quality, reducing the likelihood of issues later on. This often involves acclimating the lumber in the workspace for a few days or using moisture meters to check moisture content, aiming for a stable, best level.
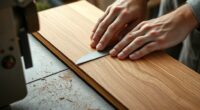
When you set up your milling equipment, pay close attention to grain direction. Milling against the grain can cause tear-out, leaving rough, splintered surfaces that are difficult to finish. Instead, align your cuts parallel to the grain whenever possible. This practice produces cleaner edges and a smoother surface, minimizing the need for extra sanding. Also, when jointing, ensure the blades are sharp and adjusted correctly. Dull blades can tear the wood fibers, disturbing grain alignment and creating uneven surfaces that will be problematic during finishing.
woodworking jointer
As an affiliate, we earn on qualifying purchases.
As an affiliate, we earn on qualifying purchases.
Frequently Asked Questions
What Tools Are Best for Jointing and Milling Lumber?
You’ll want to use a jointer or a planer for jointing techniques and milling equipment. A jointer quickly flattens and straightens edges, while a planer guarantees smooth, even surfaces. For more precise milling, consider a table saw with a good fence or a CNC machine if you’re doing intricate work. These tools help you achieve accurate, clean cuts essential for high-quality lumber preparation, making your project look professional and polished.
How Do Environmental Conditions Affect Lumber Surface Preparation?
Environmental conditions considerably impact lumber surface preparation. Humidity impact can cause wood to swell or shrink, leading to uneven surfaces if not properly acclimated. Temperature effects influence how wood responds during jointing and milling—high temperatures may cause warping, while cold conditions can make the wood brittle. To guarantee smooth results, always allow lumber to reach equilibrium with your workspace conditions before working on it.
What Safety Precautions Should Be Taken During Milling?
Think of milling like steering a busy highway—you need to stay alert. Always wear personal protective equipment like goggles, ear protection, and dust masks to shield yourself. Ensure machine safety features, such as blade guards and emergency stops, are in place and functioning. Never bypass safety devices. Keep your hands clear of blades, and stay focused, because a moment of distraction can turn a safe job into a serious accident.
How Often Should Equipment Be Maintained for Optimal Surface Quality?
You should perform equipment maintenance regularly, ideally after every few uses, to guarantee optimal surface quality. Consistent checks, cleaning, and sharpening of blades prevent uneven cuts and rough surfaces. By maintaining your equipment properly, you reduce the risk of malfunctions and achieve smoother, more precise results. Remember, well-maintained machinery directly impacts the quality of your finished product and prolongs the lifespan of your tools.
Can Recycled or Reclaimed Wood Be Prepared Using Standard Methods?
Think of recycled or reclaimed wood like a treasure chest waiting to be opened. You can prepare reclaimed wood using standard methods, but you must first check for stability and remove any nails or debris. Reclaimed wood often requires extra cleaning and milling to address warping or knots. Recycling processes help restore its surface, making it suitable for jointing and milling just like new lumber, ensuring a smooth, quality finish.
wood planer for milling
As an affiliate, we earn on qualifying purchases.
As an affiliate, we earn on qualifying purchases.
Conclusion
By mastering proper jointing and milling, you’re sculpting the foundation of your project with the precision of a master artisan. These steps lay the groundwork like a well-worn path, guiding your craftsmanship toward perfection. When your surfaces are smoothly prepared, your finished piece will shine like a polished gem, reflecting quality and care. Embrace these techniques as the brushstrokes of a painter, turning raw lumber into a masterpiece that stands the test of time.

General Tools MMD4E Digital Moisture Meter, Water Leak Detector, Moisture Tester, Pin Type, Backlit LCD Display With Audible and Visual High-Medium-Low Moisture Content Alerts, Grays
HUMIDITY SENSOR: Our handy meter tool can quickly determine what level of remediation is needed to keep your…
As an affiliate, we earn on qualifying purchases.
As an affiliate, we earn on qualifying purchases.
table saw with fence
As an affiliate, we earn on qualifying purchases.
As an affiliate, we earn on qualifying purchases.