To get perfect picture frame corners with the spline jig trick, start by precisely routing a slot across your mitered joint using a spline jig for guidance. Insert a matching spline strip into the slot, then glue and clamp the pieces for a strong, seamless connection. This method guarantees tight, professional-looking corners that resist warping and shifting over time. Keep practicing, and you’ll discover more tips to refine your frame-making skills.
Key Takeaways
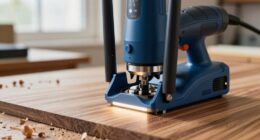
- Use a spline jig to accurately cut a slot across each mitered corner for reinforcement.
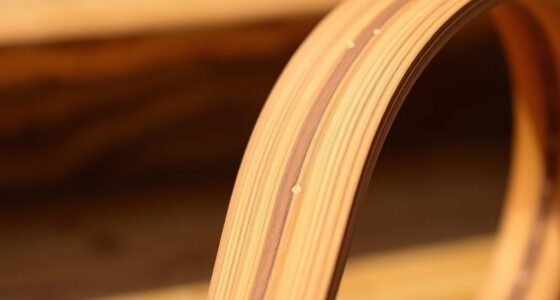
- Insert a fitting spline strip into the routed slot with glue for added strength and perfect alignment.
- Clamp the frame pieces securely during drying to ensure tight, flush corners.
- Routing with the jig ensures consistent, clean cuts for professional-looking miter joints.
- The spline adds durability, prevents warping, and achieves seamless, corner-to-corner precision.
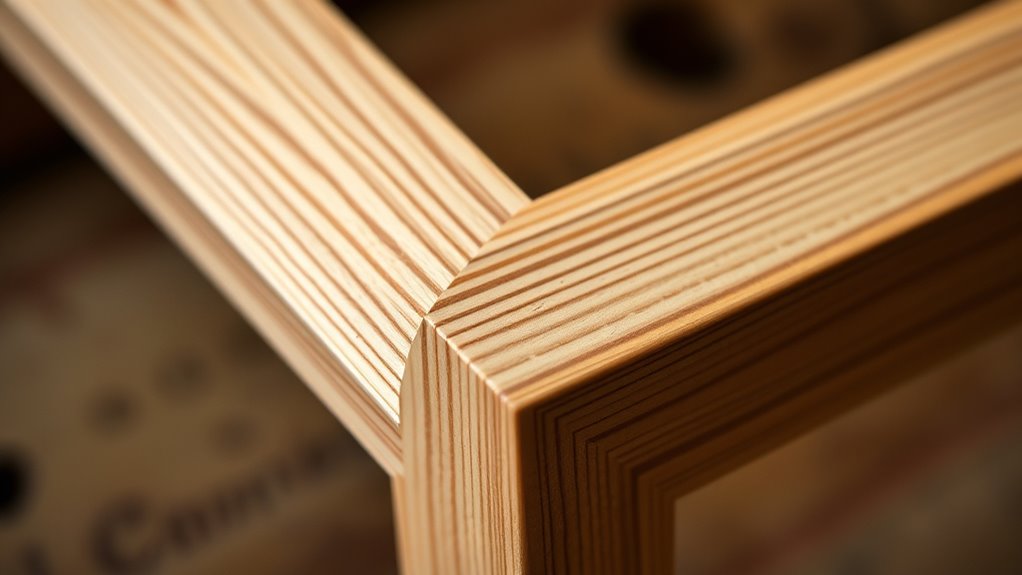
Have you ever struggled to get your picture frame corners just right? It’s a common challenge, especially when trying to achieve a clean, professional look. One of the key elements in perfect frame assembly is mastering the miter joint. This joint involves cutting two pieces of frame material at a 45-degree angle so they fit together seamlessly at the corners. When done correctly, a miter joint creates a sleek, continuous line that enhances the overall appearance of your frame. But even the most precise cuts can sometimes fall short, resulting in gaps or misaligned corners that ruin the look. That’s where the spline jig trick comes into play, offering a simple way to improve your frame assembly and achieve perfect corners every time.
Using a spline jig allows you to add a reinforcing spline into the miter joint, which strengthens the connection and makes alignment much easier. The process begins with cutting your frame pieces at the proper miter angles. Once you’ve cut the corners, you’ll use the spline jig to create a slot across the joint. This jig guides your router or saw to make the cut perfectly straight and consistent. When you insert the spline strip into the slot, it acts as a splint, ensuring that both sides of the frame stay aligned during glue-up. This technique not only adds durability to your frame but also helps you achieve a tight, flush corner, eliminating gaps or misfits that often occur with just glue and clamps alone.
Add reinforcement with a spline jig for stronger, perfectly aligned miter joints.
As you assemble the frame, the spline provides a mechanical connection that holds everything in perfect position. It’s especially helpful if you’re working with warped or less-than-perfect materials, giving you an extra layer of precision and strength. The process is straightforward: after routing the slots, you glue the spline into place, clamp the pieces firmly, and let the glue dry. The result is a frame with crisp, accurate corners that look professional and clean. Plus, the added reinforcement means your frame will stay tight over time, resisting warping or shifting.
In addition, incorporating hackathon strategies such as collaboration tools can help you troubleshoot and refine your technique through feedback from fellow woodworkers or online communities. The process is straightforward: after routing the slots, you glue the spline into place, clamp the pieces firmly, and let the glue dry. The result is a frame with crisp, accurate corners that look professional and clean. Plus, the added reinforcement means your frame will stay tight over time, resisting warping or shifting.
In short, incorporating a spline jig into your frame-making routine transforms the challenge of perfecting your picture frame corners into a manageable, even enjoyable project. It streamlines the frame assembly process, boosts the strength of your joints, and guarantees a professional finish. Once you get the hang of it, you’ll wonder why you ever relied solely on traditional miter joints without reinforcement. With this trick, you’ll craft picture frames that are not only beautiful but also built to last, ensuring your artwork always looks its best in a flawless frame.
spline jig for picture frames
As an affiliate, we earn on qualifying purchases.
As an affiliate, we earn on qualifying purchases.
Frequently Asked Questions
Can the Spline Jig Be Used for Other Woodworking Joints?
You wonder if a spline jig can be used for other woodworking joints. While it’s primarily designed for creating strong, precise spline joints, you can customize the jig for alternative joint techniques like dovetails or dadoes. With some adjustments, the spline jig becomes a versatile tool for various projects, making it easier to achieve tight, accurate joints. Experimenting with spline jig customization liberates new possibilities in your woodworking craftsmanship.
What Materials Are Best Suited for Picture Frames?
Imagine the perfect frame—what materials do you choose? You should prioritize materials that offer both aesthetic appeal and frame durability. Wood, especially hardwoods like oak or maple, often makes the best choice because of their stability and beauty. Alternatively, metal or high-quality composite materials can also work well. Your selection impacts not only the look but also how well your frame withstands time, making thoughtful materials selection essential for a lasting, beautiful picture frame.
How Do I Prevent Splines From Cracking During Assembly?
To prevent splines from cracking during assembly, focus on spline material selection and joint strength optimization. Choose softer, flexible materials like veneer or plywood for better absorption of stress. Apply glue evenly and don’t over-tighten the joint. Clamping the assembly carefully guarantees even pressure, reducing crack risk. Properly prepared splines and precise fitting help maintain joint integrity, ensuring your picture frame corners stay strong and crack-free.
Is Special Sanding Required After Using the Spline Jig?
After using the spline jig, you might wonder if special sanding is required. Typically, the sanding process involves smoothing out any rough edges or excess glue to achieve a clean finish. You don’t need special sanding techniques, just use fine-grit sandpaper for a smooth surface. Proper finishing techniques ensure your corners look professional and polished, enhancing the overall appearance of your picture frame.
Can This Technique Be Applied to Frames of Irregular Shapes?
You can adapt this technique for irregular shapes, but it may not be as precise. For complex or non-standard frames, consider alternative methods like custom miter cuts or clamps designed for irregular curves. These approaches give you better control and accuracy. While the spline jig works well for standard corners, exploring alternative methods ensures your irregular-shaped frames fit perfectly and look professional.
router spline jig
As an affiliate, we earn on qualifying purchases.
As an affiliate, we earn on qualifying purchases.
Conclusion
Mastering the spline jig trick transforms your picture framing from mere craft to an art form, much like da Vinci’s meticulous precision. With patience and practice, you’ll craft corners so perfect they seem destined to stand the test of time. Remember, every skilled artisan once started as a novice, but it’s their dedication that shapes masterpieces. So, embrace this technique, and soon your frames will reflect the timeless beauty of a well-placed brushstroke.
picture frame miter joint clamp
As an affiliate, we earn on qualifying purchases.
As an affiliate, we earn on qualifying purchases.

GOINGMAKE Thin Rip Jig Table Saw Jig Guide for Making Repetitive Narrow Thin Strip Cuts Woodworking Tools Fast Thin Ripping Guide for Table Saw Band Saw Router Table Fits for 3/8" x 3/4" T Slot
【EASY TO USE】GOINGMAKE thin rip jig is easy to use. Just slide the guide into T-track miter slot…
As an affiliate, we earn on qualifying purchases.
As an affiliate, we earn on qualifying purchases.