To guarantee repeatability when sharpening gouges on a jig, double-check the jig’s alignment and securely lock it in place before each use. Practice maintaining consistent pressure and angle, and use scrap pieces to fine-tune your setup. Regularly inspect and clean both your tools and jig to avoid buildup that can affect results. With proper technique and attention to detail, you’ll achieve consistent, precise edges every time—more tips await to improve your process further.
Key Takeaways
- Secure the jig firmly to prevent movement during sharpening to ensure consistent results.
- Double-check and align the jig properly before each use for accurate bevel angles.
- Practice on scrap pieces to develop steady pressure and consistent tool positioning.
- Engage locking mechanisms on the jig to maintain the same angle throughout multiple sharpenings.
- Regularly inspect and calibrate the jig to maintain precision and reproducibility over time.

Sharpening gouges on a jig guarantees consistent, precise edges that improve your carving results. When you use a jig, you ensure that each sharpening session is repeatable, allowing you to maintain the same bevel angles and edge quality every time. This consistency is crucial for producing smooth, accurate carvings and prolonging the life of your tools. To achieve this, you need to focus on proper tool maintenance and adhere to safety procedures. Regularly inspecting your gouges for nicks, dullness, or damage helps you determine when sharpening is necessary. Keeping your tools in good condition not only enhances performance but also reduces the risk of accidents caused by working with compromised blades. Proper tool maintenance also involves cleaning your jig and sharpening equipment regularly to prevent buildup that could impact performance or safety.
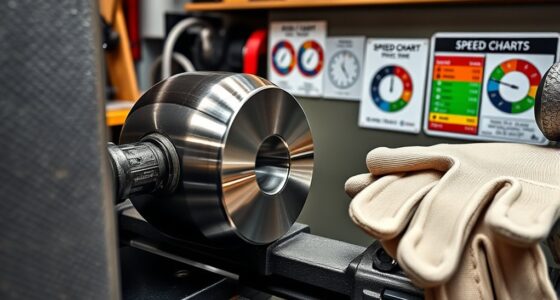
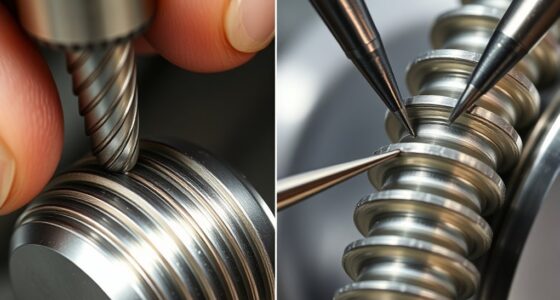
Using a jig simplifies the sharpening process by holding your gouge at the precise angle needed for a sharp edge. This setup eliminates guesswork, ensures repeatability, and results in more uniform edges. When you set up your jig, double-check that it’s properly aligned and secure. A loose or misaligned jig can lead to uneven sharpening, which defeats the purpose of using it in the first place. Always follow the manufacturer’s instructions for your specific jig model, and practice on scrap pieces if you’re new to the process. This way, you develop a feel for the correct positioning and pressure needed to achieve an ideal edge without risking damage to your tools. Additionally, understanding the importance of proper bevel angles helps ensure your gouges are sharpened to optimal specifications for carving precision. Safety procedures are critical when sharpening gouges. Always wear safety goggles to protect your eyes from sparks, metal shavings, and debris. Keep your hands clear of the grinding wheel or stone, and use proper gripping techniques to maintain control of your tool. If your jig has a locking mechanism, ensure it’s engaged before starting to avoid any slips. Avoid rushing through the process; taking your time helps prevent accidents and results in a cleaner, more consistent edge. After sharpening, inspect the edge closely for burrs or uneven spots, and remove any excess material carefully.
Frequently Asked Questions
How Often Should I Re-Sharpen My Gouges?
You should re-sharpen your gouges whenever you notice a decline in cutting performance, typically after 2-4 uses or when the cut becomes rough or uneven. Maintaining a consistent maintenance schedule helps keep your tools in top shape. Regular sharpening frequency depends on how often you use them and the materials you work with. By staying attentive to the quality of your cuts, you’ll know when it’s time for a quick touch-up.
Can I Use a Jig for All Types of Gouges?
Using a jig for all types of gouges is like trying to fit a square peg in a round hole. Not all gouge materials or shapes are compatible with standard jigs, so you might need specialized tools for different profiles. Before you start, check your jig’s compatibility with each gouge’s material and design. This guarantees precise sharpening and avoids damaging your tools or compromising your work quality.
What Safety Precautions Are Necessary During Sharpening?
You should always wear personal protective equipment like safety glasses and a dust mask to protect your eyes and lungs during sharpening. Make certain proper lighting so you can see clearly and avoid accidents. Keep your hands away from the grinding wheel’s path, and never rush the process. Maintaining a steady stance and focusing on the task helps prevent slips or injuries. These precautions keep you safe while achieving sharp, precise gouges.
How Do I Identify When a Gouge Needs Sharpening?
You can tell when a gouge needs sharpening by observing gouge dullness and performing edge inspection. If your cuts become rough, require more force, or produce fuzzy shavings, the gouge is dull. Regularly inspect the edge for nicks, chips, or rounded areas. When you notice these signs or the tool struggles to carve smoothly, it’s time to hone. Maintaining sharpness ensures cleaner cuts and safer, more precise woodworking.
Are There Different Jigs for Different Gouge Sizes?
Yes, there are different jigs designed for various gouge sizes to guarantee proper jig compatibility. You should choose a jig that matches your gouge’s sizing to achieve accurate sharpening. Using the correct jig for your gouge helps maintain consistent bevel angles and overall sharpening quality. Always check the jig specifications before purchasing or using it, so you can confidently sharpen different gouges without sacrificing precision or safety.
Conclusion
Now that you know the key tips for sharpening gouges on a jig, you’re almost ready to perfect your technique. But here’s the secret—small adjustments can make a huge difference in your results. Will you notice the subtle changes that lead to flawless cuts? Stay tuned and keep experimenting; your precision skills are about to reach new heights. The next step could transform your woodworking game forever. Are you ready to see what’s possible?


