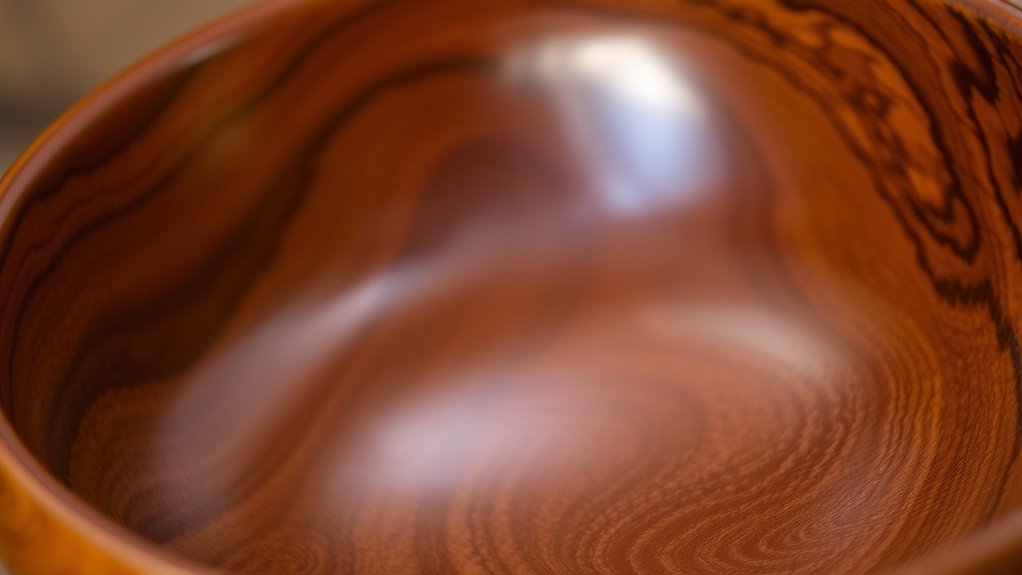
To finish turned projects with oils, shellac, and waxes, choose quality materials suited to your wood type and desired look. Apply oils generously with a cloth or brush, working into the grain, and add multiple coats for depth. Use thin, even coats of shellac to prevent streaks, and buff waxes after application to add a soft shine. Proper techniques guarantee a smooth, durable finish that highlights craftsmanship; keep exploring to master these finishing skills.
Key Takeaways
- Use woodworking-specific oils like tung or linseed for deep penetration and enhanced appearance.
- Apply shellac in thin, even coats, working quickly and allowing drying time between layers.
- Waxes should be applied sparingly with a soft cloth, then buffed to achieve a smooth, protective finish.
- Select high-quality materials and finishes compatible with each other to ensure durability and a refined look.
- Proper application techniques and material choices enhance both the aesthetic appeal and long-term protection of turned projects.

Completing turned projects is a essential step that often gets overlooked in the woodworking process. The finishing stage not only enhances the appearance but also protects your work from damage over time. When it comes to applying oils, shellac, and waxes, your success hinges on proper application techniques and careful material selection. These factors ensure that your project achieves a smooth, durable, and attractive finish that highlights the craftsmanship of your turned piece.
First, understanding application techniques is critical. Each finishing product demands a specific approach to achieve ideal results. For oils, you typically start by applying a generous amount with a clean cloth or brush, then work it into the wood following the grain. Allow the oil to penetrate for a few minutes before wiping away the excess. Multiple coats are often necessary, with light buffing between applications to build depth and luster. Shellac, on the other hand, is best applied using a brush or pad in thin, even coats. You should work quickly and smoothly to avoid streaks or uneven coverage, letting each coat dry thoroughly before adding the next. Waxes require a different touch—usually, you apply a small amount with a soft cloth, working it into the surface in circular motions. Afterward, buff the wax to a soft sheen, which enhances the natural beauty and smoothness of the wood.
Material selection plays a significant role in the overall quality of your finish. When choosing oils, look for those formulated specifically for woodworking, like tung or linseed oil, which penetrate deeply and provide a rich, natural look. Shellac is available in various grades and shades, so select one that complements the wood species and the desired aesthetic. Waxes come in different formulations—paste or liquid—and you want to pick a product compatible with the other finishes you’ve used. Quality matters; using high-grade materials ensures better adhesion, longer-lasting protection, and a more refined appearance.
Frequently Asked Questions
How Do I Choose the Best Finish for Outdoor Turned Projects?
To choose the best finish for outdoor turned projects, consider weatherproofing options like exterior-grade oils, spar varnish, or polyurethane, which offer superior finish durability. You should assess your project’s exposure to elements and select a finish that provides long-lasting protection against moisture, UV rays, and temperature changes. Test a small area first, and reapply as needed to maintain your project’s appearance and integrity over time.
Can I Apply Oils or Waxes Over Shellac or Vice Versa?
You can apply oils over shellac and vice versa, but watch out for compatibility issues. Shellac acts as a barrier, so applying oil over it might not penetrate well, and waxes over shellac could cause adhesion problems. To guarantee good results, wait until each layer is fully cured and use proper application techniques like light sanding between coats. Testing on a scrap piece first helps avoid surprises on your finished project.
What Safety Precautions Are Necessary When Applying Finishes?
When applying finishes, you should wear protective gear like masks, gloves, and goggles to avoid inhaling fumes or skin contact. Make certain your workspace is well-ventilated by opening windows or using fans, which helps dissipate harmful vapors. Always follow the manufacturer’s instructions for proper application and drying times. Taking these safety precautions protects your health and ensures a safe, successful finishing process.
How Long Should I Wait Between Coats of Finish?
You should wait about 2 to 4 hours between coats of finish, but always check the drying time on the product’s label. Make certain the surface is smooth and free of dust before applying the next coat by lightly sanding or cleaning it. Proper surface preparation helps the finish adhere better and reduces the risk of imperfections. Rushing this process can lead to uneven finishes or longer overall drying times.
How Do I Repair or Touch up a Finished Turned Project?
You can easily repair or touch up your finished turned project by first cleaning the surface with gentle surface prep to remove dust or oils. Then, match the color carefully using a compatible stain or finish. Lightly sand the area if needed, apply the touch-up in thin layers, and blend it seamlessly. This way, your project looks fresh and cohesive, with minimal effort and natural results.
Conclusion
Finish your turned projects with oils, shellac, and waxes, and you’ll reveal a brilliance so stunning, it could make the sun jealous. Your creations will glow with an almost magical radiance, capturing everyone’s awe and admiration. Remember, a perfect finish isn’t just about protection—it’s about transforming your work into timeless art that outshines even the most legendary masterpieces. So go ahead, finish with passion, and watch your projects become breathtaking legends in their own right.


