To carve a decorative fan shell onlay for mantels, select a sturdy, smooth shell and sketch your design with a fine pencil, emphasizing radiating lines and scalloped edges. Use small, sharp tools or rotary bits to carve gently, creating layered textures and enhancing natural shell patterns. Add subtle finishes or color washes to highlight details, then securely attach the onlay with adhesive before sealing with a protective varnish. Next, explore the detailed steps that will guide you through each stage to achieve a stunning result.
Key Takeaways
- Select high-quality shells with smooth surfaces and natural patterns suitable for detailed carving.
- Use fine chisels or rotary tools to carve radiating lines, scalloped edges, and layered textures with precision.
- Enhance carved details with subtle bevels, smooth finishes, and contrasting washes to add depth and realism.
- Secure the finished onlay onto the mantel with appropriate adhesive, ensuring a flush and stable fit.
- Seal the onlay with varnish or sealant to protect the craftsmanship and highlight the shell’s natural luster.

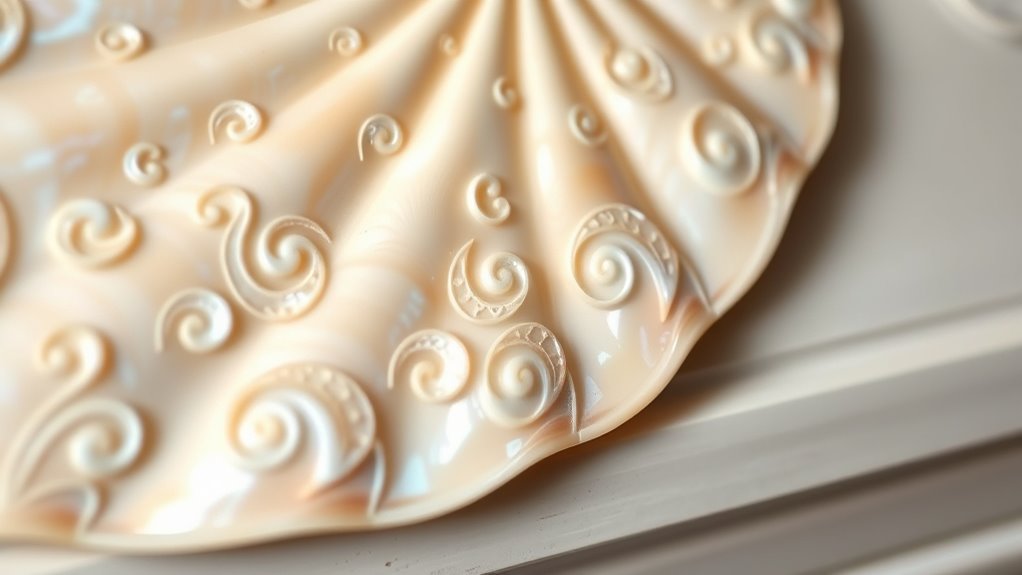
Carving a decorative fan shell onlay adds a touch of elegance and craftsmanship to furniture or decorative projects. When you undertake this process, you’re engaging in a form of shell craftsmanship that transforms simple materials into stunning focal points. The beauty of a fan shell onlay lies in its intricate design, which requires careful attention to detail and mastery of decorative techniques. These techniques enable you to create a piece that not only enhances the aesthetic appeal of your mantel but also showcases your skill and artistry.
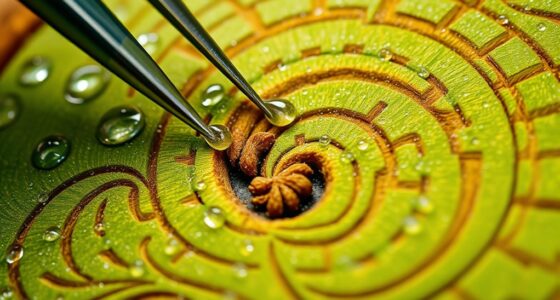
To start, select a high-quality shell that suits your project. The shell should be sturdy, with a smooth surface that’s easy to carve. You’ll want to sketch out your design beforehand, considering the fan shape and the delicate radiating lines that mimic natural shell patterns. Using a fine pencil, lightly trace the outline of the fan on your shell. This preliminary step guides your carving process and guarantees precision as you work.
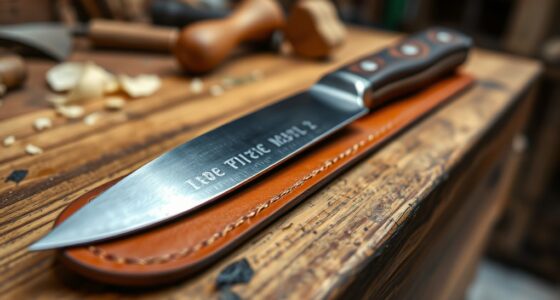
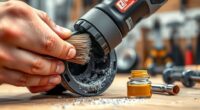
When it comes to carving, your tools are just as important as your technique. Use small, sharp chisels or rotary tools with fine bits to carefully carve out the design. Work slowly and steadily, applying gentle pressure to avoid cracking or chipping the shell. Pay close attention to the subtle curves and layered textures of the shell’s surface, emphasizing the radiating lines and scalloped edges that define the fan shape. This careful craftsmanship results in a depth and dimension that brings your onlay to life.
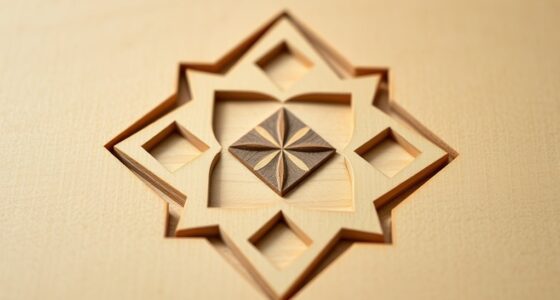
Decorative techniques play an essential role in elevating the visual impact of your fan shell onlay. Consider adding subtle bevels along the edges to create a sense of depth, or use a fine abrasive to smooth out rough spots and highlight the natural sheen of the shell. You might also incorporate contrasting finishes or color washes to accentuate the carved details. These finishing touches, combined with your skillful carving, can turn a simple shell into a decorative masterpiece. Additionally, understanding color accuracy can help you choose the best finishes and washes to enhance the natural beauty of the shell’s surface.
Once your carving is complete, secure the onlay onto your mantel with an appropriate adhesive, ensuring it sits flush and stable. To protect your work and enhance its luster, apply a clear varnish or sealant designed for shell materials. This final step preserves your craftsmanship and gives your decorative fan shell onlay a polished, professional look.
In essence, carving a fan shell onlay is a rewarding process that blends shell craftsmanship with decorative techniques. It’s an opportunity to create a striking, personalized embellishment that elevates any mantel or furniture piece, showcasing your attention to detail and artistic sensibility.

Mkobon 20 PCS Natural Scallop Shells for Crafts, 3 Inch White Seashell Decor for Home, Sea Shells for Decorating, DIY, Painting, Baking, Beach Wedding Decorations
Natural Seashells: Includes 20 natural scallop shells (7-8 cm in size), carefully collected from the ocean, securely packed…
As an affiliate, we earn on qualifying purchases.
As an affiliate, we earn on qualifying purchases.
Frequently Asked Questions
What Materials Are Best for Creating Fan Shell Onlays?
When choosing materials for fan shell onlays, you want shell selection that’s durable yet easy to carve. Opt for thin, high-quality shells like mother of pearl or scallop shells, which respond well to carving techniques. These materials offer a smooth surface for detailed work and maintain their shape well. Using the right shell guarantees your onlays look beautiful and last long, making your craftsmanship stand out.
How Long Does It Typically Take to Complete the Carving?
When you’re wondering about the timing estimates for carving a decorative fan shell onlay, it varies based on your skill level and the complexity of the design. Typically, you should plan for several hours or even a couple of days for detailed work. This helps with project planning, ensuring you allocate enough time for each step without rushing. Keep in mind that patience results in a polished, beautiful final piece.
What Tools Are Essential for Carving a Fan Shell Onlay?
Imagine sculpting delicate waves—your tools shape your vision. Essential tools for carving a fan shell onlay include fine chisels, carving knives, and detail gouges. Mastering carving techniques requires steady hands and regular tool maintenance to keep edges sharp. Just as a painter cares for brushes, you must care for your tools. With patience, your craftsmanship transforms raw material into an exquisite, decorative masterpiece for mantels.
Can This Technique Be Adapted for Other Decorative Motifs?
You can definitely adapt this carving technique for other decorative motifs, showcasing its versatility. By adjusting your tools and methods, you’ll find that carving versatility allows you to create a wide range of patterns, from floral designs to geometric shapes. Experimenting with different motifs helps enhance your skills and adds unique touches to your projects. So, don’t hesitate to explore various decorative motifs—this technique opens up endless creative possibilities.
How Do You Ensure the Onlay Adheres Securely to the Mantel?
Think of your onlay as a puzzle piece that needs a perfect fit. To guarantee it sticks securely, you should start with thorough surface preparation—clean, dry, and smooth. Then, use effective adhesion techniques like a strong adhesive or plaster. Press the onlay firmly in place and hold until it’s secure. This way, your decorative piece stays beautifully in position, just like a well-placed piece in a masterpiece.

HARDELL Mini Cordless Rotary Tool, 5-Speed and USB Charging Rotary Tool Kit with 69 Accessories, Multi-Purpose 3.7V Power Rotary Tool for Sanding, Polishing, Drilling, Etching, Engraving, DIY Crafts
【Versatile Rotary Tool Set】This rotary tool set includes a high-performance and low-noise rotary tool with 69 of the…
As an affiliate, we earn on qualifying purchases.
As an affiliate, we earn on qualifying purchases.
Conclusion
Just like a skilled artist shapes a delicate fan shell onlay, you craft beauty from patience and practice. Remember, each carved detail reflects your dedication, turning a simple mantel into a treasured masterpiece. Like a gentle wave shaping the shore, your efforts leave an enduring mark—reminding us that true artistry is a timeless dance between passion and perseverance. Keep carving, and watch your craftsmanship transform ordinary spaces into extraordinary works of art.

7 Pack Precision Mini Chisel Carving Tools for Detailed Small Crafts Such as Wood Carving, Wax Modeling, Soap Carving, and More – One Piece Construction Stainelss Steel
Set of 7 Pieces: Precision Miniature Chisel for Intricate Detailed Carving of Wood, Wax, Plastic, Soap, Leather, and…
As an affiliate, we earn on qualifying purchases.
As an affiliate, we earn on qualifying purchases.

BEACON Sea Shell Glue for Creating and Decorating with Shells, Wood, Metal, Ceramic, and More, 2-Ounce, 12-Pack
Bonds seashells to many surfaces such as glass, wood, terra cotta, metal
As an affiliate, we earn on qualifying purchases.
As an affiliate, we earn on qualifying purchases.