
To craft a mountain scene with only three tip shapes, start with a rounded tip for broad shading of the mountains and gentle slopes, creating the scene’s foundation. Switch to a fine point for detailed peaks and distant trees, adding sharpness and intricacy. Use the shader or wedge tip for soft progressions and textured elements like rocky surfaces. Mastering tip control and pressure makes this simple approach effective; keep exploring to learn more techniques.
Key Takeaways
- Select three versatile tips: rounded for shading, fine point for details, and shader/wedge for transitions.
- Sketch the mountain scene lightly to outline major shapes before burning.
- Use the rounded tip for broad mountain slopes and smooth shading to establish depth.
- Switch to the fine point for sharp peaks, distant trees, and intricate details.
- Employ the shader/wedge tip for soft transitions, textures, and to unify scene elements efficiently.
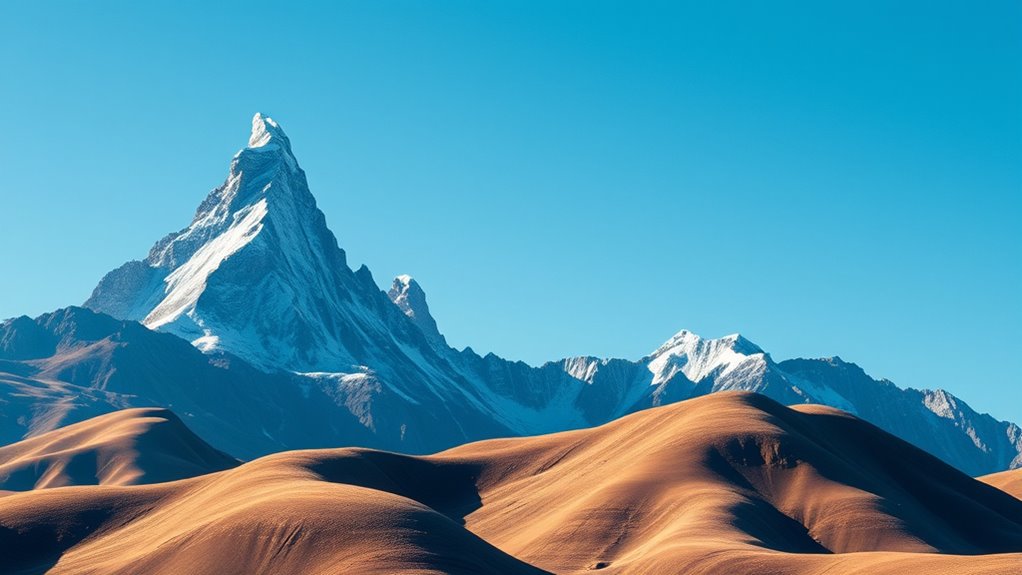
Have you ever wondered how a simple landscape can evoke such varied shapes and interpretations? When you start woodburning a mountain scene with just three tip shapes, it becomes clear that technique and creativity are your best tools. The secret lies in mastering woodburn techniques and understanding tip shape variations. These allow you to create depth, texture, and realism without needing dozens of different tools or complex shading. Instead, you rely on the strategic use of three distinct tips, each serving a specific purpose.
Your first step is to select the three tip shapes you’ll work with. Typically, a rounded tip, a fine point, and a shader or wedge tip work well. The rounded tip is excellent for broad, smooth shading and creating gentle slopes like the rolling hills in the distance. The fine point allows for detailed line work, such as the jagged edges of mountain peaks or intricate tree branches. The shader or wedge tip helps with softer transitions and textured areas, like rocky surfaces or distant foliage. Knowing how to utilize these tip shape variations gives you control over the scene’s elements, even with limited tools.
Choose a rounded tip, fine point, and shader tip to master landscape woodburning with minimal tools.
When you begin your mountain scene, you’ll start by sketching the outline lightly on your wood surface. Using your rounded tip, you can establish the major shapes of the mountains and background hills. This tip’s versatility helps you build the foundation for your scene, creating smooth gradients that mimic the natural contours of a landscape. As you proceed, switch to the fine point for adding sharp peaks, distant trees, or fine details that bring the scene to life. The ability to switch between tips smoothly is vital for maintaining flow and consistency.
In areas where you want softer transitions, like the gradual slope of a mountain or the sky behind the peaks, the shader or wedge tip becomes invaluable. You can create subtle shading and texture, giving the scene depth and dimension. The key is to vary pressure and speed while using each tip, which enhances the realism of your mountain scene. Light, swift strokes with the fine tip can depict distant snow caps, while heavier, controlled strokes with the rounded tip create the sense of mass and volume in the mountains.
Ultimately, mastering woodburn techniques combined with tip shape variations transforms a simple set of tools into a powerful method for depicting complex landscapes. You don’t need dozens of different tips — just understanding how to get the most out of three shapes. With practice, you’ll find that these tips and techniques let you craft detailed mountain scenes that are rich in texture and depth, all from a straightforward, minimalist approach.
Frequently Asked Questions
What Type of Wood Is Best for This Project?
For this project, you should choose a softwood like basswood or pine, as these wood types are ideal for pyrography. Their smooth, even surface makes the burning technique easier and results in cleaner lines. Hardwoods can be more difficult to burn evenly and may require more effort. Using a softwood guarantees you can focus on your mountain scene with precision, creating detailed, crisp designs with ease.
How Long Does It Typically Take to Complete?
This project will take you an eternity—or so it might seem! Timing estimates vary wildly, depending on your skill considerations and how intricate you want your mountain scene. If you’re a beginner, expect it to stretch over several hours or even days, as patience and precision matter most. But with practice and focus, you’ll find yourself completing it faster than you’d ever imagined, transforming your artistic dreams into reality.
Can This Technique Be Used for Other Landscape Scenes?
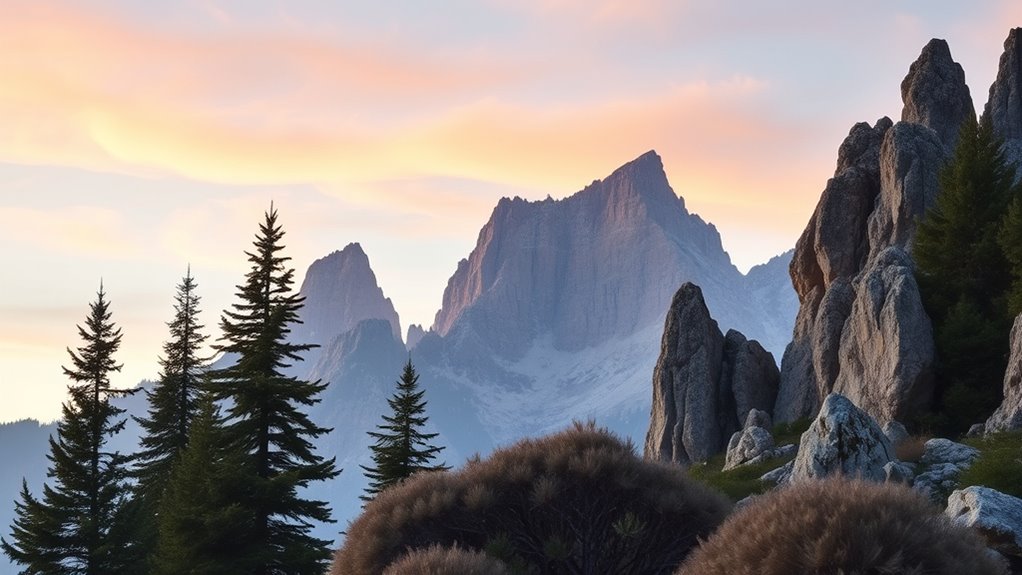
Yes, this technique’s versatility allows you to adapt it for various landscape scenes. By using just three tip shapes, you can create mountains, forests, and other natural features with simplicity and style. You’ll find it easy to modify the shapes and layering for different landscapes, making it a practical and flexible method. Its landscape adaptation guarantees you can craft diverse scenes, all while maintaining a consistent, minimalist approach.
What Safety Precautions Should I Take While Woodburning?
Imagine creating art with fire, but don’t let that passion turn dangerous. You should always prioritize fire safety by keeping a fire extinguisher nearby and never leave your work unattended. Make certain of proper ventilation, opening windows or working outdoors to avoid inhaling fumes and reduce smoke buildup. Wearing heat-resistant gloves and eye protection shields you from burns and sparks. Stay alert, and your creativity will burn brightly without risking your safety.
Are There Recommended Tips for Achieving Shading Effects?
When exploring shading techniques in woodburning, your tip selection is essential. Use softer, rounded tips for smooth gradients and blending, which help create realistic shading effects. Practice layering your burn marks gently, gradually building depth. Experiment with different tip sizes and shapes to see how they influence shading. Remember, patience and steady hand movements make a big difference in achieving seamless shading, giving your artwork more dimension and realism.
Conclusion
Now that you’ve mastered creating a mountain scene with just three tip shapes, your woodburning journey has taken flight. Think of your designs as a canvas of endless possibilities, where simple shapes paint breathtaking landscapes. With a steady hand and a creative eye, you can transform basic tips into a symphony of mountains and skies. Keep experimenting and let each burn inspire new horizons—your artistry is the mountain, and the world is waiting to see your summit.