
To guarantee your burned projects last, you should first apply a stain that enhances the charred surface and penetrates deeply. Follow with a high-quality sealer or polyurethane, applying thin coats with proper drying time between layers. Light sanding between coats helps achieve a smooth finish. Proper sealing not only protects against moisture and dirt but also brings out the project’s natural beauty. Keep exploring to discover tips for flawless sealing and lasting durability.
Key Takeaways
- Choose high-quality sealants or polyurethane to protect and enhance the charred surface.
- Apply multiple thin coats, allowing full drying between each for durability.
- Lightly sand between coats to ensure smooth, even coverage and adhesion.
- Work in the direction of the wood grain for a professional, polished finish.
- Follow manufacturer instructions closely to optimize sealing effectiveness and longevity.
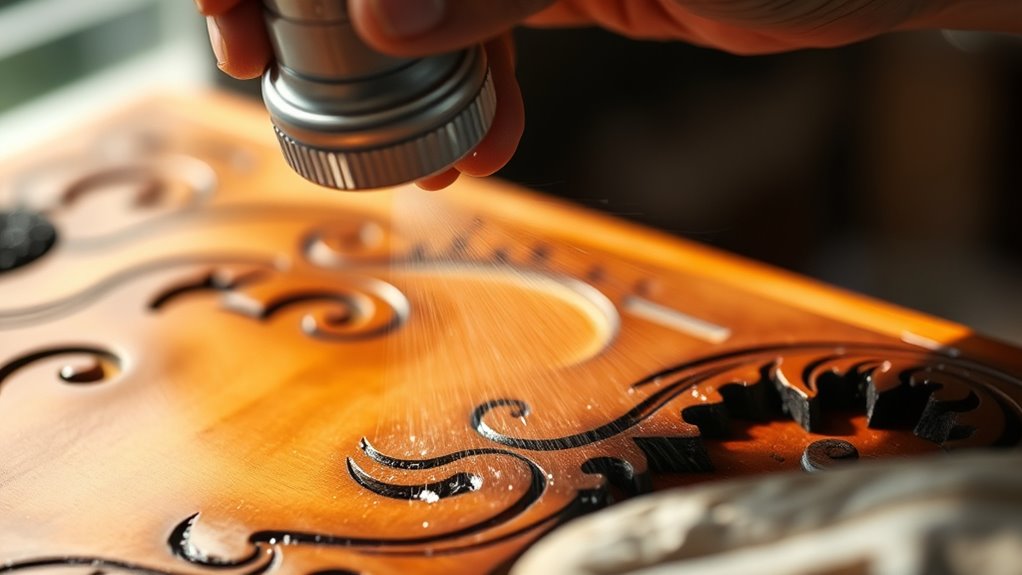
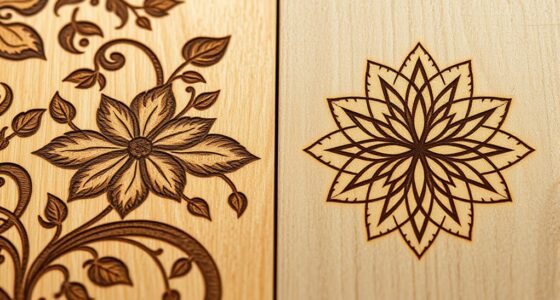
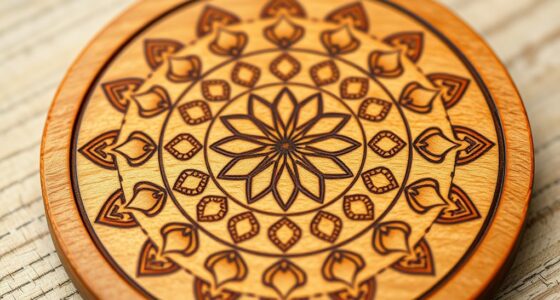
After completing a burned or charred project, sealing and finishing it properly is essential to protect the surface and enhance its appearance. The process involves applying the right protective coating to prevent further damage and bring out the natural beauty of the wood. One of the most effective ways to do this is by using a wood stain combined with a durable protective coating. The wood stain not only enriches the wood’s color but also helps to even out the surface, making the burned areas less prominent. When choosing a stain, opt for a product that penetrates deeply and complements the charred finish, whether you prefer a darker, richer hue or a lighter tone. Be sure to apply the stain evenly with a brush or cloth, working in the direction of the grain to ensure a smooth, consistent appearance.
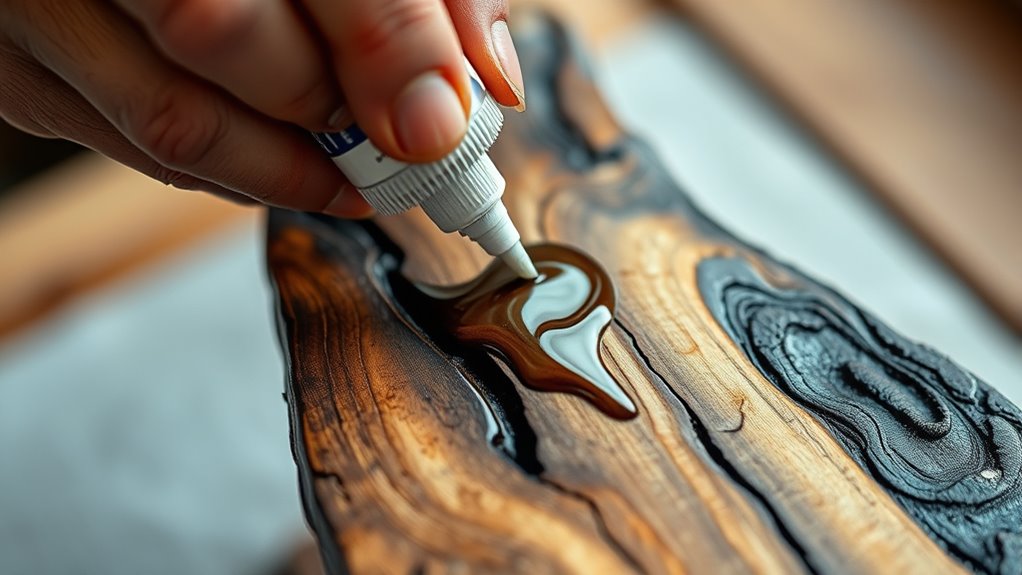
Once the stain has dried thoroughly, it’s time to add a protective coating. This layer acts as a shield against moisture, dirt, and scratches, considerably extending the lifespan of your project. A high-quality clear sealant or polyurethane is ideal for this purpose. When applying the protective coating, use a clean brush or spray to achieve an even, thin layer. Multiple coats may be necessary, with light sanding between each to ensure a smooth finish. This step is vital because it helps embed the stain and charred surface beneath a tough, resilient barrier that resists wear and environmental elements.
Sealing a burned project isn’t just about durability; it’s also about aesthetic appeal. The protective coating enhances the depth and richness of the wood stain, giving your project a polished, professional look. Be cautious to avoid over-application, which can cause drips or an uneven finish. Allow each coat to dry fully before applying the next, and follow the manufacturer’s instructions regarding drying times and application methods. Proper sealing not only preserves the burnished look but also makes future cleaning easier, as dirt and grime are less likely to stick to the smooth, sealed surface. Additionally, understanding the emotional significance of a well-finished project can inspire greater care and pride in your craftsmanship.
Frequently Asked Questions
Can I Use Household Products to Finish Burned Wood?
You can use household products for finishing burned wood, but be cautious. Some household oils like mineral oil or olive oil work well with simple finishing techniques, providing a protective layer. However, avoid products with harsh chemicals that could damage the wood or not provide durability. Always test a small area first to see how it reacts, and guarantee you apply evenly for the best results and long-lasting protection.
How Long Does Sealing a Burned Project Typically Last?
Sealing a burned project typically lasts between 1 to 3 years, depending on sealing longevity and durability factors like exposure to moisture, sunlight, and wear. You can extend its lifespan by choosing high-quality sealants and applying multiple coats. Regular maintenance, such as re-sealing when signs of wear appear, helps preserve the finish. Proper sealing enhances durability, ensuring your burned project remains protected and visually appealing for years to come.
Is It Necessary to Sand Before Sealing?
Think of surface preparation like tuning a guitar before a concert—you want it to sound perfect. Sand before sealing to enhance adhesion and smooth out imperfections. Sand benefits include removing debris, creating a better surface, and ensuring an even finish. Skipping this step can lead to uneven sealing or peeling. So, yes, sanding is necessary to achieve a durable, professional-looking seal on your burned project.
What Are Eco-Friendly Sealing Options for Burned Wood?
You can choose eco-friendly sealing options like natural oils or beeswax finishes for burned wood. Natural oils, such as linseed or tung oil, penetrate deeply, protecting the wood while being safe for the environment. Beeswax finishes offer a protective, non-toxic layer that enhances the wood’s appearance. Both options are sustainable, biodegradable, and free of harmful chemicals, making them excellent choices for eco-conscious projects.
Can I Apply Multiple Coats of Finish on a Burnished Surface?
Yes, you can apply multiple coats of finish on a burnished surface, but proper surface preparation makes all the difference. Think of it like dressing up for a special occasion—each coat adds durability and depth. Make certain you clean and lightly sand the surface between coats, then let each layer dry thoroughly. This multi-coat application enhances the burnished wood’s appearance while providing a protective barrier for lasting beauty.
Conclusion
Finishing and sealing your burned projects is essential to guarantee durability and longevity. Proper techniques can increase your project’s lifespan by up to 50%, protecting it from moisture, pests, and wear. Remember, a well-sealed piece not only looks better but also lasts longer, saving you time and money in the long run. So take the time to finish and seal your work carefully—your project’s durability depends on it!