
To master push sticks for safer rip cuts, focus on understanding different design variations tailored to your projects. Choose or craft push sticks with features like handles, guards, longer handles, or built-in shoes to improve control and safety. Using the right materials—like hardwoods or sturdy plastics—ensures durability and comfort. Properly designed push sticks keep your fingers safe and increase cut accuracy. Keep exploring to discover how specific designs can enhance your woodworking safety and performance.
Key Takeaways
- Understand different push stick designs, such as flat, guard, or shoe models, to match your specific rip cut needs.
- Prioritize materials like hardwood or durable plastic for safety, longevity, and comfortable handling.
- Incorporate safety features like finger guards, non-slip grips, and extended handles to reduce injury risk.
- Customize or craft push sticks with adjustable angles or length for improved control and versatility.
- Regularly inspect and maintain push sticks to ensure structural integrity and safe operation during woodworking.
Using a push stick correctly is essential for safe and accurate woodworking, especially when guiding small or narrow pieces through a table saw. Mastering push stick design variations can markedly enhance your push stick safety and improve your cut quality. Different push stick designs serve specific purposes, so understanding their features helps you choose or craft the right one for each task. Materials play a vital role in making a push stick durable, comfortable, and safe to use. Common push stick materials include hardwoods like maple or oak, which are sturdy and resistant to wear. Plastic push sticks are lightweight and easy to shape but may wear faster over time. Some builders incorporate rubber or foam grips for added comfort and slip resistance, especially when applying pressure. The choice of materials directly impacts the lifespan and effectiveness of your push stick, so select those that balance durability with ease of handling. Additionally, material selection influences the overall safety and performance, making it a critical factor in push stick design.
Design variations in push sticks are more than just aesthetics—they influence safety and performance. For instance, a simple flat push stick with a handle is easy to make and versatile for most rip cuts. However, a push stick with a guard or a finger guard provides extra safety by preventing accidental contact with the saw blade. Some designs have a longer handle for better leverage, reducing fatigue and increasing control, especially on larger or more demanding cuts. Others feature a built-in shoe or foot that helps stabilize the workpiece against the fence, minimizing kickback and ensuring cleaner cuts. You might also find push sticks with adjustable features, allowing you to customize the angle or length depending on the workpiece size. Each variation offers specific benefits, but all aim to keep your fingers away from the blade, which is the core of push stick safety.
When designing or choosing a push stick, consider your typical projects and the materials you’re working with. For small or narrow pieces, a push stick with a comfortable handle and a secure grip is essential. The handle should feel natural in your hand, providing enough leverage without causing fatigue. The push stick’s foot or surface should be non-slip, especially if you’re working with slick materials like veneer or laminated stock. If you prefer homemade push sticks, prioritize using sturdy, wear-resistant push stick materials and incorporate safety features like a guard or a hook to prevent slipping. No matter the design, always inspect your push stick before use, ensuring there are no cracks or splinters that could compromise safety. Remember, a well-designed push stick not only improves your cutting accuracy but also keeps you safe from injuries.
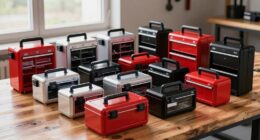
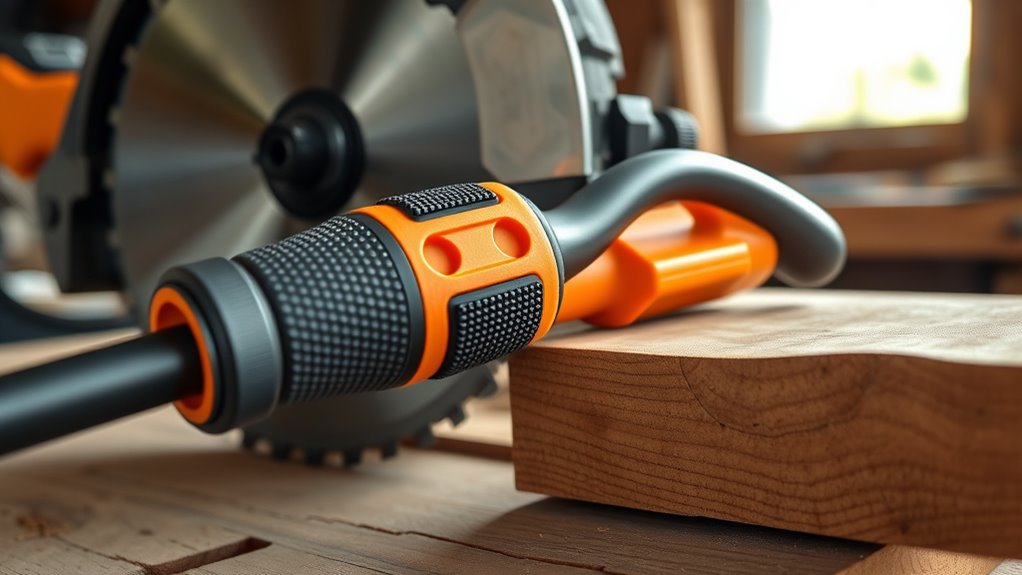
woodworking push stick with guard
As an affiliate, we earn on qualifying purchases.
As an affiliate, we earn on qualifying purchases.
Frequently Asked Questions
Can I Make My Own Push Stick at Home?
Yes, you can make your own push stick at home. Just guarantee you follow proper safety precautions, like using sturdy materials and secure joints. Homemade tools can be effective if you design them carefully to keep your hands safe during rip cuts. Focus on creating a comfortable grip and a reliable non-slip surface. Always test your homemade push stick on scrap wood first to confirm its safety and effectiveness before working on your actual projects.
What Materials Are Safest for DIY Push Sticks?
When choosing materials for DIY push sticks, prioritize safety by selecting durable, non-slip options like hardwood or high-quality plastic. Avoid flimsy or easily breakable materials that compromise your control and safety during rip cuts. Using sturdy materials guarantees better stability and reduces the risk of kickback. Always double-check material safety and construction quality; well-made DIY push sticks help you work accurately and safely on your woodworking projects.
How Often Should I Replace My Push Stick?
You should replace your push stick when its durability starts to decline or if it shows signs of damage, like cracks or warping. Regular inspection helps you determine appropriate replacement intervals, ensuring safety and effectiveness. Don’t wait too long, as compromised push sticks increase risk. Generally, if you notice any wear or damage, it’s time to replace your push stick to maintain safe rip cuts and ideal performance.
Are There Push Stick Designs for Specific Saw Types?
Yes, there are push stick designs tailored for specific saw types. You should consider saw fence compatibility to guarantee the push stick fits securely and functions properly. Additionally, look for ergonomic considerations to make your work safer and more comfortable. Different saws, like table saws or router tables, may require specialized push sticks to optimize safety and control during rip cuts. Always choose a design that matches your saw’s features.
Can a Push Stick Improve Overall Table Saw Safety?
Imagine a simple tool that could dramatically change your safety. A push stick enhances your control, making rip cuts safer by improving push stick ergonomics. While no tool guarantees complete safety, incorporating well-designed safety features with your push stick minimizes risks. It keeps your hands at a safe distance, reducing accidents. So yes, using a push stick can substantially improve overall table saw safety, giving you peace of mind during every cut.
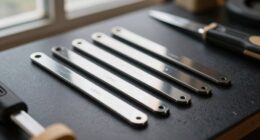
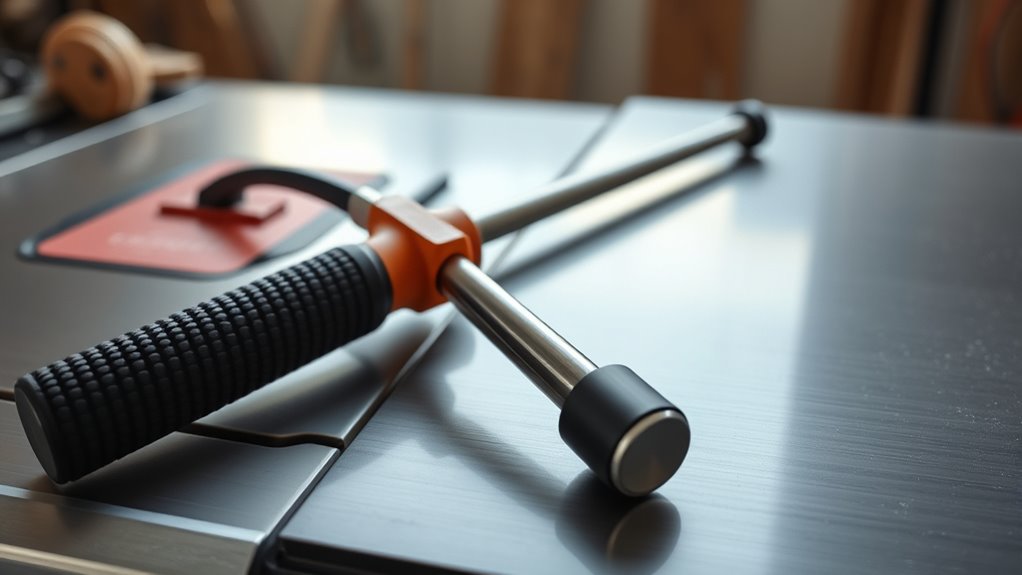
hardwood push stick for table saw
As an affiliate, we earn on qualifying purchases.
As an affiliate, we earn on qualifying purchases.
Conclusion
Now that you know the key design variations, you can confidently master the push stick for safer rip cuts. Remember, a well-made push stick keeps your fingers away from the blade, turning chaos into order—like a trusty sword in a knight’s hand. Whether you’re crafting a simple jig or a fancy new design, always prioritize safety. So go ahead, sharpen your skills and tools, and carve your projects with the precision of a seasoned craftsman.
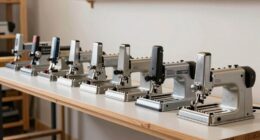
adjustable length push stick
As an affiliate, we earn on qualifying purchases.
As an affiliate, we earn on qualifying purchases.
non-slip grip push stick
As an affiliate, we earn on qualifying purchases.
As an affiliate, we earn on qualifying purchases.