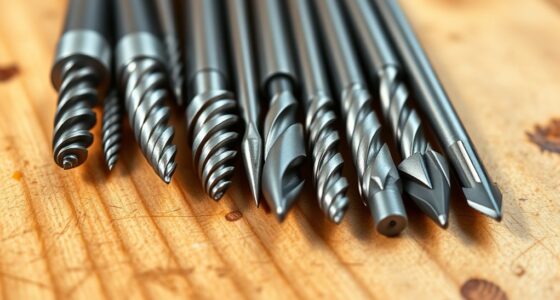

To swap drill bits quickly, use a quick-change chuck designed for easy releases. Simply press the release button or pull back the sleeve to loosen the current bit, then insert a new one and secure it with a simple snap or twist. This process takes seconds, saving you time and effort. Proper use and maintenance guarantee smooth operation every time. Keep exploring to discover additional tips that make bit swapping even faster and safer.
Key Takeaways
- Use the quick-release mechanism to instantly release and insert bits without tools.
- Ensure the drill is unplugged or powered off before swapping bits for safety.
- Press the release button or pull back the sleeve to securely grip bits quickly.
- Confirm the bit is properly seated and tightened before operation to prevent wobbling.
- Keep bits clean and the chuck well-maintained for smooth, rapid bit changes.
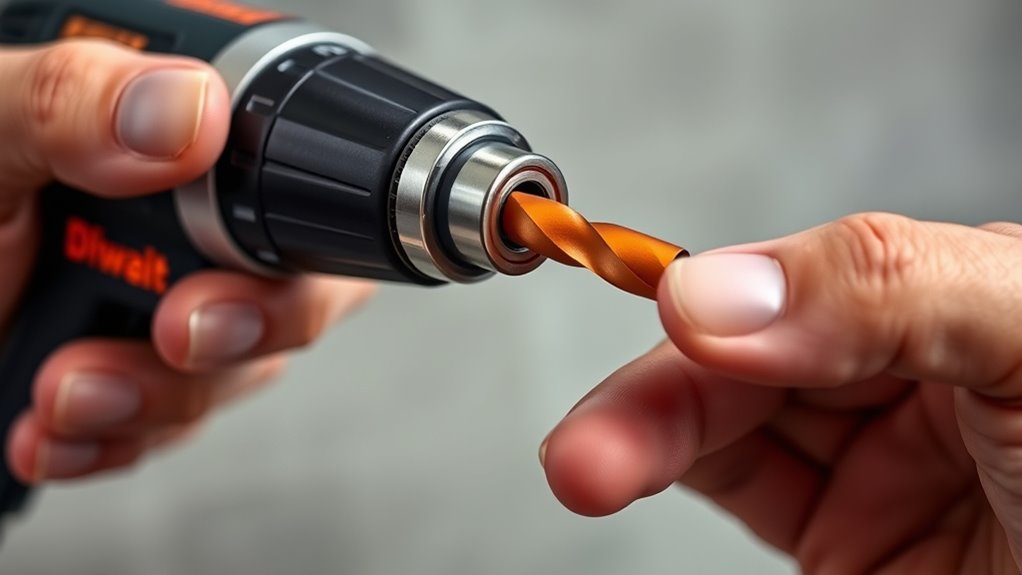
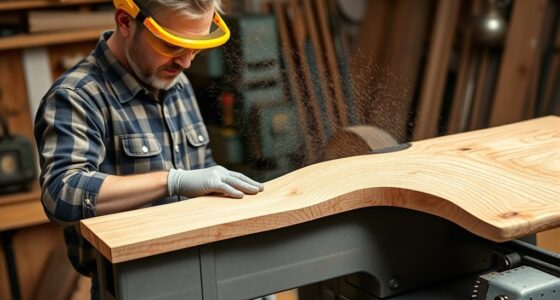
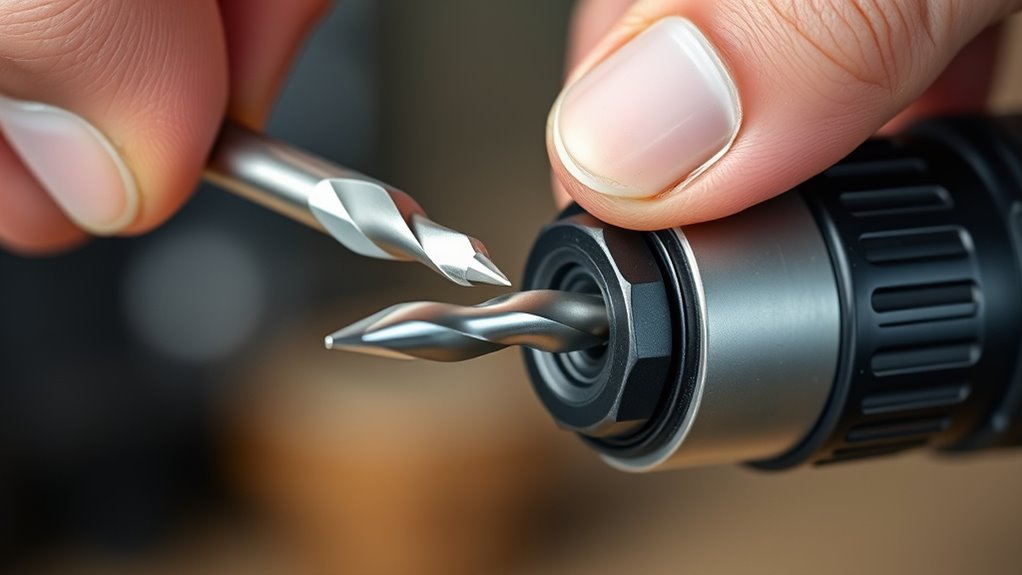
Changing drill bits can be a hassle, but with a quick-change chuck, you can switch bits in seconds. No more fumbling with traditional chucks that require tools or awkward adjustments. Instead, this innovative feature streamlines your workflow, letting you focus on your project rather than wrestling with your drill. The key component that makes this possible is the bit holder—designed to securely grip bits and release them instantly when needed. Using a quick-change chuck means you can seamlessly swap between drill bits, whether you’re drilling through wood, metal, or plastic. It saves you time, reduces frustration, and keeps your project moving smoothly.
To get the most out of your quick-change chuck, it’s essential to understand how to properly use the bit holder. Most models feature a simple mechanism that allows you to insert and secure bits with minimal effort. You typically press a button or pull back a sleeve to release the current bit, then insert the new one into the holder. Once released, the chuck automatically tightens around the bit, ensuring a secure grip. This system minimizes the risk of slipping or wobbling during operation, which enhances both precision and safety. Remember, a properly secured bit is critical to avoid accidents or damage to your workpiece. Proper maintenance of your drill and bits can also improve the efficiency of the quick‑change system, ensuring durability and consistent performance.
Safety precautions should always be your top priority when swapping drill bits. Before attempting to change a bit, ensure your drill is unplugged or the battery is removed if it’s cordless. This prevents accidental activation, which can cause injury. Wear safety glasses to protect your eyes from flying debris or accidental contact with the bit holder. Keep your fingers clear of the chuck area to avoid pinching or cuts. When you’re ready to change bits, hold the drill firmly, and use the quick-release mechanism as intended—never force a bit into the holder or try to override the system. If you notice the bit isn’t fitting properly or the chuck isn’t tightening, double-check the compatibility and make sure the bit is clean and free from debris. These precautions help prevent mishaps and prolong the life of your drill and bits. Additionally, understanding the best drill bits for your specific project can help ensure optimal results and prevent damage to your tools.

Bosch ITBHQC201 2 In. Impact Tough™ Quick Change Bit Holder
10X LIFE OVER STANDARD IMPACT BITS
As an affiliate, we earn on qualifying purchases.
As an affiliate, we earn on qualifying purchases.
Frequently Asked Questions
Can All Drill Bits Be Used With a Quick-Change Chuck?
Not all drill bits work with a quick-change chuck. Your bit compatibility depends on the chuck’s size and type, and some bits may not fit securely or safely. This affects chuck versatility, making it essential to confirm if your bits are compatible before swapping. Using compatible bits ensures quick, safe changes, saving you time and effort. Always verify the chuck specifications and bit compatibility to get the most out of your quick-change system.
Does Using a Quick-Change Chuck Affect Drilling Accuracy?
Using a quick-change chuck can slightly impact your drilling precision and tool stability, especially if it’s not properly secured. However, when you verify the chuck is tightly fastened, the effect is minimal. These chucks are designed for convenience without sacrificing accuracy, so your drilling remains precise. Just double-check the grip before starting, and you’ll maintain stability and accuracy while enjoying faster bit changes.
How Do I Choose the Right Quick‑Change Chuck for My Drill?
Choosing the right quick‑change chuck might seem simple, but don’t be fooled—it’s all about brand compatibility and chuck capacity. You’ll want a chuck that fits your drill perfectly and can handle your bit sizes without slipping. Ironically, the easiest choice can lead to the most frustration if compatibility isn’t checked. So, measure your needs, match the brand, and pick a chuck with the right capacity for smooth, secure bit changes.
Is There a Risk of the Drill Bit Slipping During Operation?
You might worry about bit slippage during operation, but with a proper quick‑change chuck, safety concerns are alleviated. When you tighten the chuck correctly, it securely grips the drill bit, reducing the risk of slipping. Always double-check that the bit is fully seated and the chuck is tightened before starting. This ensures your work stays safe and efficient, giving you confidence in your drilling tasks.
How Do I Maintain and Clean a Quick‑Change Chuck?
Think of your quick‑change chuck as a well-oiled machine that needs regular TLC. To maintain it, you should regularly perform lubrication maintenance, applying a few drops of machine oil to keep parts moving smoothly. Cleaning methods include removing debris with a brush or compressed air and wiping the chuck with a clean cloth. Proper upkeep guarantees your drill stays precise and reliable, making every project a breeze.

6PCS 1/4 Inch Hex Shank Screwdriver Bit Holder Keychain, Quick-change Extension Bar Key Chain For Nut Driver & Impact Driver Quick-Release Drill Bit holders Portable Bit Organizer With Carabiner
Extensive Usage & Compatibility – This drill bit holder keychain is suitable for most 1/4" hex shank screwdriver…
As an affiliate, we earn on qualifying purchases.
As an affiliate, we earn on qualifying purchases.
Conclusion
So, next time you’re stuck fumbling with tiny screws or pretending to be a professional, remember the quick-change chuck hack. It’s like giving your drill superhero speed—faster than a caffeinated squirrel on a power line. No more wrestling with bits or risking finger injuries. Just snap, swap, and get back to pretending you know what you’re doing. Who knew a little trick could make you feel like the DIY hero you’ve always wanted to be?

Makita B-65399 Impact Gold 14 Pc. Titanium Drill Bit Set, 1/4 In. Hex Shank
Titanium nitride (TiN) coating lasts 2.5x longer than non-coated bits
As an affiliate, we earn on qualifying purchases.
As an affiliate, we earn on qualifying purchases.
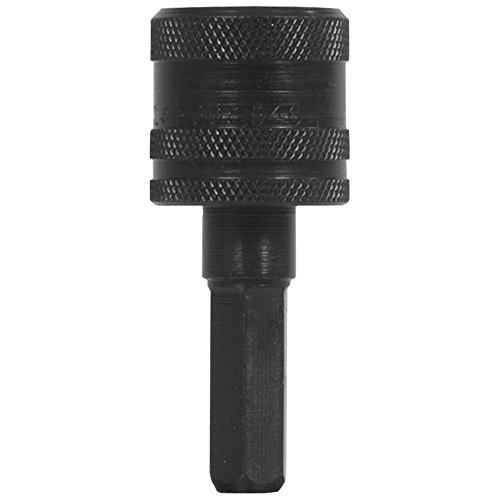
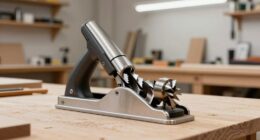
Make it Snappy 40011 Standard Quick Chuck
Our standard industrial chuck with knurled sleeve.
As an affiliate, we earn on qualifying purchases.
As an affiliate, we earn on qualifying purchases.