To unlock your miter saw’s full potential, learn its key components, use the right blades, and guarantee precise calibration of angles. Master safe operation techniques, including proper support and secure workpiece handling, for clean, accurate cuts. Practice adjusting miter and bevel settings, and experiment with advanced jigs for complex projects. Staying safety-conscious and maintaining your saw will boost your confidence—if you keep exploring, you’ll soon produce professional-quality results every time.
Key Takeaways
- Properly calibrate and verify miter and bevel angles for accurate, repeatable cuts.
- Use high-quality, appropriately matched blades for specific materials and cutting tasks.
- Secure workpieces firmly with clamps and supports to ensure safety and precision.
- Incorporate advanced techniques like stop blocks and jigs for consistent, complex cuts.
- Always prioritize safety gear and regular maintenance to maximize saw performance and longevity.

Diablo Fine Finish Saw Blade for Wood – Ultra-Smooth Cuts, 60 Hi-ATB Teeth, 10" Diameter, .098" Kerf, 5/8" Arbor – D1060X
- Shock Resistant Design: Reinforced carbide tips for durability
As an affiliate, we earn on qualifying purchases.
As an affiliate, we earn on qualifying purchases.
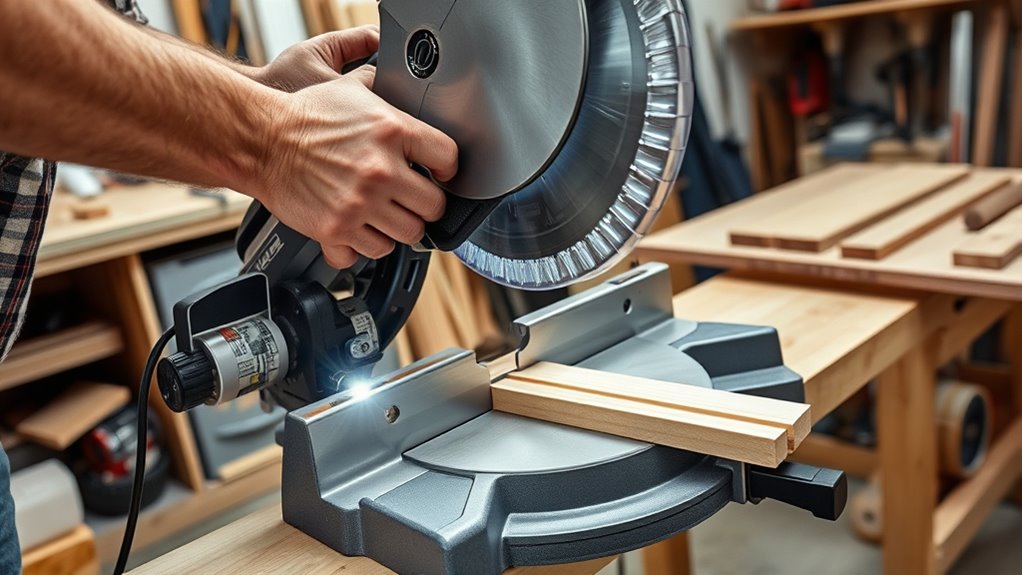
Understanding the Core Components of a Miter Saw
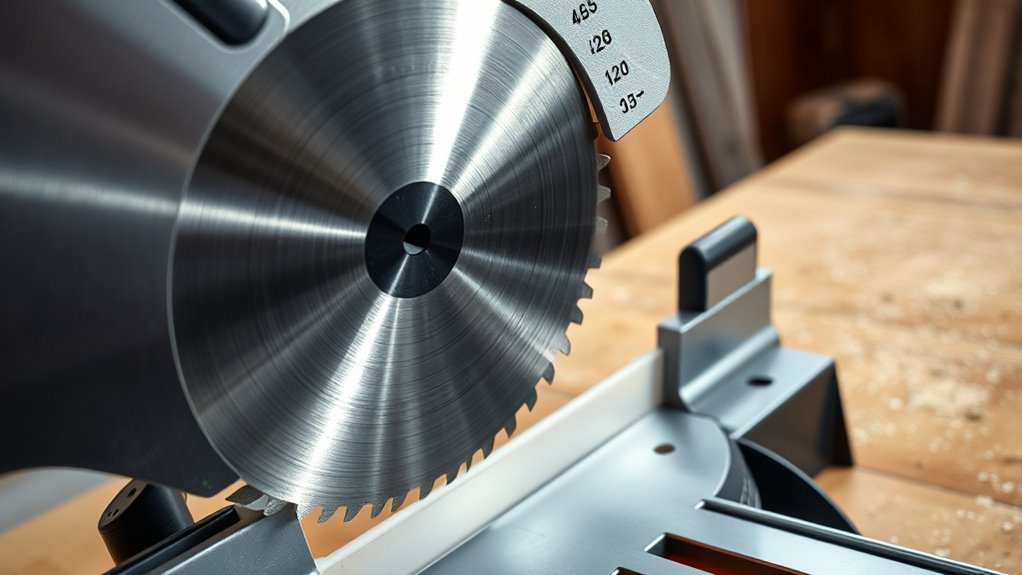
To effectively operate a miter saw, you need to understand its core components. The miter and bevel angles are key adjustments that allow you to make precise angled cuts, essential for framing and molding projects. The blade guard is a critical safety feature that covers the blade, retracting automatically during cutting to prevent accidents. Safety gear, such as goggles and ear protection, should always be worn to protect yourself. The base provides stability, often with pre-drilled holes for secure mounting, while the table supports your workpiece and can extend for longer cuts. Additionally, the saw’s blade size and tooth configuration determine its cutting capacity, influencing the thickness and type of material you can handle confidently. Understanding the color accuracy of the blade and other components can help improve the quality of your cuts and finishes. Moreover, familiarity with material compatibility ensures you select the appropriate blade and settings for different projects. Staying informed about safety features and proper maintenance practices can also enhance your overall proficiency and safety when using the miter saw. Being aware of power source options can help you choose a model suitable for your workspace and mobility needs. Recognizing the digital controls and their functions can further optimize your cutting precision and efficiency.
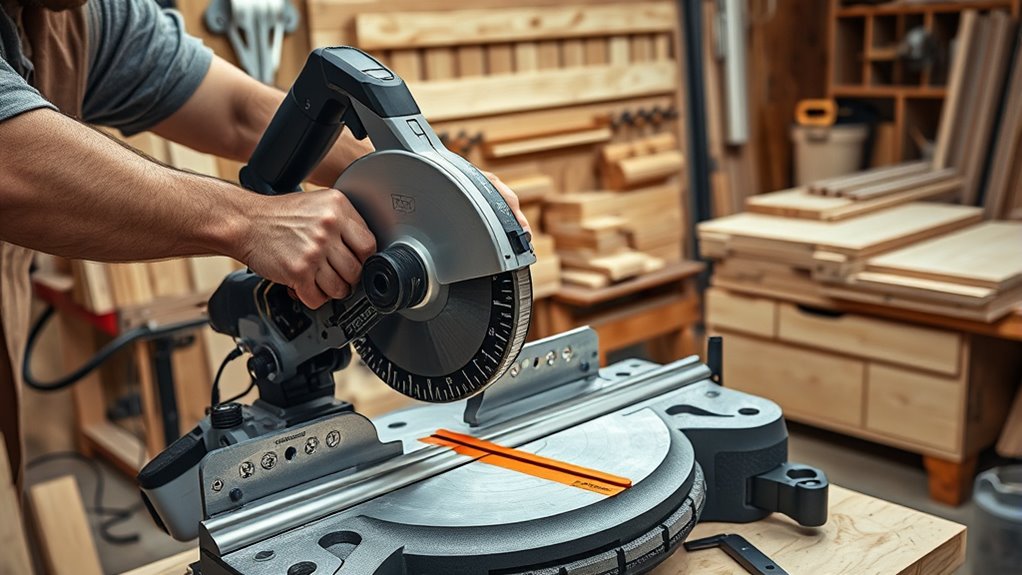
Selecting the Right Blade for Your Projects
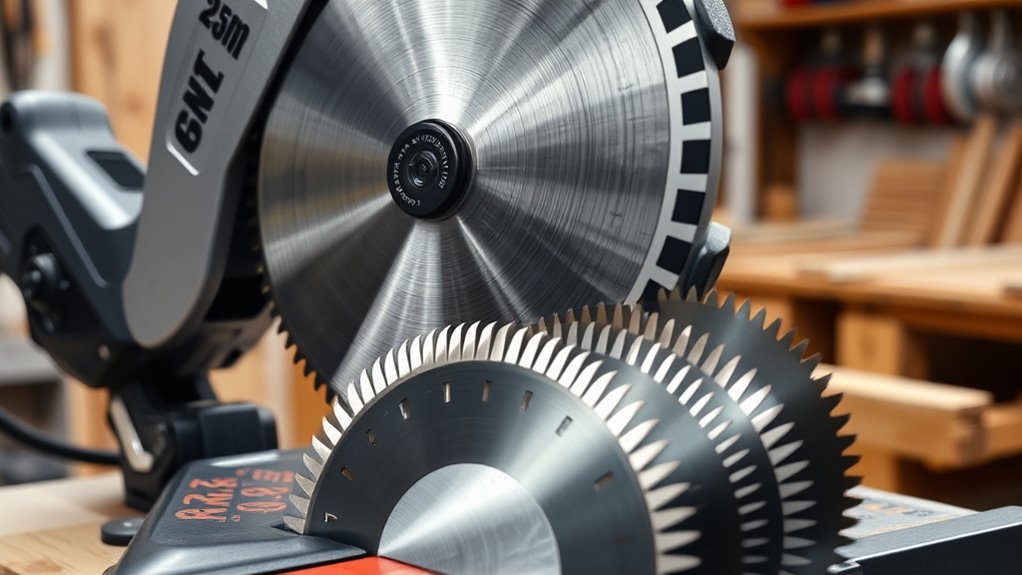
Choosing the right blade is vital for achieving clean, accurate cuts tailored to your project. Proper blade selection depends on several factors. First, consider the tooth count: fine-tooth blades (60-80 teeth) give smooth crosscuts, while coarse-tooth blades (24-40 teeth) handle rough cuts or fast material removal. Next, match the blade diameter to your miter saw’s specifications—commonly 10-inch or 12-inch—to guarantee compatibility and peak cutting capacity. Material compatibility is also essential; carbide-tipped blades are versatile and durable for hardwoods, softwoods, and composites. Additionally, understanding the blade types can help you choose the optimal blade for specific tasks. Recognizing the importance of safety and proper handling can prevent accidents and prolong your blade’s lifespan. Regularly inspect and replace dull or damaged blades to keep your cuts precise and safe. Incorporating preppy dog names into your project themes can add a touch of sophistication and style to your work environment. Being aware of environmental impacts, such as dust and emissions, can help you implement sustainable practices that reduce your ecological footprint. Moreover, selecting the right blade can also influence the cost of maintenance, which varies depending on blade quality and usage frequency.
Properly Calibrating Your Miter and Bevel Angles
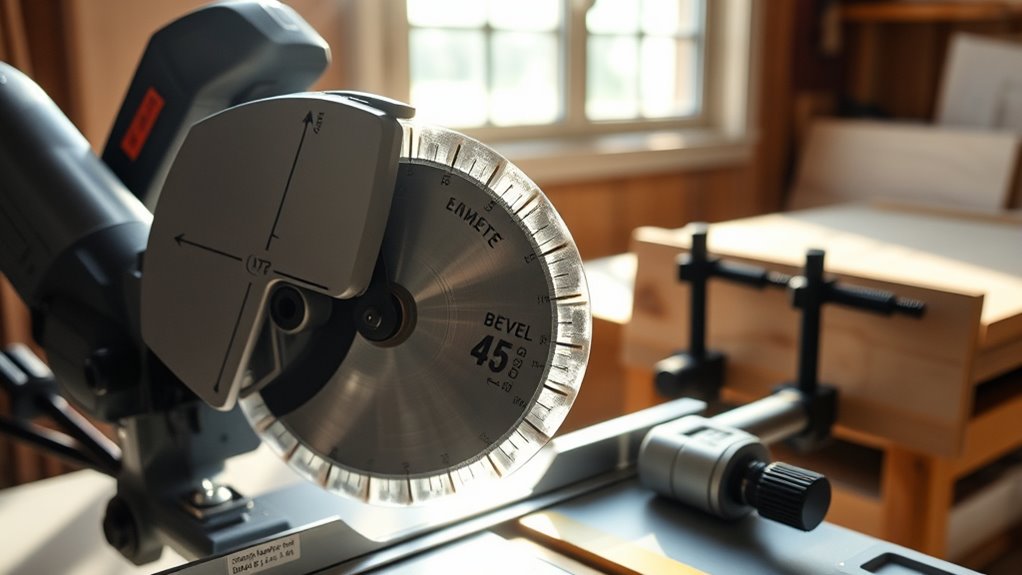
To guarantee your cuts are precise, always verify your miter and bevel angles with a reliable square or protractor before starting. Adjust the settings gradually, then recheck with a calibration tool to confirm accuracy. Regular calibration and test cuts on scrap material help maintain consistent, accurate angles throughout your project. Additionally, ensuring your saw is properly calibrated for different angles can significantly improve overall precision and finish quality. Incorporating proper maintenance practices into your routine will also help sustain the accuracy of your miter saw over time. Remember, paying attention to the saw’s alignment can prevent errors and ensure cleaner, more precise cuts.
Accurate Angle Verification
Ensuring your miter and bevel angles are accurately calibrated is essential for precise cuts. Proper angle verification helps you confirm that your saw’s settings match your intended measurements. Use a reliable square or digital gauge to verify the angles against your saw’s scale before cutting. Make small adjustments to the miter and bevel settings, then double-check with a protractor or digital gauge to guarantee proper calibration. Regularly test your setup with scrap pieces, comparing the cut to your target measurement. Remember to recheck and recalibrate after any transport, impact, or heavy use. Keep track of calibration settings for common angles to save time and maintain consistency. Incorporating vetted tools like digital gauges ensures accurate and reliable calibration every time. Additionally, understanding air quality can help maintain a comfortable workshop environment, especially when working with dust and fumes generated during cutting. Being aware of dust management techniques can further improve safety and precision in your workspace.
Consistent Calibration Techniques
Regularly calibrating your miter and bevel angles is essential for maintaining cutting accuracy. Start by verifying the angles with a reliable square or protractor to ensure the saw’s settings match. Before each use, perform test cuts on scrap material and measure the results with a digital or combination square to confirm accuracy. If adjustments are needed, change the angle settings gradually and lock the mechanisms securely once you achieve precise calibration. Recheck calibration after moving or transporting the saw, as minor shifts can impact accuracy over time. Keep a detailed log of your calibration procedures and settings to maintain consistency. Using the proper technique in calibration ensures your cuts are precise and reliable every time you use your miter saw.
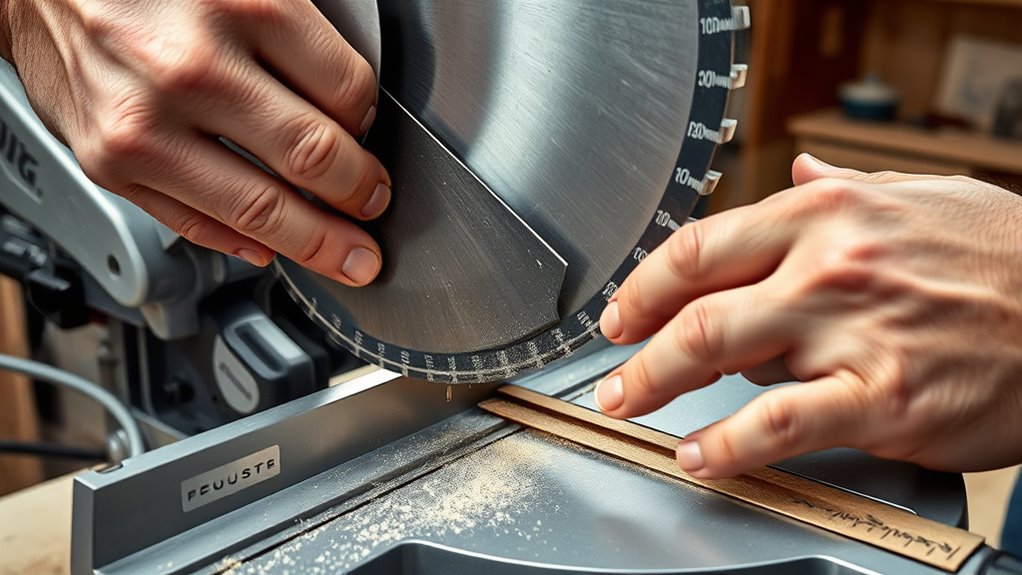
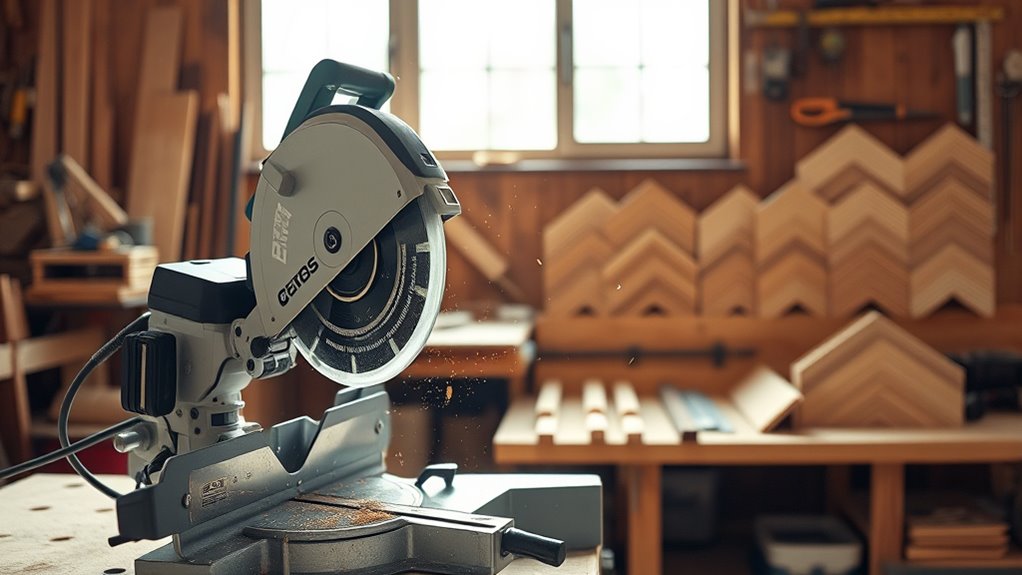
Mastering Basic Crosscuts and Miter Cuts

Mastering basic crosscuts and miter cuts requires careful preparation and precise technique. To guarantee accuracy, start by measuring and marking your proper workpiece with a speed square. Secure the workpiece firmly against the fence to prevent movement, which is essential for clean cuts. Adjust the miter angle on your saw, typically between 0° and 45°, and verify it with a reliable square or protractor. When making cuts, lower the blade slowly onto the workpiece, maintaining steady pressure for a smooth finish. Always perform a test cut on scrap material to confirm your settings before proceeding with the actual work. Proper blade maintenance, including sharpening and calibration, ensures consistent precision and longevity of your tool. Using proper safety gear, such as safety glasses and gloves, is vital to protect yourself during cuts. Following safety guidelines, like wearing eye protection and keeping your hands clear, is crucial for safe, successful miter cuts and crosscuts. Additionally, understanding the Kia Tuning options can help optimize your vehicle’s performance for better handling and efficiency. Regularly checking your saw’s alignment and blade height can further improve cut accuracy and safety during your woodworking projects.
Executing Complex Bevel and Compound Angles
To accurately execute complex bevel and compound angles, you need to precisely set both the miter and bevel scales according to your project’s specifications, which often involves careful calculations for combined cuts. Start by adjusting the miter angle to match your desired cut, then tilt the bevel to the necessary angle, ensuring both are locked securely. Use a digital angle gauge or protractor to double-check your angle settings before making the cut. It is crucial to secure the workpiece firmly against the fence and table to prevent movement, maintaining consistent accuracy. Make incremental test cuts on scrap material to verify your measurements and refine your setup as needed. Recognizing the importance of precision in these setups ensures your project turns out exactly as planned. Additionally, understanding Louisiana alimony laws can help you plan your project budget more effectively if you are navigating legal considerations alongside your woodworking tasks. Employing proper measurement techniques is essential for achieving the desired angles and avoiding costly mistakes. Maintain smooth, controlled motions to prevent blade binding, especially when working with complex bevel and compound angle configurations.
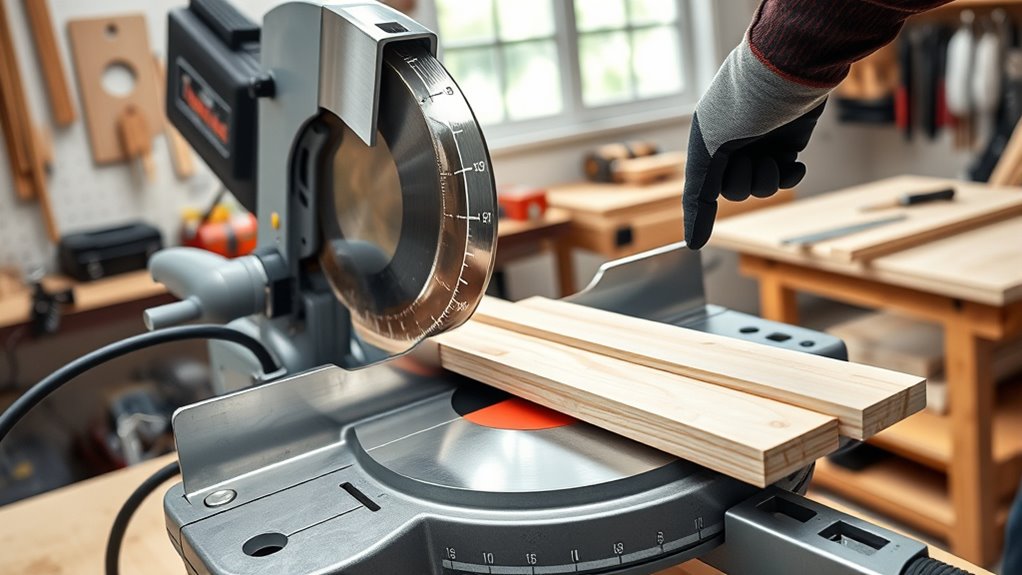
Ensuring Stability and Support for Accurate Cuts
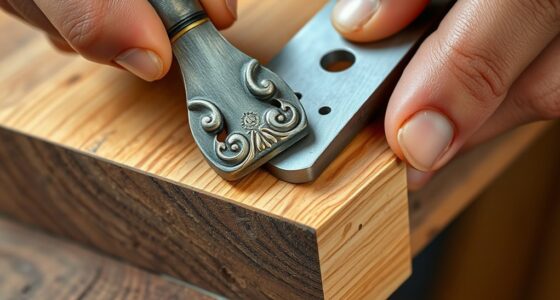
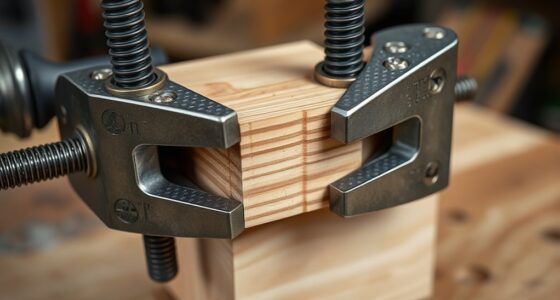
Supporting your workpiece properly is key to achieving accurate cuts with the miter saw. When your workpiece is stable, you reduce movement that can cause inaccuracies or unsafe kickbacks. Use dedicated supports or a sturdy workbench to keep long or heavy pieces steady. Auxiliary fences or jigs help maintain alignment, enhancing overall accuracy. Clamps and additional supports minimize vibrations, ensuring consistent cuts. Keeping the workpiece firmly against the fence prevents binding or twisting, which can skew angles. Regularly check supports for levelness and firmness—they’re essential for complex or repetitive cuts.
- Use supports to prevent workpiece movement
- Secure long or heavy pieces with clamps
- Employ auxiliary fences or jigs for stability
- Ensure supports are level and firm
Implementing Advanced Cutting Techniques and Jigs
Implementing advanced cutting techniques and jigs can substantially enhance both the precision and efficiency of your woodworking projects. Using specialized jigs like miter boxes or custom fixtures helps improve accuracy for complex angles and repetitive cuts. Incorporating featherboards and push sticks not only boosts safety but also makes certain cleaner, more precise cuts, especially on angled or delicate workpieces. Adjusting the saw’s bevel and miter angles in combination with jigs allows you to execute precise compound cuts for intricate joints. Additionally, stop blocks and clamping systems help maintain consistent dimensions across multiple pieces. Practicing advanced techniques like double bevel cuts and compound miters with jigs expands your capabilities, allowing you to tackle more complex projects with confidence and precision.
Prioritizing Safety During Operation

Your safety should always come first when operating a miter saw. Wear PPE like safety glasses and hearing protection, and handle workpieces carefully to avoid accidents. Keeping your workspace tidy and using proper tools helps prevent injuries and keeps your cuts precise.
Personal Protective Equipment (PPE)
Personal protective equipment (PPE) is vital for guaranteeing safety when operating a miter saw. Wearing the right protective gear helps prevent injuries and keeps you safe during cutting tasks. Always wear safety glasses or goggles to shield your eyes from flying debris and dust. Use earplugs or earmuffs to protect your hearing from the loud noise of the saw’s motor. A dust mask or respirator is indispensable safety gear to avoid inhaling fine sawdust particles. Additionally, keep your hands at a safe distance from the blade by using push sticks or guides. Before starting, make sure all PPE fits properly and is in good condition. Following these safety precautions with the right PPE ensures you operate the miter saw safely and confidently.
Proper Workpiece Handling
Proper workpiece handling is key to maintaining safety while operating a miter saw. You need to guarantee the workpiece is securely against the fence to prevent slipping or kickback during cuts. Use clamps or push sticks for small or irregular pieces, keeping your hands safely away from the blade’s path. Always support longer or heavy materials to keep control and improve cut accuracy. Before cutting, double-check that your workpiece is free of nails, staples, or debris that could cause binding or hazards. Confirm the workpiece is properly aligned with the marked cut line, and keep your hands clear of the cutting area. Proper workpiece handling minimizes risks and helps you work efficiently, maintaining safety at every step of your project.
Maintaining and Extending the Lifespan of Your Saw
To keep your miter saw operating at its best, regular maintenance is essential. This helps ensure safety, prolongs its lifespan, and keeps your cuts precise. Start by inspecting and replacing dull or damaged blades—sharp blades reduce strain on the motor and improve cut quality. Clean and lubricate moving parts like the pivot and slide mechanisms monthly to maintain smooth operation and prevent rust. Periodically calibrate the saw’s angles and fence alignment using a precise square and protractor to sustain accuracy. Additionally, remove dust and debris from motor vents and the gearbox after each use to prevent overheating. Store your saw in a dry, protected area and cover it when not in use to shield it from moisture and dust. Consistent maintenance keeps your saw performing safely and efficiently.
Tips for Achieving Professional-Quality Results
To get professional-quality results, start by ensuring your miter saw is precisely calibrated for accurate angles. Choose sharp, high-quality blades suited for your material to produce clean cuts and prevent splintering. Supporting long workpieces and maintaining steady, controlled movements will also make a big difference in the quality of your finish.
Precise Angle Calibration
Achieving professional-quality results with your miter saw starts with precise angle calibration. To guarantee accuracy, always verify the miter and bevel angles against a reliable square or digital protractor before cutting. Regularly perform detent adjustment by tightening or repositioning stop screws so the angles match the marked settings exactly. Use a combination square or digital angle finder to double-check the calibration after adjustments. Perform test cuts on scrap material to confirm the angles are accurate; fine-tune as needed. Keep pivot points and locking mechanisms clean and lubricated to maintain consistent calibration over time.
- Check angles with a square or digital protractor
- Adjust detents for precise stops
- Perform test cuts to verify accuracy
- Keep pivot points clean and lubricated
Optimal Blade Selection
Selecting the right blade is key to getting professional-quality results from your miter saw. Your choice of miter saw blades directly impacts cut precision and the potential of your miter. Opt for blades with the appropriate tooth count: fine-tooth blades (60-80 teeth) deliver smooth crosscuts, while coarse-tooth blades (24-40 teeth) handle rough cuts effectively. Use high-quality, carbide-tipped blades for durability and cleaner cuts across various woodworking materials. Match the blade diameter to your saw’s specifications, typically 10 or 12 inches, to ensure proper fit and performance. Additionally, choose blades with specific tooth configurations—such as ATB for crosscuts or TCG for veneer and laminate. Regularly inspect and maintain your blades to keep cuts precise and maximize your miter saw’s overall potential.
Secure Workpiece Handling
Ever wonder how professionals get such precise, clean cuts with their miter saws? The secret lies in safe workpiece handling. To achieve professional results, always secure your workpiece firmly against the fence. Use clamps or jigs when necessary to prevent movement during cutting. Supporting long or heavy workpieces with additional stands or rollers helps maintain stability and prevents sagging or shifting. Proper alignment with the miter or bevel angles is essential for accuracy. Remember to double-check that the workpiece remains stable and well-supported throughout the cut to avoid kickback and ensure a clean finish.
- Secure the workpiece firmly against the fence
- Use clamps or jigs for added stability
- Support long or heavy pieces with stands or rollers
- Double-check stability before cutting
Frequently Asked Questions
How Do You Unlock Mastercraft Maximum Mitre Saw?
To unlock your Mastercraft miter saw’s maximum capacity, start by locating the locking knob or latch that secures the miter angle. Loosen it, then adjust the miter scale to your desired maximum angle. Make sure the saw’s arm and fence are aligned and locked in place. Double-check that the lock is fully engaged and, if needed, consult your manual for specific instructions or internal reset steps.
How to Unlock a Mitre Saw?
To open your miter saw, first locate the blade lock knob or lever and release it. Remove any safety covers or blade guards blocking access. Use the included wrench to loosen the arbor nut by turning it counterclockwise. Once loosened, turn the arbor or locking mechanism further to release the blade. Always follow your saw’s specific instructions to guarantee safety and proper unlocking procedures.
What Is the 31.6 on a Miter Saw?
When you see 31.6 on a miter saw, it indicates the maximum miter angle the saw can cut, which is 31.6 degrees. This helps you set precise angles for complex joints or framing. You’ll find this number on the saw’s scale or adjustment dial, guiding you to achieve accurate cuts. Knowing this guarantees you don’t exceed the saw’s limits, keeping your projects safe and accurate.
How to Make Sure Your Miter Saw Is Accurate?
To guarantee your miter saw is accurate, regularly check and adjust the miter and bevel angles with a reliable square or protractor. Calibrate by making test cuts on scrap material and comparing them to a straight edge. Inspect and align the blade perpendicular to the table, and verify the fence is square to the blade. Keep pivot points clean and lubricated to maintain precise, consistent cuts.
Conclusion
By embracing these techniques, you’ll find working with your miter saw becomes a smooth and rewarding experience. With patience and practice, you’ll unseal its full potential, turning simple cuts into impressive projects. Remember, even the most skilled artisans started with small steps—so enjoy the journey and trust your growing expertise. Before you know it, your workshop will be filled with beautifully crafted pieces, all thanks to your newfound confidence and mastery.