To match existing stain on a repair, first identify the stain type and carefully remove or lighten it using the right solvents or gentle sanding. Test your stain color on scrap material first, then build the color gradually with light, thin coats, allowing each to dry thoroughly. Match the surface sheen and texture, and finish with a clear topcoat for seamless blending. If you want to perfect your approach, there are simple steps to follow that can make your repair nearly invisible.
Key Takeaways
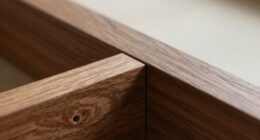
- Assess the existing stain’s color, type, and surface material before starting repairs.
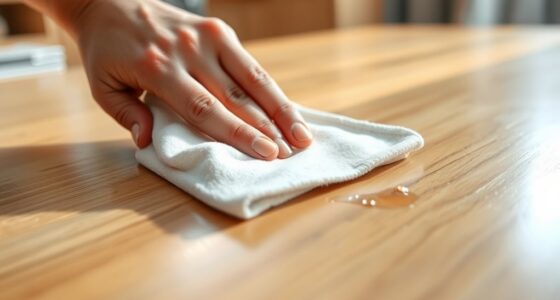
- Remove or lighten the stain using appropriate solvents or gentle blotting techniques.
- Test new stain colors on scrap material or hidden areas to ensure a good match.
- Apply stain gradually in light layers, allowing each to dry completely for accurate blending.
- Finish with a compatible topcoat or sealant to match the surface’s sheen and texture seamlessly.
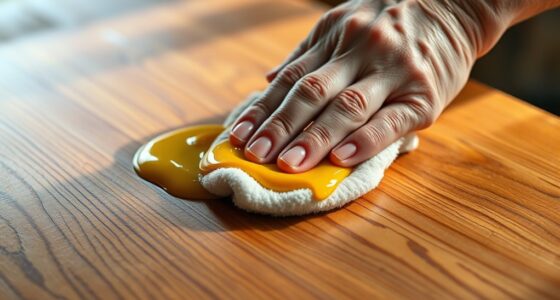
Matching an existing stain on repair jobs can be challenging, but with the right techniques, you can achieve a seamless look. The key is understanding how to match the stain’s color and texture accurately, which often involves a combination of stain removal techniques and color blending tips. First, assess the stain carefully. Determine whether it’s oil-based, water-based, or caused by another substance, as this influences the removal process. For stubborn stains, you might need to use specific stain removal techniques like blotting with a solvent, applying a stain remover, or gently sanding the area to lift discoloration. Be cautious with aggressive methods, as you don’t want to damage the surrounding surface.
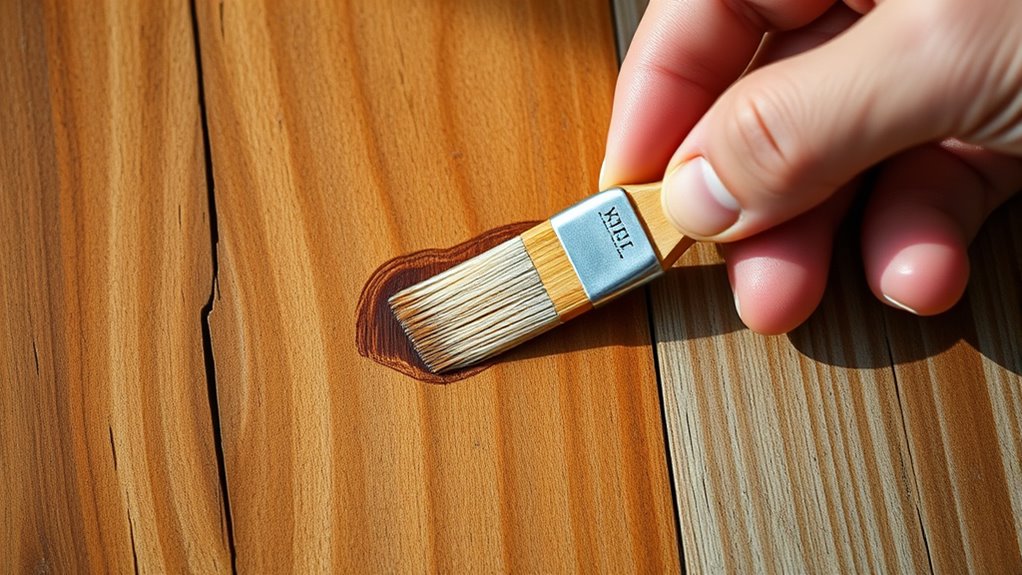
Once you’ve minimized or removed the stain, focus on blending the repair area with the existing surface. This is where color blending tips become pivotal. Start by testing your stain or dye on a hidden section or scrap piece of the same material to see how it reacts. When applying stain or color, use a small brush or cloth, and build up the color gradually. It’s better to add multiple light layers than to try to match in one go. This incremental approach helps you control the tone and prevents over-darkening or uneven patches.
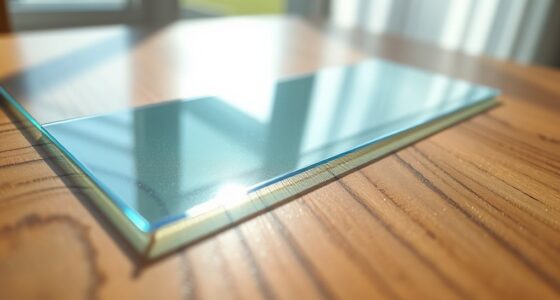
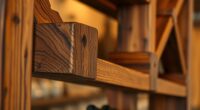
Matching the existing stain also requires paying attention to the surface’s texture. If the original surface has a matte or semi-gloss finish, replicate that finish after staining. Sometimes, blending isn’t just about color but also about texture. Lightly sanding the area after the stain dries can help the new stain settle evenly and blend more naturally with the surrounding surface. After applying the stain, you might need to use a clear finish or topcoat to seal the repair and match the sheen of the original surface. Additionally, understanding refrigerant management and its environmental impact can be relevant if your repair involves HVAC components or materials that contain refrigerants.
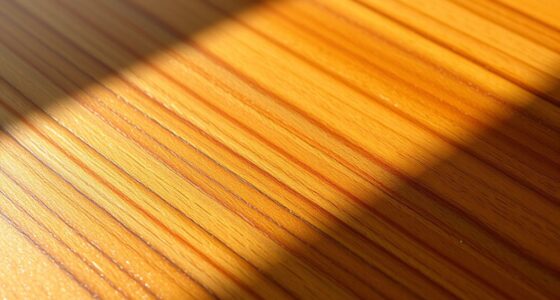
Patience is essential. Allow each layer to dry thoroughly before adding more stain or adjusting the color. If you’re working on wood, remember that wood can darken as it dries, so take that into account during color matching. Keep a damp cloth nearby to wipe excess stain or to lighten areas if you notice they’re too dark. Sometimes, blending becomes easier when you step back and review your work from different angles, adjusting as needed.

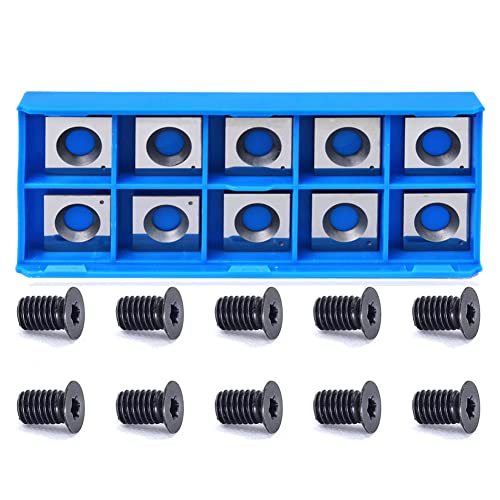
Findbuytool Carbide Inserts cutters (15x15x2.5mm-30°-R150-4R0.5) Insert for Woodworking Helical Cutter Head Tools, 10 Pcs (10)
{Product Contains}:10pcs Carbide Insert Knife 15x15x2.5mm-30°-R150-4R0.5 for Helical Cutterhead.
As an affiliate, we earn on qualifying purchases.
Frequently Asked Questions
How Do I Identify the Type of Stain Used Originally?
To identify the type of stain originally used, start by examining the stain’s appearance and how it reacts to stain removal efforts. Notice if the color has faded or if the stain remains stubborn. Test a small area with a gentle cleaner to see if it affects the color. This helps you determine if it’s oil-based, water-based, or another type, guiding your stain removal process and ensuring a proper match for repair jobs.
Can Artificial Lighting Affect Stain Matching Accuracy?
Artificial lighting can definitely affect your stain matching accuracy. Different lighting conditions alter your color perception, making it harder to see the true color of the stain. When matching stains, use natural light or consistent, neutral lighting to get the most accurate view. Avoid fluorescent or overly warm lights, as they can distort color perception and lead to mismatched stains, affecting the overall quality of your repair job.
What Tools Are Best for Precise Stain Application?
Oh, because everyone loves playing artist with a tiny brush, right? For precise stain application, you’ll want a fine-tipped brush to master delicate brush techniques. Keep a stain color chart handy to match hues perfectly. A quality detail brush allows control, preventing smudges. Remember, patience and steady hands beat guesswork. With these tools, you’ll turn a messy spill into a seamless repair—no paint-by-numbers here!
How Long Should Stain Dry Before Assessing Color Match?
You should wait at least 24 hours for the stain to dry before evaluating the color match. This drying time ensures the stain’s color consistency and helps you accurately evaluate the final appearance. Rushing this process can lead to mismatched colors, so be patient. If necessary, check the stain in various lighting conditions after the drying period to confirm it blends seamlessly with the surrounding wood.
Is It Possible to Match Stain on Textured or Patterned Surfaces?
Matching stain on textured or patterned surfaces can be challenging due to texture variation and pattern complexity. You should test your stain on a hidden area first, adjusting application techniques to mimic the surface’s texture. Use a small brush or sponge for detailed pattern work, and layer stains gradually. Patience is key, as blending the stain to match both color and texture guarantees a seamless repair.
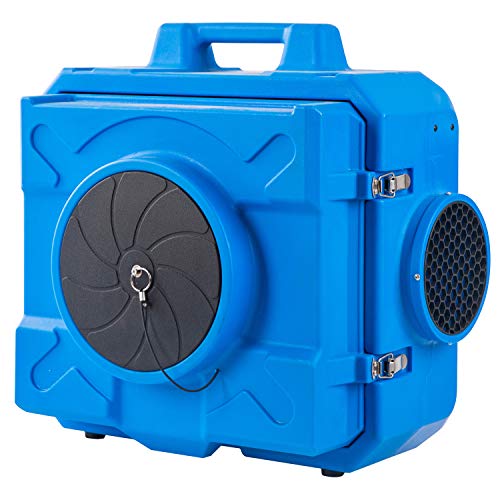
MOUNTO HEPA500 Commercial 500cfm Air Purifier Hepa Air Scrubber Negative Air Machine Roto-Molded (Blue)
MT500 has a Filter change light, daisy chain Dual GFCI outlet, Stackable, and variable speed control, quick access...
As an affiliate, we earn on qualifying purchases.
Conclusion
Matching an existing stain is like fitting the last piece into a puzzle—you want everything to look seamless. By carefully testing, blending, and adjusting your stain, you can make repairs disappear into the background. Patience and attention to detail are your best tools, turning what once seemed like a mismatch into a perfect harmony. With practice, you’ll be able to make your repairs blend as naturally as a chameleon changing its colors.

Xtreway Hepa Air Scrubber Commercial Air Purifier with 3-Stage Filtration Negative Air Machine Industrial Air Purifier for Heavy Duty, 550CFM
【3-Stage Filtration System】 The XTREWAY hepa air scrubber adopts advanced three-stage air filtration system. Its high-performance MERV-10 pre-filter...
As an affiliate, we earn on qualifying purchases.
Indexable Carbide Insert Knife 14.3x14.3x2.0mm-50° 2-Edge Replacement Cutter for Cutech Tool Rikon Carbatec and Most Planer Jointer Helical Cutterheads, 10 Packs
Standard Cutter Size: 14.3mm square with straight corners 2mm thick,2 indexable cutting edges, 50 degree cutting bevel. Inserts...
As an affiliate, we earn on qualifying purchases.