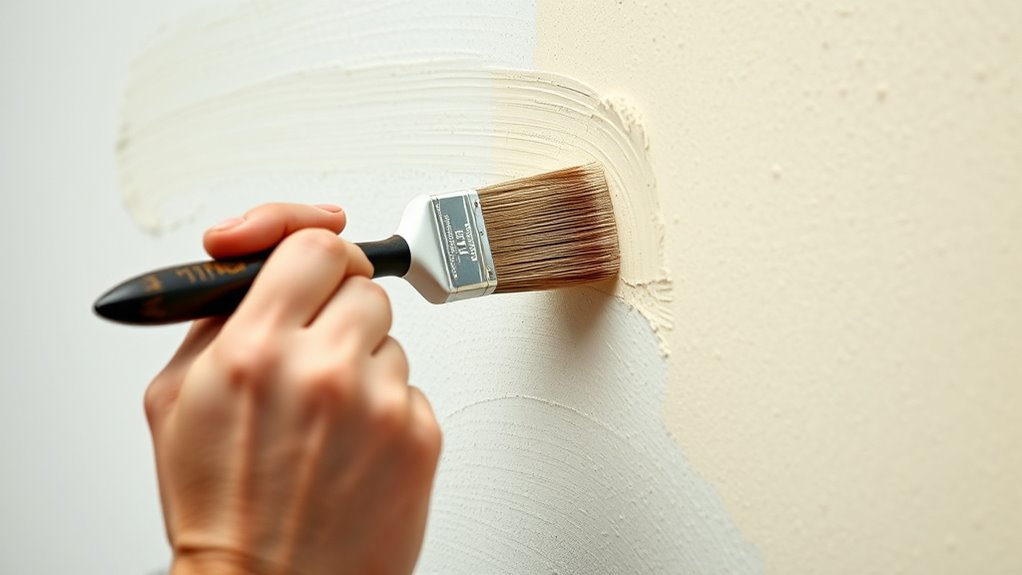

Mastering brush techniques like cutting in, tipping off, and feathering helps you create sharp edges and smooth transitions in your work. Cutting in ensures clean, defined lines, while tipping off softens and blends those edges for a natural look. Feathering gradually shifts between colors or tones, making your results look polished and realistic. Perfecting these methods enhances your skills and level of detail. Keep exploring these techniques to open even more professional results.
Key Takeaways
- Cutting in involves precise brushwork along edges to establish boundaries and prevent paint bleed in blending.
- Tipping off softens harsh edges by light feathering, creating smooth transitions between colors or tones.
- Feathering uses gentle, overlapping strokes to achieve gradual, realistic color gradations and seamless blending.
- Proper application of these techniques requires control of brush pressure, angle, and steady hand movements.
- Mastering these methods enhances the finish’s professionalism by producing clean, smooth, and natural-looking transitions.

Have you ever wondered how different brush techniques can transform your artwork or grooming routine? Mastering the art of brush techniques can make a noticeable difference, whether you’re painting a masterpiece or perfecting a clean edge in your grooming. One of the most versatile techniques is cutting in, where you use a steady, precise brush to create sharp, clean lines along edges or borders. This technique is essential for paint blending, as it allows you to establish boundaries and prepare areas for smooth transitions. When you cut in effectively, you’re setting the stage for seamless blending, avoiding harsh lines and ensuring your work looks polished. It’s all about control—using a fine-tipped brush and deliberate strokes to outline your shapes before filling in or blending colors. To achieve a professional finish, it’s important to practice consistent brush pressure and angle, much like maintaining a balanced aesthetic in a well-designed bedroom.
Tipping off is another fundamental brush technique that elevates your work. It involves lightly feathering the edges of a painted area to soften transitions and create a more natural look. When you tip off, you gently drag the brush along the boundary, reducing the starkness of the line and promoting smoother paint blending. This technique is especially useful in both painting and grooming, where subtlety counts. For instance, in painting, tipping off helps blend colors seamlessly, avoiding abrupt shifts that can detract from realism. In grooming, it’s similar to softening a line or edge to make the transition appear more natural. Your goal is to use just enough pressure and a light touch to soften the boundary without losing control of the shape.
Feathering is a technique that takes this softness even further. It involves creating a gradual transition between colors or tones by lightly dragging your brush back and forth over the area. Feathering is essential for achieving realistic effects and smooth gradations. When you feather, you’re essentially blending the paint or product right on the surface, which requires a gentle hand and a good understanding of brush techniques. The key to successful feathering is consistency—using soft, overlapping strokes to ensure a uniform transition. This method is often used in portrait painting to create realistic skin tones or in grooming to blend facial hair seamlessly into the skin. It’s a subtle, yet powerful way to enhance the overall finish of your work.
Frequently Asked Questions
How Do I Choose the Right Brush for Each Technique?
When choosing a brush for each technique, focus on brush selection and technique matching. For cutting in, pick a firm, angled brush to create sharp lines. Tipping off needs a softer, rounded brush for blending edges smoothly. Feathering works best with a fine, flat brush for light, gentle strokes. Always consider the brush’s shape, bristle type, and size to make sure it complements your technique, making your work precise and seamless.
Can These Techniques Be Used for Wall Textures?
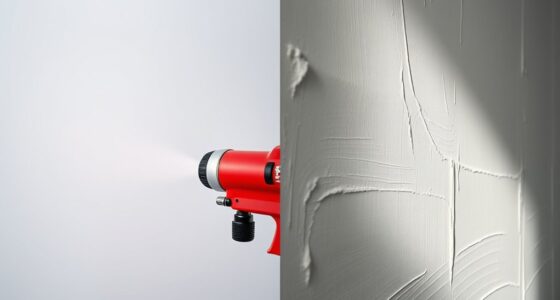
Like a painter’s gentle whisper, these techniques can indeed be adapted for wall textures. You’ll use your brush texture creatively to add depth and dimension to your wall painting. Tipping off can soften harsh lines, while feathering creates smooth progressions. Cutting in helps define edges. By mastering these methods, you’ll transform flat surfaces into textured works of art, making your walls feel alive with personality and style.
What Are Common Mistakes to Avoid When Brushing?
When brushing, avoid common mistakes like heavy brush strokes that cause uneven paint layers or drips, leading to painting mishaps. Don’t press too hard, as it can create streaks or splatters, and resist overworking the paint, which can cause color inconsistencies. Keep your brush well-loaded but not overloaded to prevent splattering. Regularly check your strokes for smoothness, and work with a steady hand to ensure a clean, professional finish.
How Do I Clean Brushes Properly After Use?
To clean brushes properly after use, you should start by removing excess paint with a scraper or rag. Then, immerse the brush in a suitable solvent like water or paint thinner, depending on the paint type, and gently work the paint removal. Rinse thoroughly until the water runs clear, reshape the bristles, and let them dry flat or hanging. Proper brush cleaning guarantees longevity and peak performance for your next project.
Are There Specific Paints Best Suited for These Techniques?
You should choose paints with good compatibility for your techniques, ensuring smooth application and seamless blending. Opt for acrylics or water-based paints for easier tipping off and feathering, as they dry quickly and work well with synthetic brushes. Select brushes with high-quality synthetic or natural bristles based on your paint’s viscosity. Consistent brush material selection and paint compatibility help you achieve precise, clean results, making your techniques more effective and enjoyable.
Conclusion
Now that you’ve mastered cutting in, tipping off, and feathering, you’re well on your way to flawless brushwork. Remember, practice makes perfect—like a true Renaissance artist, you’ll bring your skills to life with each stroke. Keep experimenting, stay patient, and don’t be afraid to channel a bit of that old-school craftsmanship. Before you know it, your walls will look so good, even Leonardo da Vinci would be impressed. Happy painting!