Using a compass for arcs and circles in woodworking is straightforward if you calibrate it properly. Make sure the arms are aligned and the pencil is held firmly without slipping. Secure your workpiece and position the pivot at the center point before drawing smooth, steady arcs. Practice consistent pressure and small adjustments for accuracy. Regularly check and tighten your compass to maintain precision. Keep exploring for more tips to perfect your technique and achieve professional results.
Key Takeaways
- Ensure proper calibration of the compass for accurate arcs and circles.
- Select a sturdy, adjustable compass and set the radius gradually for precision.
- Secure the workpiece firmly and position the pivot point before drawing.
- Use smooth, steady motions and maintain consistent pressure during marking.
- Regularly inspect and maintain the compass for optimal accuracy and performance.
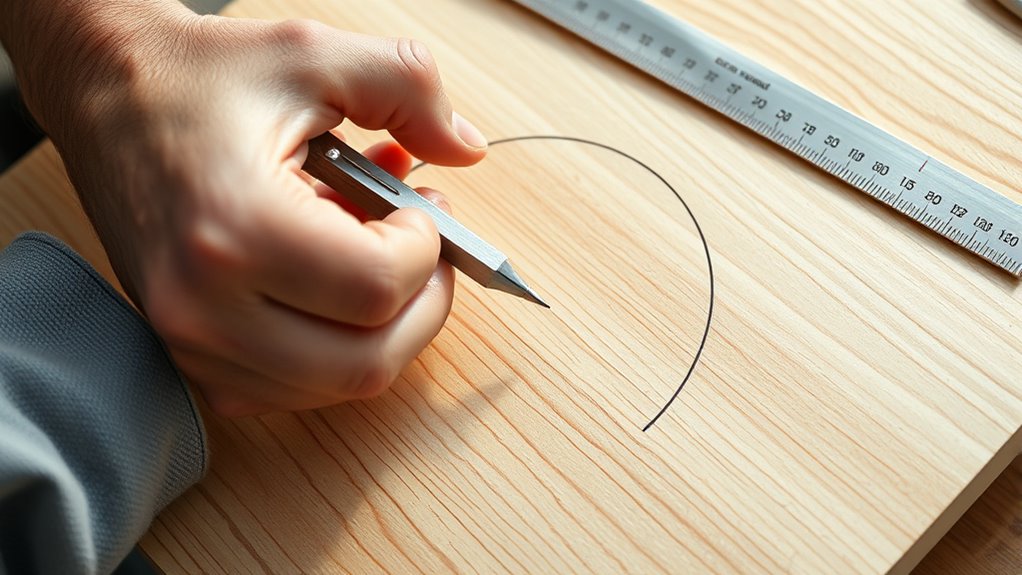
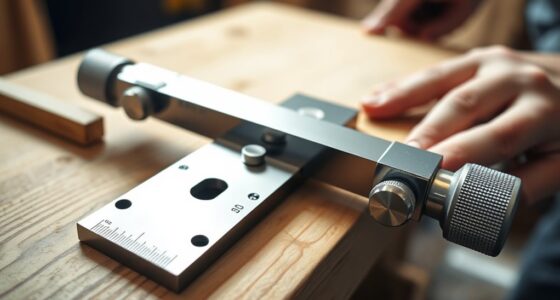
A compass is an indispensable tool for woodworkers aiming to create precise arcs and circles. When you’re working on projects that require accurate curves, mastering the use of a compass guarantees your designs are neat and exact. The key to getting perfect results lies in precision marking and proper tool calibration. Before you start drawing, make sure your compass is properly calibrated. This involves adjusting the arms so that the pencil tip and the pivot point are in perfect alignment, ensuring consistent radius measurements. A misaligned compass can lead to inaccuracies, making your circles uneven or distorted. Take the time to double-check your tool’s calibration before marking; it saves you from having to redo work later. Proper calibration is essential for consistent results, especially when working with multiple identical circles.
A well-calibrated compass ensures precise, accurate circles and arcs in woodworking projects.
Precision marking begins with selecting the right compass. Use a compass with a sturdy, adjustable arm that holds the pencil firmly without slipping. When you set the radius, do so slowly, making small adjustments to get the exact measurement you need. If you’re working on multiple circles of the same size, mark the radius on your caliper or a ruler so you can quickly replicate the measurement each time. This consistency is crucial for symmetry and professional-looking results. When marking the wood, make sure to hold the compass steady and apply just enough pressure to keep the pencil from slipping, but not so much that it dents or tears into the surface.
Another tip for achieving precision is to secure your workpiece properly. Clamp your wood firmly to a stable surface to prevent any movement that could throw off your markings. When you’re ready to draw, position the pivot point at your center point, then rotate the compass slowly and steadily. Avoid rushing, as sudden movements can cause jagged or uneven lines. Keep your hand steady, and follow the arc smoothly, maintaining consistent pressure on the pencil. For larger circles, you might find it helpful to mark small guide points along the circumference, then connect them with a smooth, continuous line for greater accuracy.
Regularly inspect your compass during use. If you notice it slipping or the pencil shifting, stop and tighten any loose parts. Recalibrate if necessary, especially after extended use, to ensure your measurements remain accurate. Maintaining your tools and practicing proper technique will significantly improve your precision and efficiency. With practice, you’ll develop a steady hand and an eye for detail, allowing you to produce perfect arcs and circles every time. Remember, the secret to precise woodworking curves is a well-calibrated compass and careful, deliberate marking. When you combine these elements, your projects will showcase clean, professional curves that enhance the overall quality of your craftsmanship.
Top picks for "compas arcs circl"
Open Amazon search results for this keyword.
As an affiliate, we earn on qualifying purchases.
Frequently Asked Questions
How Do I Choose the Right Compass Size for My Project?
You should select a compass size based on your project’s arc or circle dimensions. First, consider calibration techniques to guarantee accuracy, and choose a compass that comfortably fits your desired radius. Check material compatibility, especially if working with thick or dense wood, to prevent damage. Use a smaller compass for detailed work, and a larger one for bigger arcs, ensuring stability and precision throughout your project.
Can I Use a Compass on Uneven or Curved Wood Surfaces?
Yes, you can use a compass on uneven or curved wood surfaces, but it’s trickier. You need to stabilize the compass firmly, adjusting your grip to keep it steady on curved wood or uneven surfaces. Keep in mind, the more irregular the surface, the more challenging it is to get precise arcs. Consider using additional clamps or supports to help maintain control and accuracy during marking.
What’s the Best Way to Prevent Slipping During Marking?
To prevent slipping when marking, use proper clamping techniques to secure your wood and keep it stable. You can also rely on a marking gauge for consistent, precise lines instead of just a compass. Make sure your compass’s pivot point is sharp and steady, and apply gentle, even pressure. Combining these methods guarantees your markings stay accurate and don’t shift during your work, giving you cleaner, more precise results.
How Do I Maintain the Accuracy of My Compass Over Time?
To maintain your compass’s accuracy over time, regularly perform calibration techniques like comparing its measurements to a known standard. Keep your tool well-maintained by tightening joints, lubricating moving parts, and cleaning it after each use. Store it properly to prevent rust and wear. By doing so, you guarantee your compass remains precise, making your arcs and circles consistently accurate for woodworking projects.
Are There Alternative Tools for Drawing Precise Arcs in Woodworking?
Instead of a compass, you can rely on digital calipers and flexible rulers for precise arcs. Digital calipers deliver detailed measurements, ensuring accuracy, while flexible rulers bend and blend to draw smooth, steady curves. These tools combine consistency with creativity, allowing you to craft clean, precise arcs without sacrificing control. So, embrace these alternatives for accuracy and artistry in your woodworking projects.
Conclusion
Using a compass in woodworking makes drawing precise arcs and circles straightforward. Did you know that about 70% of woodworking projects involve some form of curved cut or detail? Mastering this simple tool can save you time and improve your craftsmanship. So, next time you’re tackling a project, grab your compass—you’ll be surprised how much easier it is to achieve perfect curves and elevate your work’s quality. Happy woodworking!