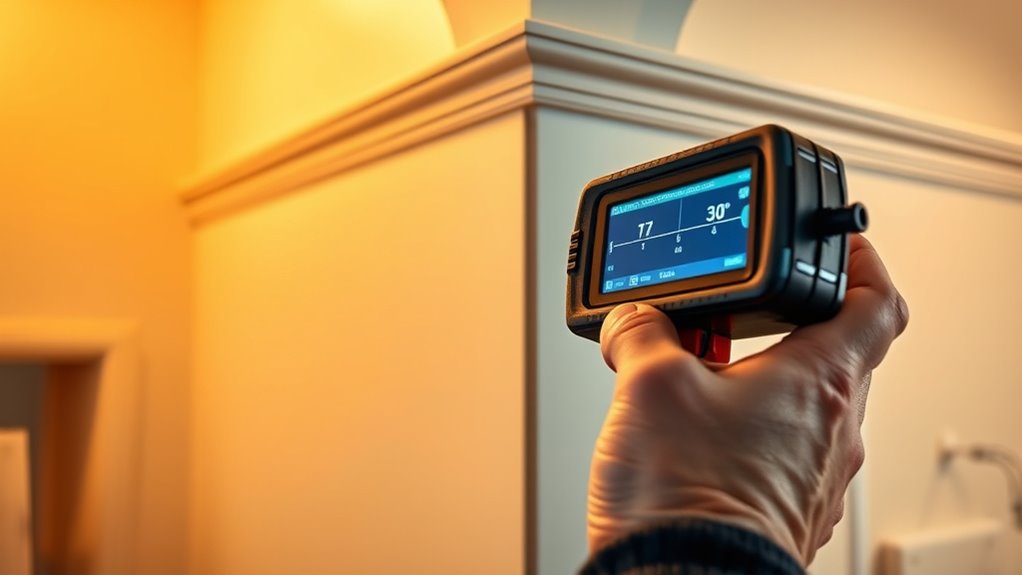

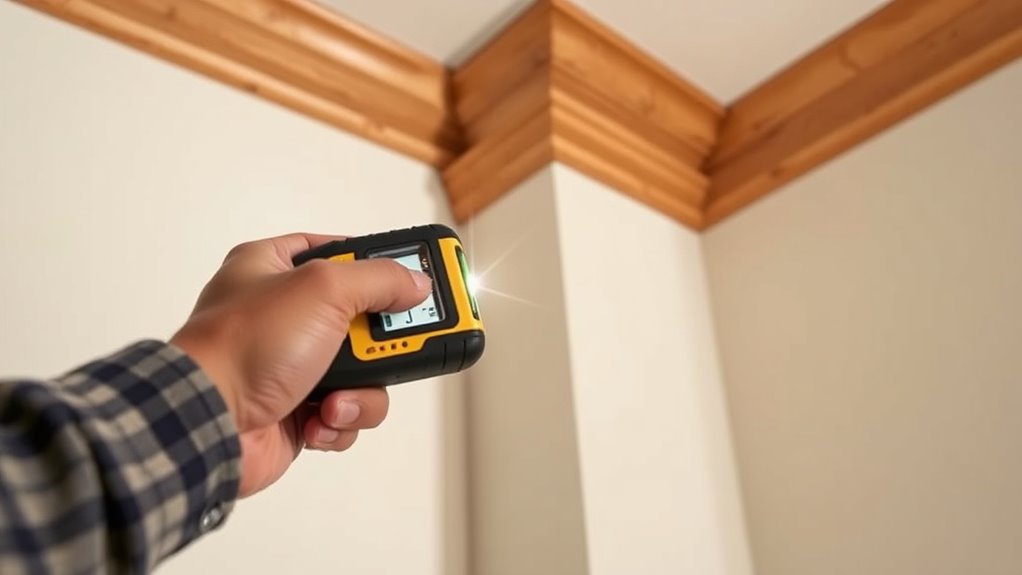
To accurately measure interior angles for trim work, position a digital angle finder or combo square firmly in the corner, ensuring it touches both surfaces. Align the tool’s edges along the walls or trim surfaces, then record the reading. Double-check at multiple spots for consistency. Precise measurements allow you to set your saw angles accurately, resulting in a professional finish. Keep going to discover key tips for perfect cuts and fitting every time.
Key Takeaways
- Use a digital angle finder or protractor to measure the interior corner directly for accuracy.
- Place the measuring tool firmly against both walls or surfaces for precise readings.
- Take multiple measurements at different points in the corner to ensure consistency.
- Record the measured angle and input it into your saw’s miter or bevel settings.
- Double-check measurements before cutting to prevent errors and ensure a professional fit.
Measuring interior angles accurately is vital for achieving professional-looking trim work. When you’re working on crown molding, baseboards, or any detailed trim, precision in angle calculation can make the difference between a seamless finish and a noticeable gap. To get this right, you need to understand how to measure angles correctly and select the appropriate measurement tools. Proper measurement ensures your cuts fit perfectly, reducing waste and saving time.
Accurate interior angle measurement ensures seamless trim work and professional results.
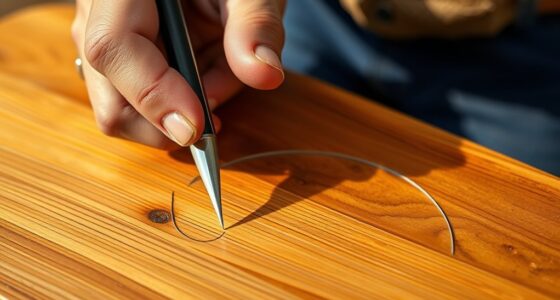
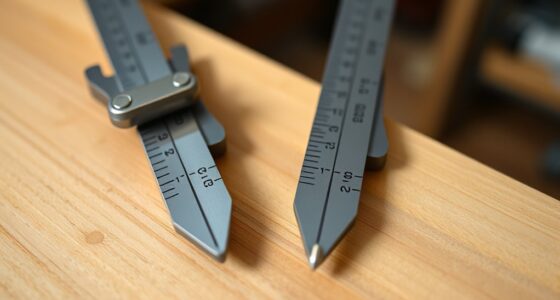
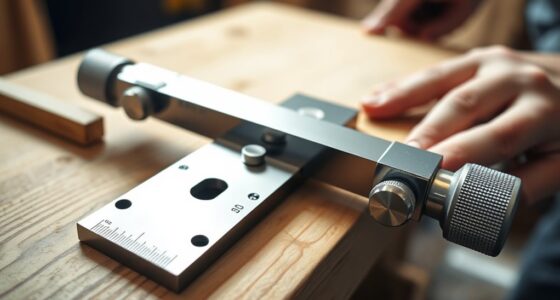
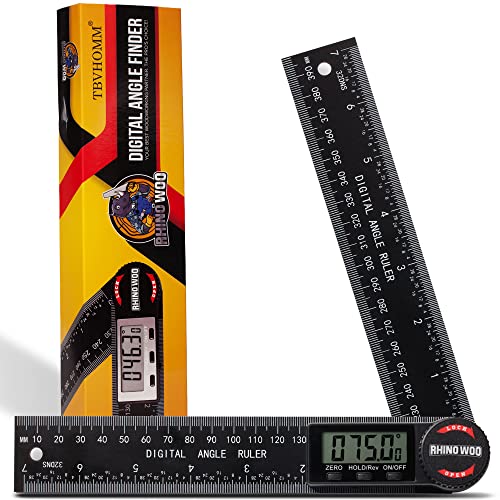
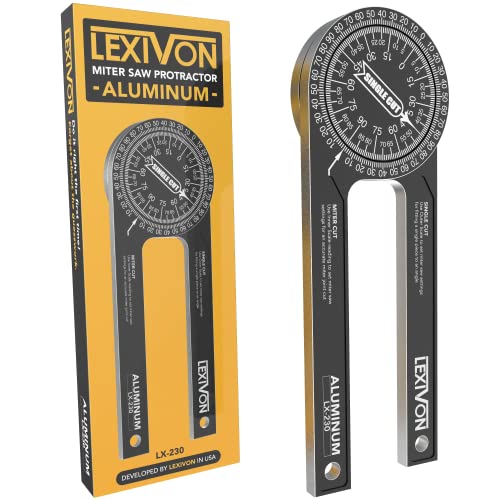
First, familiarize yourself with the concept of angle calculation. Interior angles in rooms are often not perfect 90 or 45 degrees, so you need to measure each corner individually. Use measurement tools like a digital angle finder, a combination square, or a protractor. Digital angle finders are especially handy because they give quick, accurate readings with minimal effort. When you’re measuring, place the tool firmly against the wall or corner, ensuring it’s flush and stable. Don’t guess or rely on visual estimation; precise measurement tools eliminate errors that can compound with repeated cuts.
To measure an interior angle accurately, position your measurement tool in the corner and note the reading. If you’re using a digital angle finder, simply turn it on and align the arms with the surfaces. For manual tools like a protractor or combination square, carefully align the tool’s edges along the walls or trim surfaces, then read the angle displayed. Remember, some corners aren’t perfect, so double-check your measurements in multiple spots to confirm consistency. If the angle isn’t exactly what you expected, record the measurement, then use it to set your miter or bevel cuts accordingly.
Once you have the correct angle measurement, use it to set your saw’s miter or bevel settings. Many saws have adjustable stops, so input the exact degree you measured. This step is essential because even a small discrepancy can cause gaps or overlaps in your trim work. Always verify your saw’s settings before making cuts, especially if you’re working with angles that aren’t standard. When making your cuts, take your time to ensure the saw is aligned correctly, matching your measurement. Precision at this stage minimizes the need for adjustments later. Additionally, understanding how to calculate angles accurately can help you troubleshoot and adapt to irregular corners or unusual room geometries.
Digital Angle Finder Protractor, Angle Measuring Tool for Woodworking/Carpenter/Construction/Handmade Measurement,Angle Finder Ruler with 7inch/200mm(2 Batteries Included) (Enhanced ABS)
【Dual Functionality】This innovative tool seamlessly integrates a high-contrast ruler (with millimeter and inch scales) and a digital protractor,…
As an affiliate, we earn on qualifying purchases.
As an affiliate, we earn on qualifying purchases.
Frequently Asked Questions
What Tools Are Best for Measuring Interior Angles Precisely?
When measuring interior angles precisely, you want tools that guarantee angle calibration and accurate readings. A digital angle finder or a combination square are excellent choices because they provide quick, reliable measurements. Keep your tools well-maintained by cleaning and calibrating them regularly. This prevents errors and guarantees your measurements are spot-on, making your trim work neat and professional. Accurate tools and proper maintenance are key to successful results.
How Do You Correct for Measurement Errors in Angle Calculation?
To correct measurement errors, you should focus on angle calibration and ensuring measurement consistency. Double-check your tools before starting, calibrate your protractor or angle finder, and take multiple readings for accuracy. When you compare results, look for inconsistencies, and adjust your measurements accordingly. Consistent technique and regularly calibrating your tools help minimize errors, giving you precise angle calculations for your trim work.
Can Digital Tools Improve Accuracy Over Traditional Methods?
Digital tools can considerably improve measurement accuracy by offering precise digital calibration, reducing human error. They often feature ergonomic designs, making them easier and more comfortable to use during long projects. With digital tools, you get real-time feedback and easier adjustments, helping you achieve perfect angles every time. Overall, they streamline your workflow and boost confidence in your measurements compared to traditional manual methods.
How Do Angles Vary With Different Types of Trim Materials?
Angles vary with different trim material differences, shaping your approach like a chisel shaping wood. When considering angle variation factors, you see how softer materials like foam bend easily, creating larger or uneven angles, while harder materials like wood or metal hold precise, consistent angles. You adapt your measurements, accounting for material flexibility and thickness, ensuring your trim fits perfectly. This awareness helps you achieve clean, professional results, regardless of the trim type.
What Are Common Mistakes to Avoid When Measuring Angles?
When measuring angles, avoid common mistakes like neglecting proper angle calibration or losing measurement consistency. Always double-check your tools before starting and make sure your protractor or angle finder is accurately calibrated to prevent errors. Keep your measurements steady and avoid rushing, which can lead to inaccuracies. By maintaining consistent technique and verifying calibration, you improve precision and achieve better results in trim work, preventing costly mistakes later.

IRWIN Tools Combination Square, Metal-Body, 6-Inch (1794468), Blue
The Black, Precision-Etched Scales On This Combination Square Give Accurate 90° And 45° Readings
As an affiliate, we earn on qualifying purchases.
As an affiliate, we earn on qualifying purchases.
Conclusion
Don’t worry if your angles aren’t perfect the first time—accuracy improves with practice. Using a protractor or angle finder makes measuring easier and more precise than guessing. Remember, small mistakes can be corrected during installation or with some sanding. So, stay patient and confident; with these tips, you’ll get flawless trim fits every time. Your careful measurements will make your space look professionally finished, even if you’re just DIY-ing.

2 Pcs Protractor Angle Finders, Adjustable Protractors 0°-180° with Locking Nut(for Exterior, Interior, Bevel Angles), Portable Angle Measurement Tools for Carpenters & Woodworking Hobbyists & DIYer
【PORTABLE ANGLE MEASURING TOOL】This plastic protractor can quickly measure interior, exterior and bevel angles, fulfilling three of your…
As an affiliate, we earn on qualifying purchases.
As an affiliate, we earn on qualifying purchases.
LEXIVON Aluminum Miter Saw Protractor | 7-Inch Rust Proof Angle Finder Featuring Precision Laser Engraved Scales (LX-230)
ACCURATE – Crafted from CNC-machined Anodized Aluminum Alloy Steel. Features easy-to-read precision laser engraved scales.
As an affiliate, we earn on qualifying purchases.
As an affiliate, we earn on qualifying purchases.