
To avoid gaps when using bevel gauges and miter angles, you need to measure carefully and double-check everything. Always verify your tool settings before making cuts, and make test cuts on scrap pieces first. Clamp your workpieces securely and account for saw blade kerf. Precision is key—take your time and make certain all angles match perfectly. If you keep these tips in mind, you’ll achieve tight joints every time. More insights await if you continue exploring.
Key Takeaways
- Always verify and calibrate your miter saw and bevel gauge before making cuts.
- Use multiple measurement tools to cross-check and confirm angles for accuracy.
- Make test cuts on scrap material to ensure proper fit and angle precision.
- Ensure workpieces are securely clamped to prevent shifting during cutting.
- Dry-fit pieces and re-measure if gaps or misalignments are visible before final assembly.

Have you ever wondered how to accurately cut angles for framing, molding, or carpentry projects? Achieving perfect joints depends heavily on your measuring accuracy. Even a slight miscalculation can result in gaps or misaligned corners, making your project look unprofessional. To avoid these issues, it’s essential to understand common mistakes and how to prevent them. Many beginners overlook the importance of precise measurement, rushing through marking or assuming their angles are correct without double-checking. This often leads to misfits and wasted material. By paying close attention to detail and using the right tools, you can markedly improve your results.
Precise measurement is essential to avoid gaps and ensure professional joints in carpentry projects.
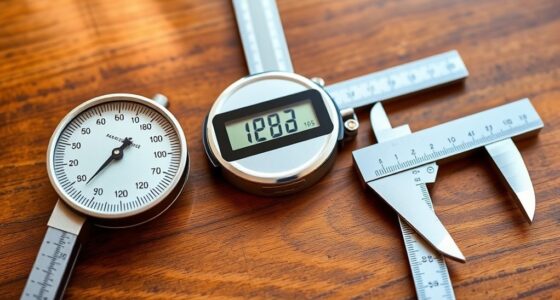
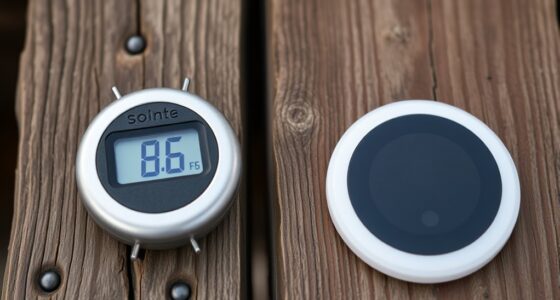
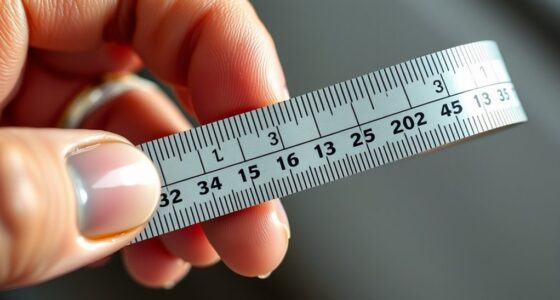
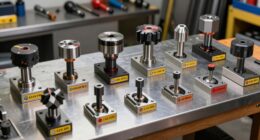
When working with bevel gauges and miter angles, the first step is to verify your measuring methods are spot-on. Always double-check your measurements before making any cuts. Use a reliable protractor or miter saw with accurate angle settings, and verify the angle markings before proceeding. Remember, the slightest inaccuracy in measuring can translate into noticeable gaps once the pieces are joined. Take your time to mark your cuts carefully, and don’t rely solely on visual estimation. Instead, use a combination of measuring tools such as combination squares, protractors, or digital angle finders to confirm your angles.
Another common mistake is to assume your tools are perfectly calibrated. Regularly calibrate your miter saw or bevel gauge to avoid errors that can compound during cutting. Misaligned tools can throw off your measurements, resulting in angles that don’t fit together properly. Also, be cautious when transferring measurements—measure twice, cut once. If you’re working with complex angles, consider making test cuts on scrap material first. This step helps catch any inaccuracies early, saving you time and material in the long run. Proper calibration and understanding of measurement accuracy are essential for precise cuts.
When cutting bevels or miter angles, it’s vital to account for the kerf—the width of the saw blade—so your measurements remain precise. Failing to do so can lead to slight but impactful discrepancies. Additionally, clamp your workpiece securely to prevent shifting during cutting, which can throw off your angle and measurement accuracy. After making your cuts, dry-fit the pieces before assembly to check the fit. If gaps appear, don’t hesitate to re-measure and adjust your cuts. Patience and precision are key to avoiding gaps and ensuring tight, professional-looking joints.

GemRed 82305 Digital Angle Finder GemRed Protractor Stainless steel 7inch 200mm (Black Button)
PATENTED MEASURING TECHNOLOGY — Ruler and protractor combination for easy measuring inside and outside angles.
As an affiliate, we earn on qualifying purchases.
As an affiliate, we earn on qualifying purchases.
Frequently Asked Questions
Can Bevel Gauges Measure Compound Angles Accurately?
Yes, bevel gauges can measure compound angles accurately if you properly calibrate them. You should set the gauge to match the angle’s components, then lock it in place. When measuring compound angles, make certain your bevel gauge is precisely calibrated, as small errors can lead to gaps. Double-check your measurements and adjust as needed to get an accurate reading, helping you avoid gaps in your joints.
What Is the Best Method to Calibrate a Bevel Gauge?
You should calibrate your bevel gauge using calibration techniques like setting it against a known, precise angle or using a digital angle finder for comparison. To guarantee angle accuracy, double-check your readings with a square or protractor after initial calibration. Regular calibration helps maintain precision, especially when working on complex cuts or compound angles. Always confirm your gauge’s accuracy before starting critical projects to avoid gaps and mismatched joints.
How Do Temperature Changes Affect Miter Angle Cuts?
Did you know that a 1°F temperature change can cause wood to expand or contract by about 0.002 inches? Temperature fluctuations markedly impact miter angle cuts because wood expands with heat and contracts in cooler conditions. This can lead to gaps in your joints. To avoid this, measure and cut in a consistent environment or adjust your angles to account for seasonal wood movement and temperature-related material contraction.
Are Digital Bevel Gauges More Reliable Than Manual Ones?
Digital bevel gauges are generally more reliable than manual ones due to their digital accuracy, which minimizes human error. You’ll find that digital models provide precise readings, making it easier to achieve perfect cuts and avoid gaps. While manual gauges rely on your skill and can be affected by calibration issues, digital gauges offer consistent, quick measurements, giving you confidence in your angles and reducing the risk of misalignment.
What Tools Complement Bevel Gauges for Precise Angle Measurements?
You should use a combination of a digital protractor or combination square alongside your bevel gauge for precise angle measurements. These tools feature digital readouts that provide quick, accurate readings, and they can be calibrated against standard calibration blocks to guarantee consistency. Using these tools together helps you achieve exact angles, preventing gaps or misalignments in your projects. Always double-check calibration standards regularly for maximum accuracy.

GOINGMAKE Table Saw Gauge Dia Indicator for Table Saw and Band Saw,0.01mm Accuracy Calibration Tool,Table Saw Jig Guide Fits for 3/4" T Slot U Slot,Table Saw Accessories for Woodworking,Machinery
【Precision Calibration】GOINGMAKE table saw gauge provides 0.01mm accuracy dial indicator. It is precision to use and easy to…
As an affiliate, we earn on qualifying purchases.
As an affiliate, we earn on qualifying purchases.
Conclusion
Mastering bevel gauges and miter angles is like fine-tuning a musical instrument—you get the perfect harmony, and your cuts fit seamlessly. When you measure carefully and double-check your angles, you prevent gaps and achieve professional results. Think of your tools as your trusted orchestra, working together smoothly. With patience and attention, you’ll craft flawless joints every time. Keep practicing, and soon, precision will become second nature—like riding a bike effortlessly.

General Tools T-Bevel Gauge & Protractor – Digital Angle Finder with Full LCD Display & 8" Stainless Steel Blade
ANGLE MEASURING TOOL: There's no more guesswork when it comes to measuring out your angles and cuts, thanks…
As an affiliate, we earn on qualifying purchases.
As an affiliate, we earn on qualifying purchases.

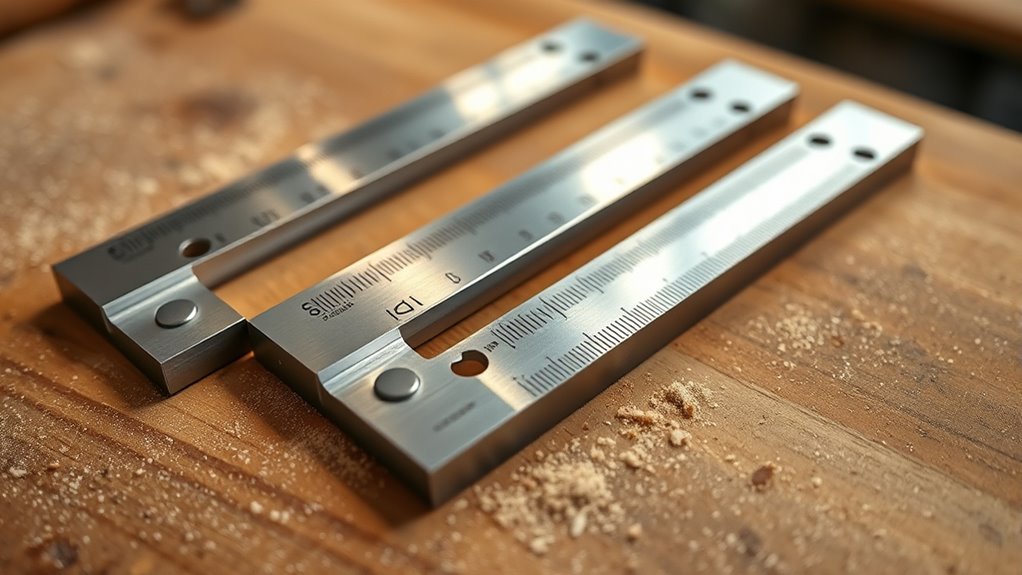
iGaging Combination Square Set 6" & 12" 4R Steel Blade High Precision
Set of Combination Squares 6" and 12" High Precision
As an affiliate, we earn on qualifying purchases.
As an affiliate, we earn on qualifying purchases.