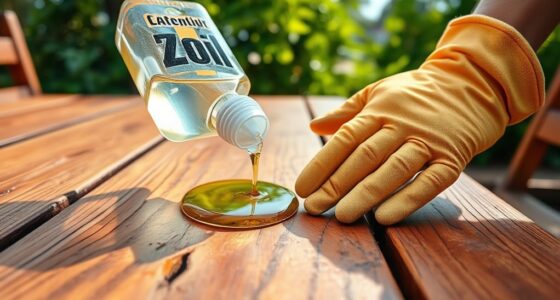
To season your wooden cutting board, start by cleaning it thoroughly with warm, soapy water and letting it dry completely. Choose a food-safe mineral oil or beeswax-based product and apply a generous layer, spreading evenly with a cloth along the grain. Let the oil soak in overnight, then wipe off any excess. Repeat this process monthly or as needed to keep your board protected and beautiful. Keep going to discover more tips for perfect seasoning.
Key Takeaways
- Clean and dry the board thoroughly, removing any stains or odors before applying oil.
- Choose food-safe oils like mineral oil or beeswax-based products for seasoning.
- Apply thin, even layers of oil along the grain, allowing each coat to soak in overnight.
- Re-oil when the surface appears dry, dull, or shows increased water absorption.
- Regularly maintain with monthly oiling to keep the wood protected and prevent cracking.

Kate Naturals Mineral Oil for Wood Cutting Board, Butcher Block, and Knife. Food Grade Mineral Oil for Wooden Cutting Board & Utensils (8oz, Food Safe)
- Food-grade mineral oil for wood: Restores and protects cutting boards and utensils
- No greasy residue: Absorbs cleanly without oily film or scent
- Safe for kitchen use: Food-safe, prevents rust on blades and appliances
As an affiliate, we earn on qualifying purchases.
As an affiliate, we earn on qualifying purchases.
Choosing the Ideal Oil for Your Cutting Board
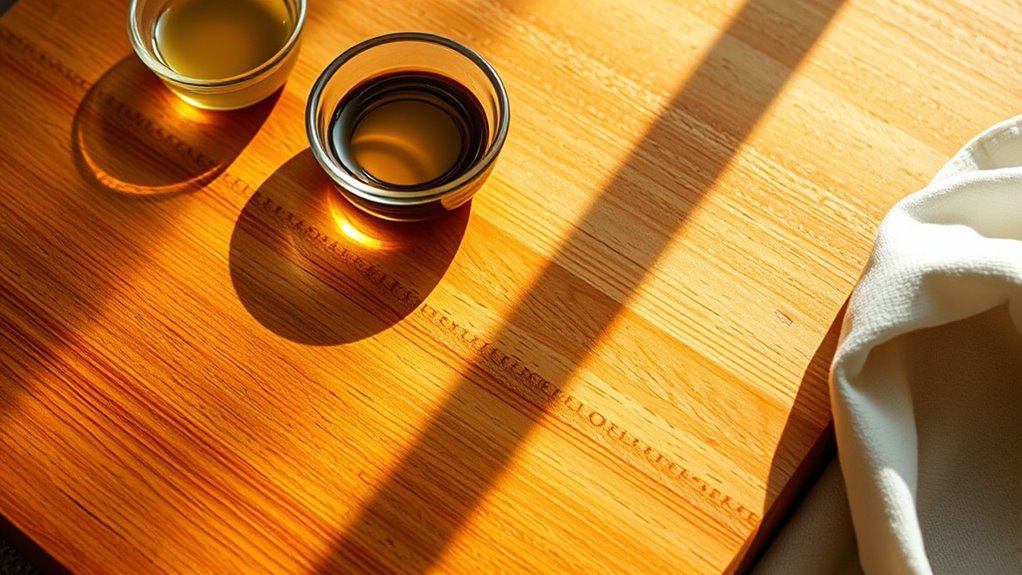
Choosing the right oil is essential for properly seasoning your wooden cutting board. Food-grade mineral oil is the top choice because it’s non-toxic, neutral, and affordable. You can find it easily at kitchenware stores or online, and it won’t go rancid over time, making it safer for long-term use. Some mineral oils come blended with other formulations specifically designed for cutting boards, providing extra protection. Avoid industrial-grade mineral oils, as they contain harmful additives. If you prefer a natural option, fractionated coconut oil resists rancidity and absorbs well without leaving greasy residues. Beeswax-based products are another excellent choice—they form a more robust, water-resistant barrier. Just remember to select oils labeled food-safe to keep your board safe and durable. Additionally, food-safe mineral oil is formulated specifically for wood and food contact surfaces, ensuring safe consumption and prolonged preservation of your cutting board. Using an oil with proper absorption can help maintain the integrity and longevity of your wooden surface.
Preparing the Surface Before Applying Oil
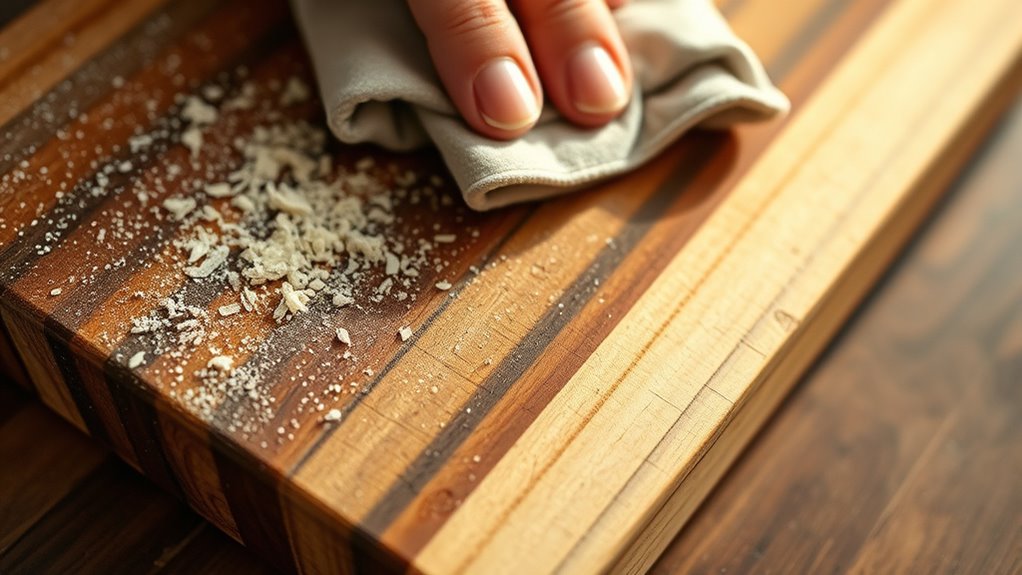
Before applying oil to your wooden cutting board, it’s essential to prepare the surface properly. Start by inspecting the board for scratches, cracks, or stains that might need repair. Clean the surface thoroughly with warm, soapy water, removing all debris, then dry it completely using a microfiber towel or cloth. If odors persist, neutralize them with baking soda or vinegar before proceeding. Moisture can cause grain raising, making the surface rough, so lightly sand the board with fine-grit sandpaper, like 220 or 400, to smooth out any raised grains. After sanding, remove all dust with a damp cloth and let the board air dry fully. Ensuring a clean, smooth, and dry surface is vital for effective seasoning and long-lasting results. Additionally, understanding the properties of essential oils can help you choose the best types for maintaining your wooden board’s condition and preventing bacterial growth, especially considering their antibacterial properties. Proper surface preparation not only enhances the absorption of oils but also extends the lifespan of your cutting board, as proper maintenance plays a crucial role in its durability. Incorporating hackathon insights into your process can inspire innovative approaches to natural and sustainable maintenance methods, such as using sound healing techniques to promote healing of damaged wood fibers.
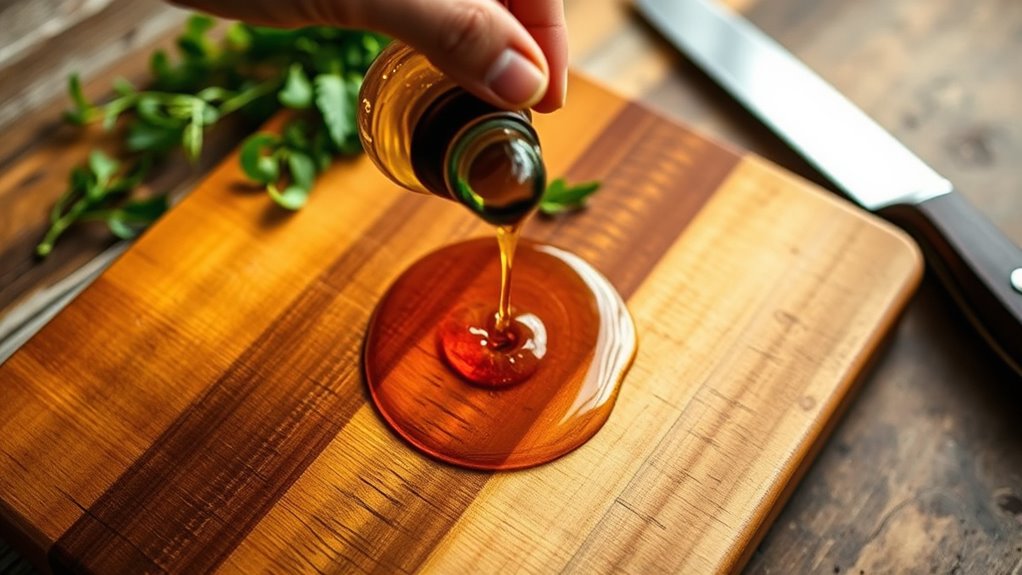
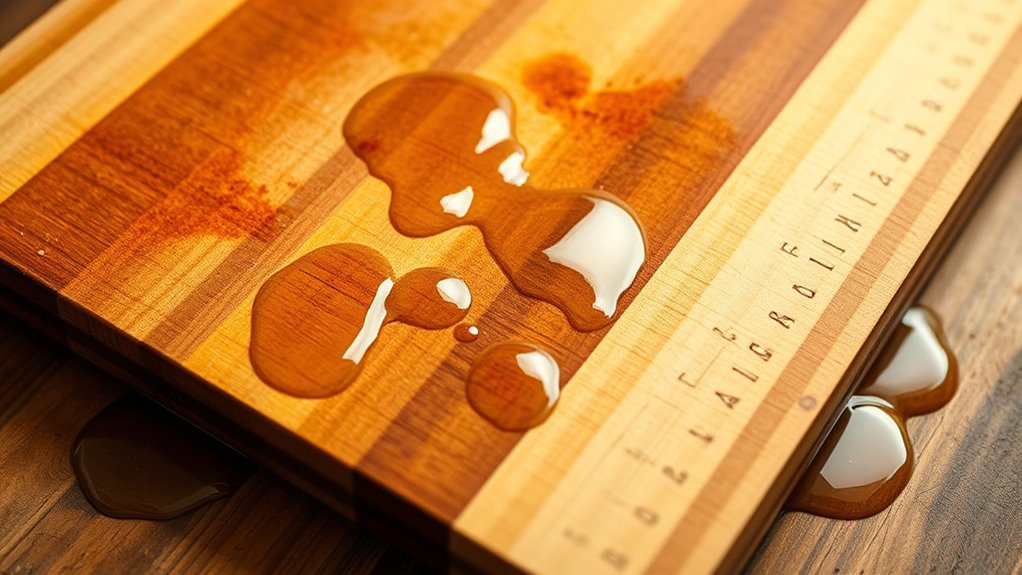
How to Apply Oil Evenly on Your Wood Surface
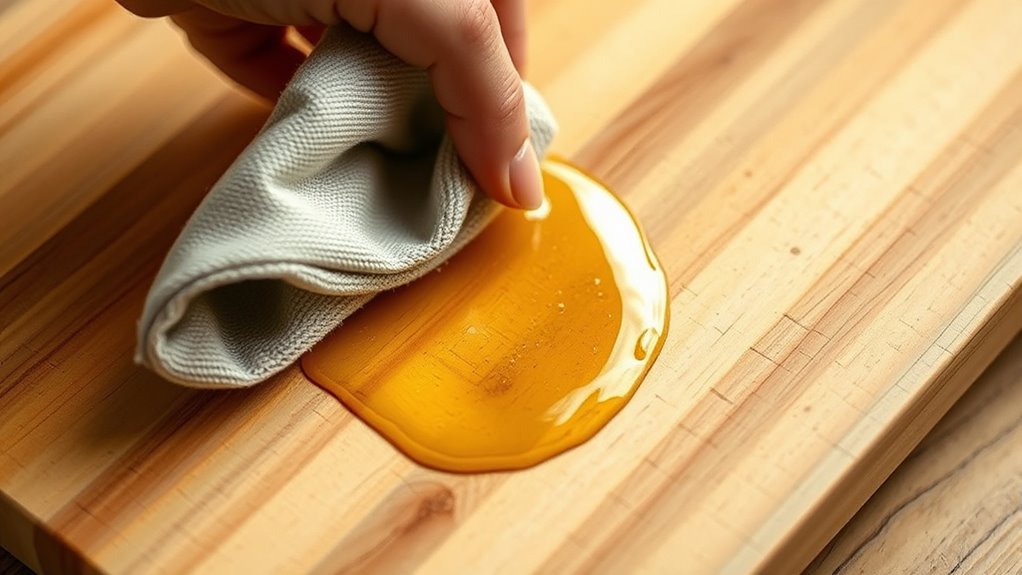
Applying oil evenly on your wooden surface is essential for a smooth, long-lasting finish. Use a dry, lint-free cloth to apply thin, even layers along the wood grain, preventing oversaturation. Work in small sections to maintain control and ensure consistent coverage. After applying, let the oil sit for 10-15 minutes, then remove any excess with a clean cloth. Always follow the grain to achieve a uniform look and enhance the wood’s texture. For larger surfaces, a microfiber roller or high-quality brush can be effective, but keep each coat thin to avoid buildup. Typically, three or four coats are needed for complete coverage. Focus on consistent application, and don’t rush the process—this ensures your cutting board develops a beautiful, durable finish. Additionally, understanding family photoshoot fails can remind you to be patient and adaptable during your woodworking projects, as unexpected challenges can occur. Being aware of resources and tools available can also help you troubleshoot and improve your finishing technique.
Determining the Right Frequency for Seasoning

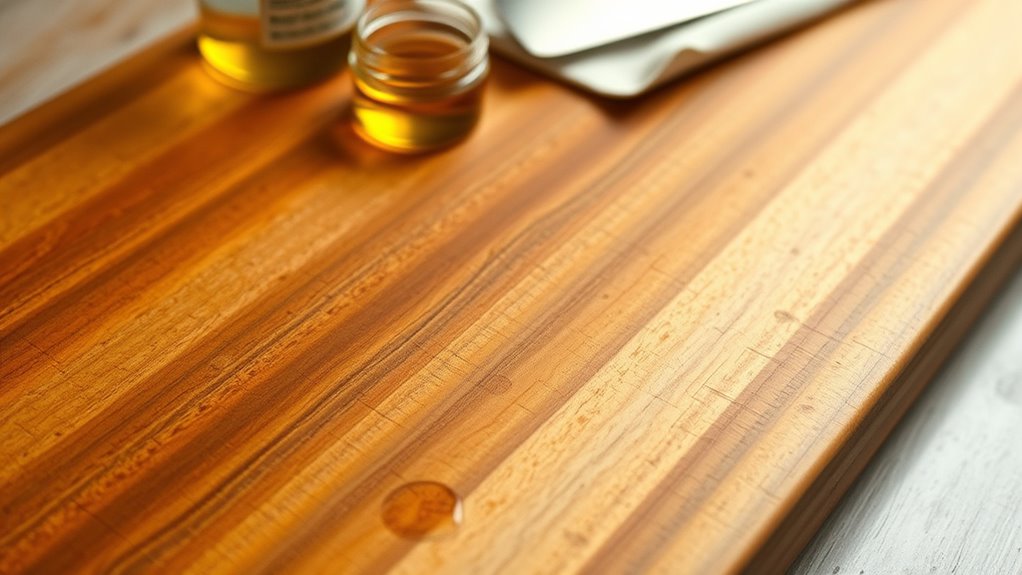
Once you’ve applied oil evenly and built a durable finish on your cutting board, maintaining that protection requires regular attention. Start by inspecting your board for signs of dryness, like whitish patches, roughness, or increased water absorption. If you notice these, it’s time to re-season. For high-use boards, monthly oilings are common, while less frequently used ones may only need oiling 2–3 times a year. Climate and humidity also influence how often you should oil; drier environments demand more frequent care. Visual cues such as stains, odors, or a rough feel indicate that your board needs attention. Instead of a strict schedule, oil your board whenever these signs appear. Waiting overnight after each application ensures deep absorption and longer-lasting protection. Incorporating sustainable materials into your seasoning routine can also help extend the lifespan of your cutting board. Using eco-friendly oils can further enhance environmental benefits. Regular seasoning also helps prevent bacterial growth and keeps your cutting board safe and functional. Additionally, choosing natural oils with antimicrobial properties can provide extra protection against germs. Applying a properly seasoned board regularly maintains its natural barrier and prevents moisture from penetrating, reducing the risk of warping or splitting.
Benefits of Properly Seasoned Wooden Boards
A properly seasoned wooden cutting board offers multiple benefits that enhance both its performance and lifespan. It creates a hydrophobic barrier, preventing excess moisture absorption that can cause warping, cracking, or rot. This protection maintains the board’s structural integrity even during temperature fluctuations and reduces bacterial growth by sealing surface pores. Seasoning also boosts durability by filling microscopic cuts, resisting splintering, and reducing wear from knife blades. It preserves the board’s natural elasticity, extending its functional life and aesthetic appeal over decades. Additionally, a well-seasoned surface limits stain and odor absorption, making cleanup easier and keeping colors and smells at bay. Proper seasoning also aligns with traditional culinary practices that emphasize the importance of maintaining food contact surfaces, enhancing overall kitchen hygiene. Regular maintenance through proper cleaning and oiling ensures the board remains in optimal condition and continues to provide a safe food preparation surface. Incorporating appropriate seasoning oils can further improve the effectiveness of the treatment. Using seasoning techniques can help achieve an even and durable coating on your board. Utilizing AI-powered cleaning tools can further optimize the maintenance process. Ultimately, proper seasoning helps your board stay hygienic, resilient, and visually appealing, making it a safer, more durable tool in your kitchen.
Tips for Maintaining and Reapplying Oil
Maintaining and reapplying oil to your wooden cutting board is essential for keeping it in ideal condition. Start by inspecting the surface; if it feels dry or looks dull, it’s time to oil again. Use a food-safe oil like mineral oil, linseed oil, or liquid paraffin, avoiding cooking oils that can turn rancid. Apply a generous amount of oil, spreading it evenly with a clean dish towel or a new paintbrush. Let the board sit upright so excess oil can drip off, and make sure to treat all surfaces, including edges and sides. Allow the oil to soak in for several hours or overnight. Regular maintenance—about once a month or as needed—keeps your board protected, smooth, and ready for use. Proper oiling also helps maintain the wood’s natural water resistance, preventing warping or cracking over time. Incorporating techniques like body awareness during the application process can help ensure an even and thorough treatment. Additionally, paying attention to wood grain alignment can further enhance the durability and appearance of your cutting board. Applying self-watering plant pots techniques to your oiling routine can help evenly distribute oil and ensure comprehensive coverage, especially in hard-to-reach areas. Using essential oils with antimicrobial properties can also provide an extra layer of protection for your surface, especially in a kitchen environment.
Common Mistakes to Avoid During Seasoning
To guarantee your wooden cutting board stays in top condition, it is crucial to avoid common mistakes during seasoning. First, don’t use vegetable oils, as they can go rancid, emit foul odors, and trap bacteria, risking food contamination. Many mistakenly believe they’re natural, but these oils don’t penetrate wood deeply. Second, skip regular maintenance; neglecting to oil your board allows cracks, warping, and bacteria buildup, shortening its lifespan. Avoid animal fats like lard or tallow, which spoil quickly and leave greasy residues that can harbor bacteria. Be careful with oil quantity—applying too little leaves your board unprotected, while too much attracts dust and debris. Finally, always choose food-safe oils; non-food-grade products can contain harmful additives, leave sticky residues, or turn rancid, compromising your board’s safety. Incorporating proper seasoning techniques can further ensure your board remains durable and safe for use.
Rejuvenating a Dry or Damaged Cutting Board

When your wooden cutting board becomes dry or damaged, restoring its condition requires careful cleaning and preparation. Start by washing it thoroughly with hot, soapy water to remove dirt and oils. Use hydrogen peroxide on a cloth to eliminate bacteria, then let it dry completely. If the surface is damaged, sand it with 80-grit sandpaper, working along the grain, then smooth with finer grits like 120- or 220-grit. After sanding, wipe the board with a damp cloth to raise the grain, then let it air dry. For severely dry or cracked boards, sanding down to bare wood helps remove damaged layers. Once smooth, apply food-safe oils like mineral oil or butcher block conditioner, allowing each coat to soak in before adding another. Proper drying and oiling restore the board’s durability and safety.
Frequently Asked Questions
Can I Use Household Oils Like Olive or Vegetable Oil for Seasoning?
You’re wondering if household oils like olive or vegetable oil work for seasoning your wooden cutting board. While it might seem convenient, these oils aren’t ideal because they can become rancid, leading to bad odors and potential mold. They don’t protect the wood as well as mineral oil and can attract pests. To keep your board safe and durable, stick with food-safe mineral oil for seasoning and maintenance.
How Long Should I Wait Between Oil Applications?
Did you know that waiting at least 15 to 20 minutes between oil coats helps your board absorb maximum protection? You should wait this long after each application before adding another or using the board. This waiting period prevents sticky residue and dust attraction, ensuring your board stays clean and well-sealed. For ideal results, consider leaving it to soak overnight if possible, especially for new or heavily sanded boards.
Is It Safe to Use Scented or Flavored Oils on My Cutting Board?
Using scented or flavored oils on your cutting board isn’t safe because they often contain additives, fragrances, or chemicals not meant for food contact. These can cause allergic reactions, become rancid quickly, or contaminate your food. Instead, opt for food-grade oils like mineral, beeswax, or coconut oil. They’re safe, odorless, and help protect your board without introducing harmful substances or unwanted flavors.
Should I Sand My Board Before Seasoning if It Has Deep Cracks?
If your cutting board has deep cracks, sanding before seasoning is essential. It removes damaged wood and smooths the surface, allowing better oil absorption. Use coarse grit first, then medium, and finish with fine grit to achieve a smooth, sealed surface. Proper sanding prevents moisture from trapping, reduces further cracking, and guarantees your seasoning penetrates deeply. This process helps extend your board’s lifespan and keeps it safer for food prep.
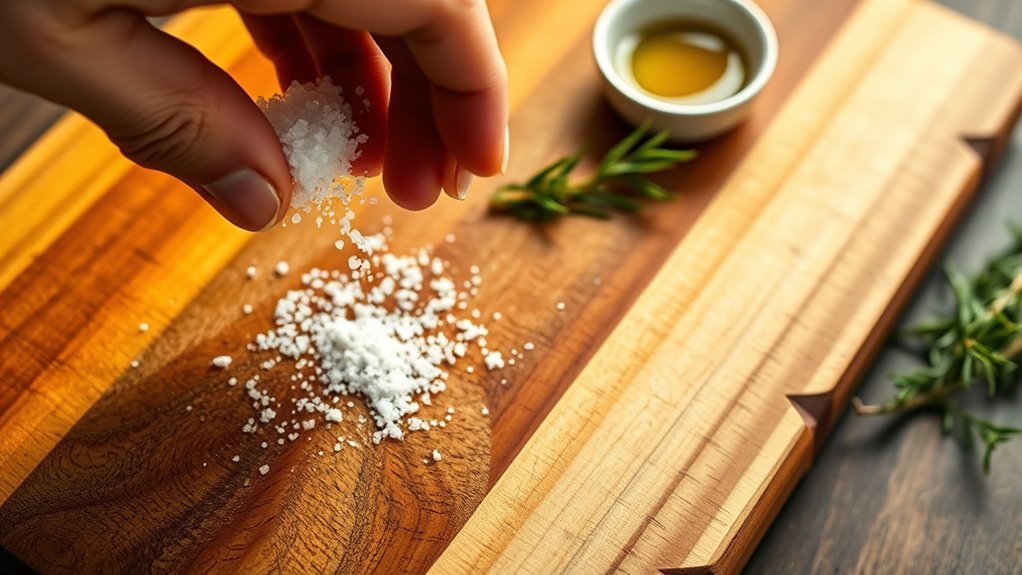
How Do I Remove Excess Oil if My Board Feels Sticky?
If your board feels sticky, start by wiping away excess oil with a dry cloth or paper towel. Allow it to air dry upright, and use a mixture of coarse salt and lemon juice to scrub away stubborn residue gently. Rinse thoroughly, then wipe with a clean cloth. Avoid over-oiling in the first place by applying oil gradually and stopping once the surface stops absorbing.
Conclusion
With a little love and the right touch, your wooden cutting board becomes a trusty garden in your kitchen, ready to nurture your culinary creations. Keep it seasoned and cared for like a cherished friend, and it’ll reward you with a smooth, resilient surface that ages gracefully. Think of each oiling session as watering a plant — your board will flourish, standing strong through countless delicious adventures ahead.