To create custom dividers for your cutlery and utensils, start by measuring your drawers and the items you want to store. Use affordable materials like cardboard, foam board, or repurposed items, cutting and assembling them to fit your dimensions perfectly. You can also cover dividers with decorative paper or paint for a stylish touch. Properly arranged, your drawer will stay organized and clutter-free. Keep going to discover more tips for building your own tailored drawer system.
Key Takeaways
- Measure drawer dimensions and organize cutlery to design custom-fit dividers.
- Use affordable materials like cardboard, foam board, or repurposed items for easy construction.
- Create compartments by folding, stacking, or slotting smaller containers within the drawer.
- Cover dividers with decorative paper or paint for a polished, personalized look.
- Arrange dividers to keep utensils organized, accessible, and prevent clutter.
Are your kitchen drawers cluttered and hard to navigate? If so, it’s time to take control with some simple DIY drawer organizers. Creating your own custom dividers not only streamlines your space but also makes finding and storing cutlery and utensils effortless. When you design your own storage solutions, you get to tailor each compartment to fit your specific needs, ensuring everything has its place. Plus, crafting these organizers can be a fun project that adds a personal touch to your kitchen. Whether you’re an experienced crafter or just looking for easy craft ideas, building your own drawer dividers is an accessible and rewarding task.
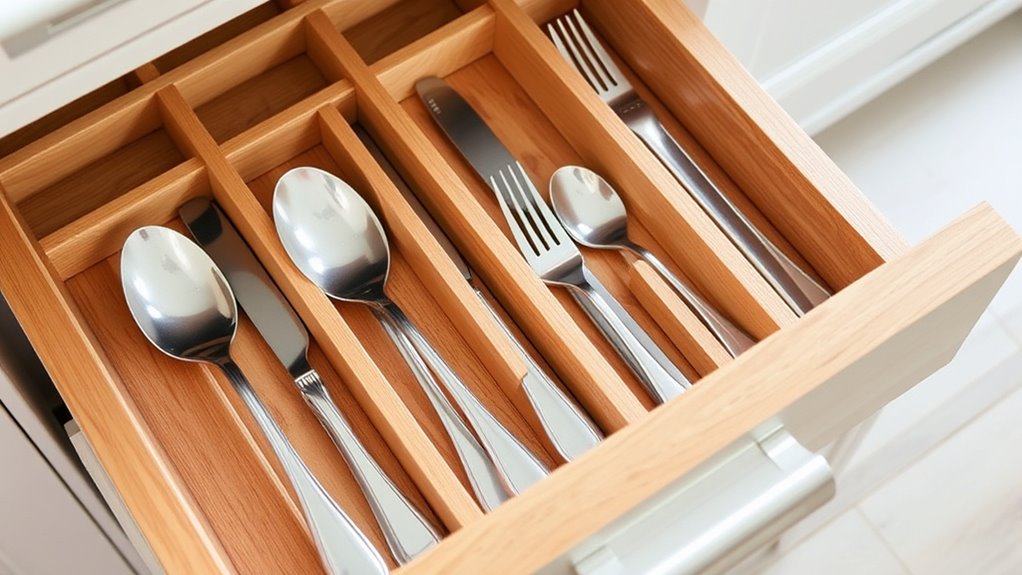
Create custom drawer dividers to organize your kitchen effortlessly and add a personal touch to your space.
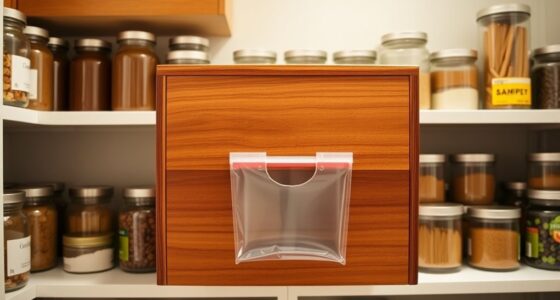
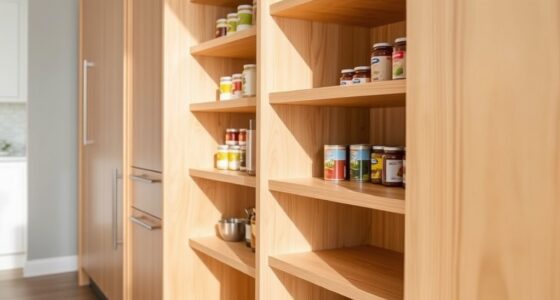
Start by evaluating what you want to store and how much space you have. Measure the width, depth, and height of your drawers to ensure your DIY organizers fit perfectly. Using simple materials like cardboard, foam board, or even repurposed items such as shoeboxes or plastic containers, you can create dividers that are both functional and budget-friendly. Cardboard is especially versatile—cut it into strips that match your drawer’s dimensions, then fold or tape them to form compartments suited to your utensils and cutlery. If you want a more polished look, cover the dividers with decorative contact paper or paint them in colors that match your kitchen décor.
For a more durable option, consider using wood or acrylic sheets. These materials can be cut to size with a saw or a utility knife and glued or screwed together for sturdy dividers. Not only do these options last longer, but they also give a sleek, professional appearance. If you prefer a no-tool approach, stacking or slotting your craft ideas with smaller containers or boxes can be just as effective. Arrange them inside your drawer to create separate zones for forks, knives, spoons, and miscellaneous utensils. The key is to build a system that keeps everything in place and prevents clutter from piling up.
Implementing these DIY storage solutions transforms your kitchen drawers into organized, efficient spaces. Plus, it’s a great way to get creative with inexpensive craft ideas that suit your style. Once finished, you’ll wonder why you didn’t do it sooner. You’ll save time during meal prep, reduce frustration when searching for utensils, and enjoy the satisfaction of a tidy, customized drawer. With just a little effort, your kitchen can look neat and feel more functional. Custom drawer dividers are a practical and creative solution to everyday kitchen chaos, and making them yourself adds a personal touch that truly makes your space your own.
Top picks for "drawer organizer custom"
Open Amazon search results for this keyword.
As an affiliate, we earn on qualifying purchases.
Frequently Asked Questions
What Materials Are Safest for DIY Drawer Dividers?
For safe DIY drawer dividers, you should choose materials with good material safety and non-toxic options. Opt for hardwoods like maple or bamboo, which are natural and free from harmful chemicals. Avoid MDF or pressed woods that may contain formaldehyde. You can also use food-safe silicone or acrylic, both non-toxic options. Always guarantee the materials are sealed properly to prevent any chemical leaching and keep your utensils safe.
How Can I Customize Dividers to Fit Oddly Shaped Utensils?
To customize dividers for oddly shaped utensils, start by measuring each item carefully. Use flexible materials like foam board or cardboard that can bend and be cut easily. Trace the shape of your utensils onto the material, then cut out and fit the pieces into your drawer. You can also add padding or foam inserts to secure irregularly shaped items, ensuring they stay organized and protected.
Are There Eco-Friendly Options for Making Drawer Organizers?
Like Mother Earth’s gentle whisper, eco-friendly drawer organizers are within your reach. You can easily use recycled plastics or opt for biodegradable options, making your space both functional and sustainable. These materials reduce waste and environmental impact, aligning your organization efforts with eco-conscious values. So, when creating your custom dividers, choose recycled or biodegradable materials to give your kitchen a greener, cleaner touch.
What Tools Are Essential for Building DIY Drawer Dividers?
You’ll need basic tools like a measuring tape or ruler to guarantee accurate measurements for your storage solutions. A saw is essential for cutting materials to size, while a screwdriver helps assemble the dividers. Using precise measuring techniques, you’ll create custom-fit pieces that maximize space and organization. Don’t forget sandpaper for smoothing edges. With these tools, you can craft sturdy, tailored drawer dividers that keep your cutlery and utensils neatly arranged.
How Do I Ensure the Dividers Stay Securely in Place?
Did you know that over 60% of people find their kitchen cluttered due to poorly secured drawer dividers? To keep your adjustable dividers in place, use a non-slip grip on the bottom to prevent slipping. Additionally, secure them with adjustable features that lock into position, ensuring they stay put even with frequent use. This combination guarantees your DIY dividers remain securely in place, keeping your utensils organized and accessible.
Conclusion
Now, imagine opening your drawer to find perfectly fitting dividers, each utensil nestled securely like treasures in a jewelry box. The clutter melts away, leaving a neat, inviting space that makes every morning easier. With your new DIY organizers, you’ll enjoy the satisfying click of cutlery sliding into place and the calm of a beautifully ordered drawer. It’s a simple project that transforms chaos into harmony—your kitchen’s secret weapon for a tidy, welcoming home.