
To cut clean sink holes in laminate countertops, start by creating or using a template to trace the sink outline accurately. Use painter’s tape along the cut line to prevent chipping and cut with a fine-tooth jigsaw or laminate-specific blade, supporting the surface well. Drill small pilot holes at corners for smooth cuts and gently smooth edges after cutting. Proper sealing and adjustments guarantee a professional fit. Keep going to discover detailed steps for a flawless finish.
Key Takeaways
- Use a template or trace the sink outline with painter’s tape for accurate marking.
- Protect the laminate surface with painter’s tape along cut lines to prevent chipping.
- Cut with a fine-tooth jigsaw or circular saw, supporting the countertop securely to avoid damage.
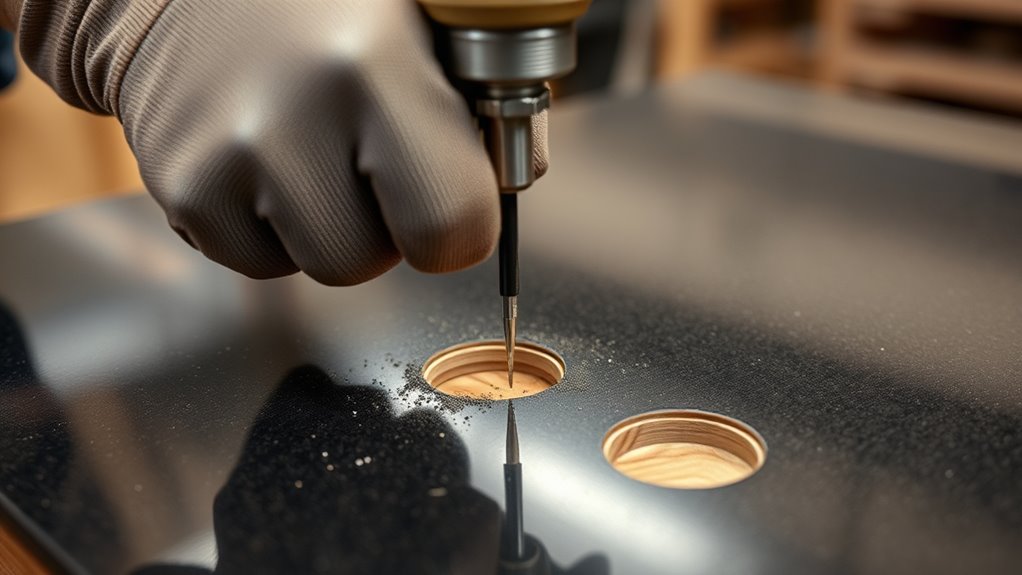
- Drill pilot holes at corners to facilitate smooth, precise cuts and clean edges.
- Smooth the cut edges with a belt sander or file, then test fit the sink before sealing.
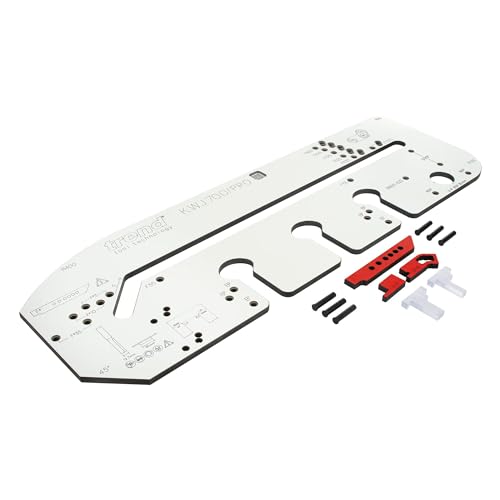
Trend Professional Kitchen Countertop Jig for Mason Miter Joints, Fits Countertops up to 27-1/2 Inches Wide, Front Edge Alignment for Precision Cutting, KWJ700/PRO
FRONT EDGE ALIGNMENT: Replaces traditional pins for fast, precise positioning at the female joint, ideal for scribed or…
As an affiliate, we earn on qualifying purchases.
As an affiliate, we earn on qualifying purchases.
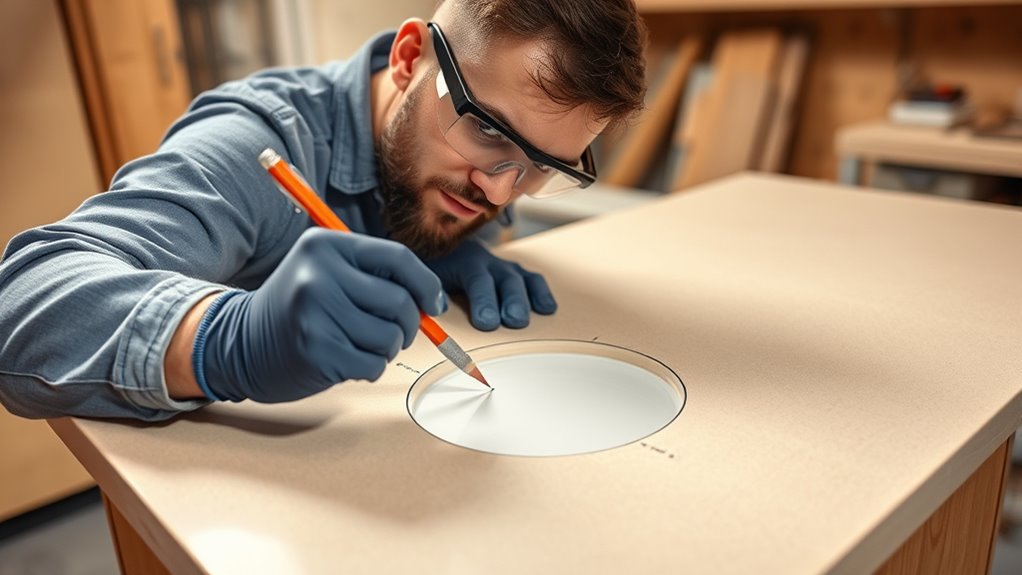
Selecting the Proper Template and Marking the Outline
To guarantee a precise cut, start by selecting the right template and accurately marking the outline. If your sink has a paper template included, use that as your guide. Otherwise, create a custom template by tracing the sink upside-down onto painter’s tape, which sticks firmly to the countertop. For second-hand or no-template situations, cut a sturdy piece of paper larger than the opening, tape the edges securely, and crease around the sink’s outline to mark the cut line. Properly position the template on your countertop, leaving at least 1.5 inches of clearance from the front edge and enough space at the back for maneuvering. Use painter’s tape to secure the template and trace along the outline, ensuring a clear, accurate guide for cutting. Incorporate precision in layout to achieve the best fit for your sink. Additionally, paying attention to accurate measurements is essential to prevent errors during the cutting process, and utilizing professional tools can further improve your results. Being aware of market growth projections can also inform you about the latest advancements in cutting tools that might benefit your project. Moreover, understanding building codes and safety practices ensures your modifications meet safety standards and prevent potential issues.

Bosch T128BHM3 3 pc. 3-5/8 in. 14 TPI Carbide-Strip Special for Laminates T-Shank Jig Saw Blades
CARBIDE BRAZING TECHNOLOGY: Delivers 10x life versus standard bi-metal blades
As an affiliate, we earn on qualifying purchases.
As an affiliate, we earn on qualifying purchases.
Preparing the Laminate Surface for Cutting
Before you start cutting, make sure your measurements and markups are precise, using a carpenter’s square for accuracy. Protect the laminate surface by laying painter’s tape along your cut lines to prevent chipping. Secure your template with tape and trace carefully to guarantee a clean, accurate cut. Familiarize yourself with the precious metals dealer options to choose the best source for your project. Additionally, understanding sound healing science can inspire more mindful and relaxing work environments during your DIY projects. Being aware of mammography guidelines can also help you stay informed about health practices that promote early detection and peace of mind. To further ensure a smooth process, consider checking your cookie preferences to customize your browsing experience.
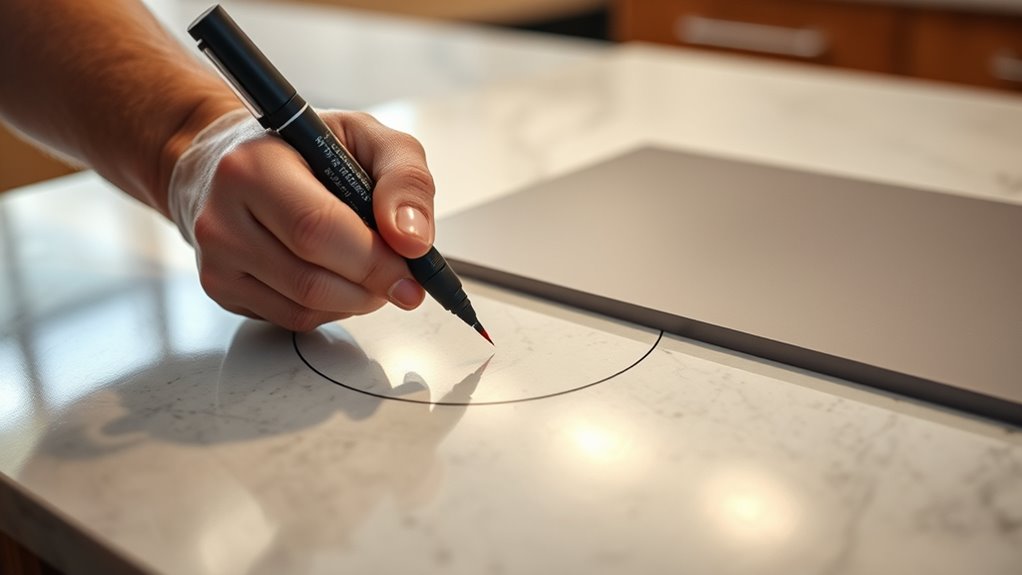
Accurate Marking Techniques
Accurate marking is essential for a clean cut and proper fit of your sink. Start by placing painter’s tape centered along your cut lines to protect the laminate from chipping. Use a measuring tape at multiple points along the outline to verify your measurements, ensuring consistency. A carpenter’s square is vital for confirming that all marked edges are perfectly square with the countertop surface, preventing uneven cuts. Trace the sink outline onto the painter’s tape with a sharp pencil or marker, creating a clear guide for cutting. Remember to leave at least 1.5 inches of clearance from the front edge of the countertop, providing room for the sink and tools. Incorporating accurate measurements now will help prevent costly mistakes later. Additionally, understanding the laminate material properties can aid in choosing the right cutting tools and techniques. Practicing mindfulness during this process can help you stay focused and precise, reducing the chance of errors. Being aware of cookie categories and how they influence website functionality can also help you understand the importance of precise planning and execution in DIY projects. Recognizing the divorce statistics related to regional differences can emphasize the importance of careful preparation in any project, ensuring a professional-looking result. Precise marking now simplifies the cutting process and guarantees a professional-looking result.
Surface Protection Strategies
Protecting your laminate surface is essential to achieving a clean, professional cut. To do this, lay painter’s tape centered along your marked cut lines on the laminate countertop. This tape helps prevent chipping and provides a clear guide for cutting. Secure the sink template with painter’s tape before tracing to ensure accurate transfer of the outline. Once you’ve traced the sink outline onto the tape, you’re ready to cut. Remember to support the countertop on cabinets or sawhorses, with no obstacles underneath, to avoid flexing or damage. After completing the cut, wipe off any excess tape or debris from the laminate surface. These surface protection strategies help guarantee your cut is precise and your laminate remains undamaged throughout the process.

B00004Z4CP
As an affiliate, we earn on qualifying purchases.
As an affiliate, we earn on qualifying purchases.
Choosing the Right Cutting Tools and Techniques
Choosing the right cutting tools and techniques is essential for a clean, professional-looking sink cut in your laminate countertop. Start with a fine-tooth jigsaw blade, ideally with at least 20 teeth per inch, or use a circular saw with a laminate-specific blade for smooth cuts. Always cut with the laminate side facing downward to minimize chipping and damage caused by the blade’s upward stroke. Removing the entire piece of laminate for cutting gives you better control and reduces chipping risks. Drilling 1/2-inch pilot holes at each corner of your cut line creates smooth starting points for your saw. Applying painter’s tape along the cut line helps reduce chipping, but combining this with proper tool choice and technique produces the best results for a clean, precise hole. Additionally, understanding the contrast ratio of your tools and materials can influence the visibility of imperfections and the overall quality of your finished cut. Using the right exfoliation techniques can also help prepare the surface for a cleaner cut by reducing surface irregularities before cutting. Proper maintenance practices not only extend the lifespan of your cutting tools but also ensure consistent performance, resulting in cleaner cuts and less material waste. Moreover, selecting tools with the appropriate cutting speed can significantly improve the finish quality of your laminate countertop.

DRAXZOR Edge Banding Trimmer, Upgraded Veneer Edge Trimmer with Wooden Handle and 3 Replacement Blades, Edge Band Cutter Tool for Woodworking, Veneer, PVC, Laminate, Plywood, Melamine
【Wooden Handle Trimmer】Combining a solid wooden handle with 3 extra stainless steel blades, the Draxzor edge band trimmer…
As an affiliate, we earn on qualifying purchases.
As an affiliate, we earn on qualifying purchases.
Executing the Cut to Minimize Chipping and Damage
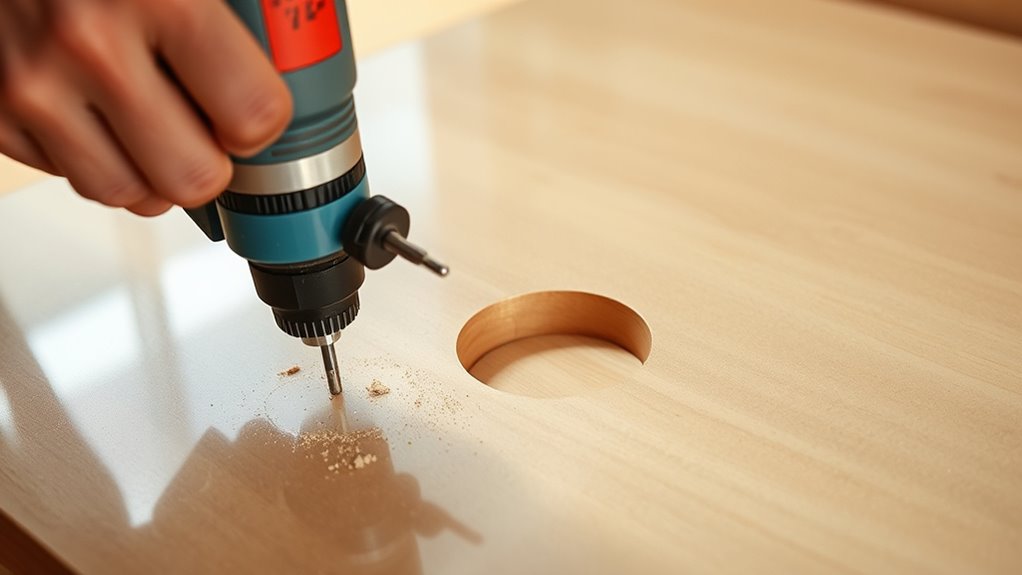
Ever wondered how to cut your laminate countertop with minimal chipping? The best way to cut involves several key steps. First, apply painter’s tape along the cut line—this acts as a barrier against chipping and helps you visualize your cut. Use a fine-tooth blade (at least 20 teeth per inch) and cut with the laminate facing downward to reduce chipping caused by the saw’s upward stroke. Support the waste piece with a wooden board underneath to prevent cracking as you cut. Drill holes at the corners of your cut line to guide your jigsaw and avoid splintering. Finally, take your time and steady your hand—these small adjustments make all the difference in achieving a clean, chip-free cut.
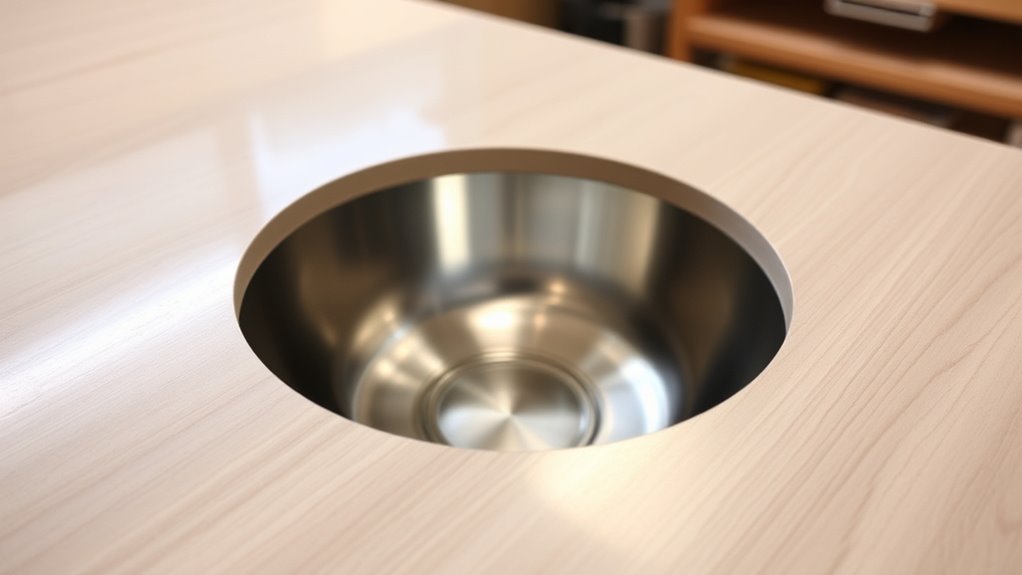
Fitting and Adjusting the Sink in the Opening
Start by dry-fitting the sink in the opening to check for a proper fit, making any needed adjustments for a snug seal. Once it fits well, mark the faucet hole locations on painter’s tape to ensure accurate drilling. Before final installation, remove the sink to drill the faucet holes and smooth the edges for a seamless fit. Additionally, consider celebrity transformations that showcase how precision and adaptability are key in achieving the perfect fit in your project. Engaging in space optimization techniques can also help in planning your workspace more effectively, ensuring your sink installation complements your overall kitchen layout.
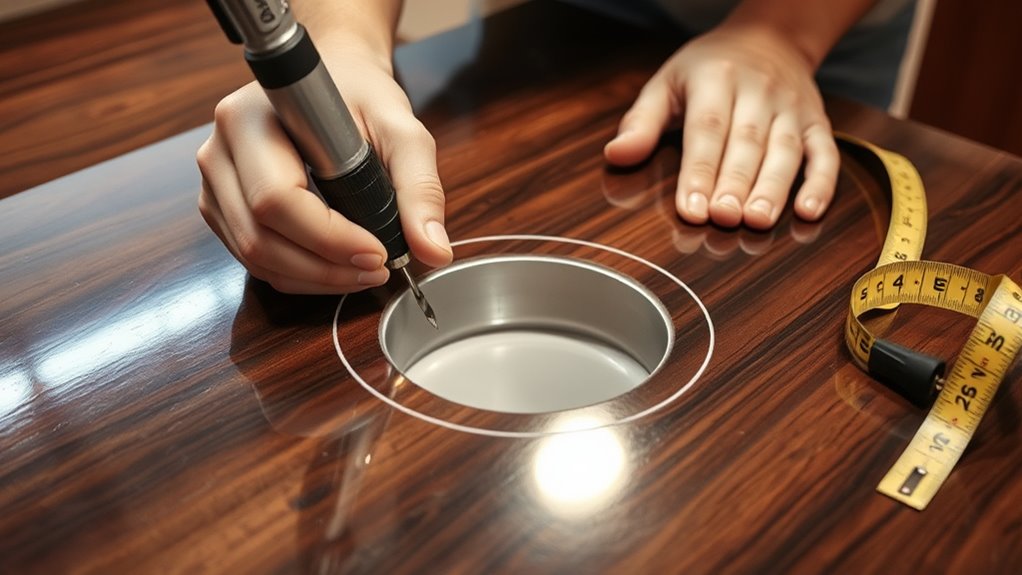
Dry-fit and Adjust
Before securing the sink permanently, it’s essential to dry-fit it into the cut opening to guarantee a proper fit. Place the sink in the Sink Hole and check if it sits flush and level. If it feels loose or tight, gently widen the opening with a belt sander or coarse file until it fits snugly. Feel free to use painters tape to mark the edges for clarity. Once the sink fits well, mark the faucet hole locations on the tape, ensuring accurate placement later. Remember, a proper dry-fit prevents surprises during final installation. Confirm the edges are smooth and the sink feels stable. This step gives you confidence that the final fit will be perfect, avoiding leaks or shifting once sealed and installed. Incorporating automation technologies can help streamline your installation process and ensure precision.
Mark & Drill Holes
Once you’ve confirmed the sink fits snugly in the opening during the dry-fit, remove it and prepare to mark the faucet and accessory locations. Adhere painter’s tape over the countertop where you’ll mark the holes. Use a pencil or marker to indicate the faucet, soap dispenser, or other fixture positions on the tape, aligning them with the sink’s mounting points. Carefully remove the tape and, with an appropriately sized spade bit, drill through the marked spots. Make sure to drill straight and steady to avoid splintering. After drilling, double-check that all holes align correctly with the sink’s fixtures. Proper drilling technique helps prevent damage to the laminate surface. Once confirmed, clean the surface thoroughly and remove any remaining painter’s tape. You’re now ready for sealing and final installation.
Sealing the Edges and Final Assembly

After fitting the sink into the countertop opening, it’s essential to seal the edges thoroughly to prevent water leaks. Apply a bead of waterproof silicone caulk around the entire edge of the cut opening. Use a caulking gun to evenly distribute the sealant, filling any gaps between the sink and countertop. Press the sink firmly into place, holding it for a few minutes to ensure a secure, watertight seal. Wipe away excess caulk immediately with a damp cloth for a clean finish. Allow the sealant to cure fully according to the manufacturer’s instructions before using the sink or exposing it to water. Proper sealing not only protects your countertop from water damage but also contributes to a professional-looking finish. Ensuring a proper installation process is crucial for long-lasting results.
Tips for Maintaining Clean, Precise Cuts on Installed Countertops

Maintaining clean, precise cuts on your installed countertops starts with careful preparation and proper technique. Always cut with the laminate facing downward to minimize chipping and achieve cleaner edges. Apply painter’s tape along your cut line to prevent splintering and create a clear guide for accuracy. Use a fine-tooth blade—at least 20 teeth per inch—on your circular saw or jigsaw to ensure smoother cuts and reduce surface damage. Support the countertop securely with a sturdy surface or underneath supports to prevent vibration and chipping during cutting. For sharp corners, drill small holes before cutting to create smooth entry points, reducing the risk of cracking or chipping at the edges. These steps will help you achieve clean, professional-looking cuts on your installed countertops.
Frequently Asked Questions
How to Cut Laminate Sink Holes in a Countertop?
To cut a sink hole in your laminate countertop, start by taping a paper or painter’s tape template of the sink outline. Drill 1/2-inch holes at the corners, then carefully cut along the lines with a fine-tooth jigsaw, starting from the holes. Support the countertop and cut slowly, keeping the laminate facing downward to prevent chipping. With patience, you’ll achieve a clean, accurate hole.
How to Drill Faucet Holes in Laminate Countertop?
To drill faucet holes in your laminate countertop, start by measuring and marking the exact spots on painter’s tape to prevent chipping. Use a 1/2-inch spade bit and drill slowly, applying gentle pressure. Drill from the top down, clearing debris regularly. Double-check measurements for multiple holes. Once done, remove the tape, clean the area, and follow the faucet manufacturer’s instructions for installation.
How Do You Cut Laminate Countertops Without Chipping?
Think of cutting laminate countertops as painting a delicate masterpiece—you want precision without damage. To avoid chipping, keep the laminate side down, and use a fine-tooth blade, at least 20 teeth per inch. Tape along your cut line for extra protection and accuracy. Drill pilot holes at corners for clean starts, and if possible, remove the countertop for better control. These steps help your cut stay smooth and chip-free.
How to Remove Hard Water Stains From Laminate Countertops?
To remove hard water stains from your laminate countertops, start by mixing equal parts white vinegar and water. Apply this solution to the stains and let it sit for 5-10 minutes. Gently scrub with a soft cloth or non-abrasive sponge, then rinse thoroughly with clean water. Dry the surface with a soft towel. For stubborn stains, try a baking soda paste, leave it for a few minutes, then rinse away.
Conclusion
With patience and the right tools, you can turn your laminate countertop into a masterpiece with perfectly cut sink holes. Think of it as sculpting a tiny work of art—each cut bringing your vision closer to reality. Keep your focus sharp, follow the steps carefully, and you’ll create a clean, professional finish that makes your kitchen shine. Remember, precision is your best friend on this journey to a flawless sink installation.