
Many believe that tightening a clamp more makes a joint stronger, but that’s a myth. Excessive force can damage materials or deform parts, weakening the bond. Proper pressure depends on the material and technique, not just tightness. Using calibrated tools and understanding material response guarantees a secure yet safe connection. If you keep these points in mind, you’ll discover how to improve your clamping results and avoid common mistakes.
Key Takeaways
- Excessive clamping force can deform materials and cause joint failure, so tighter isn’t always stronger.
- Proper calibration ensures consistent pressure, preventing over-tightening that damages workpieces.
- Different materials require specific pressure levels; more force can weaken delicate or thin materials.
- Using torque tools helps apply optimal pressure without risking damage from over-tightening.
- Advanced clamping techniques focus on appropriate force rather than maximum force for better joint strength.
Many people believe that increasing clamping pressure always leads to better joint strength, but this isn’t necessarily true. This misconception is one of the most common clamping pressure myths that can lead you to over-tighten your tools, risking damage to both the workpiece and your equipment. The reality is, applying excessive force doesn’t automatically translate to a stronger bond. Instead, it can cause deformation, crushing, or even failure of the materials you’re working with. Properly understanding the relationship between clamping pressure and joint strength requires recognizing that more force isn’t always better, and that ideal pressure depends on the materials and the specific application.
More clamping pressure isn’t always better; excessive force can damage materials and weaken joints.
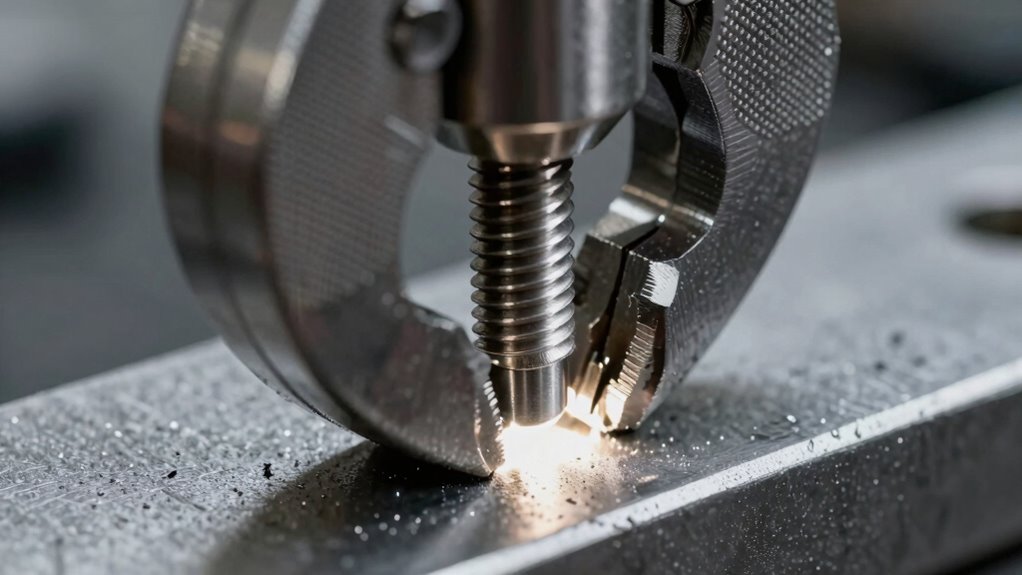
A key factor often overlooked in this discussion is tool calibration. If your clamps or presses aren’t calibrated correctly, you might be unknowingly applying inconsistent or excessive pressure. Over-tightening because you believe it will improve the joint can be a result of misjudged force, especially if your tools aren’t set to deliver the right amount of pressure. Regular tool calibration ensures that your equipment applies the correct force, helping you avoid the pitfalls of over-tightening and ensuring repeatable, reliable results. When your tools are calibrated properly, you gain confidence that the clamping pressure is appropriate for the task, preventing damage and improving overall joint quality.
Understanding clamping pressure myths also involves recognizing that different materials respond uniquely to force. Some materials are more prone to crushing under high pressure, which weakens their structural integrity. For example, delicate veneers or thin metals can deform easily under excessive force, leading to defects that compromise the joint. Conversely, applying too little pressure can result in weak bonds that fail under stress. The goal isn’t to tighten as much as possible but to find the right balance—enough to hold the parts securely without causing damage.
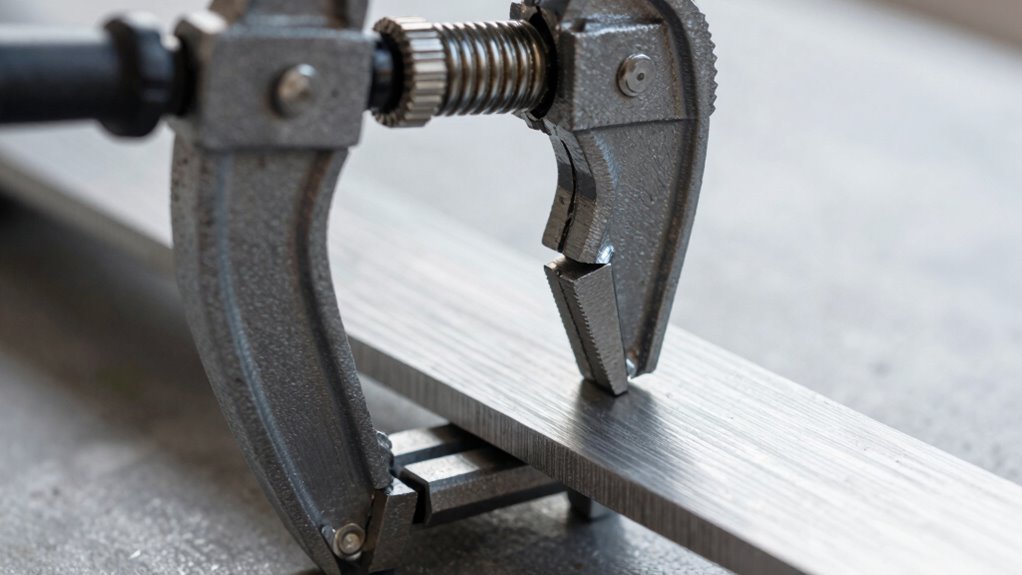
To dispel these myths, you should focus on proper technique and equipment maintenance. Use a torque wrench or a calibrated pressure gauge to measure the force you’re applying. This way, you can fine-tune your approach based on the material, joint design, and specific requirements of your project. Remember, the strength of a joint depends less on how tight it is and more on appropriate pressure and proper tool calibration. By shifting your mindset away from “more is better,” you’ll achieve stronger, more durable joints and extend the lifespan of your tools and workpieces.
Additionally, exploring advanced clamping methods can help optimize pressure application and improve joint quality, especially when working with sensitive or challenging materials.
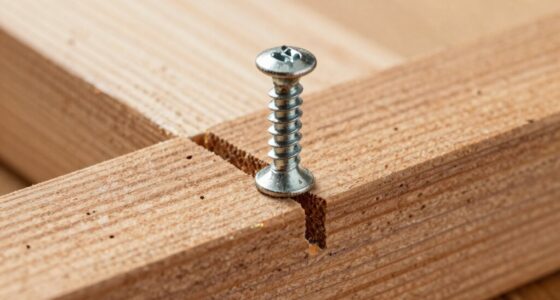
calibrated clamp pressure gauge
As an affiliate, we earn on qualifying purchases.
As an affiliate, we earn on qualifying purchases.
Frequently Asked Questions
How Do I Determine the Optimal Clamping Pressure for My Project?
You determine the ideal clamping force by balancing enough pressure to secure your workpiece without causing damage. Start with pressure calibration, applying a moderate force and adjusting based on your material and project requirements. Use a torque wrench or pressure gauge to measure the clamping force accurately. Keep testing until you find the right pressure that holds firmly without overstressing your materials, ensuring a safe and effective clamp.
Can Excessive Clamping Pressure Damage the Materials or Tools?
Excessive clamping pressure can damage your materials by causing deformation, which weakens their structure, and accelerates tool wear due to unnecessary stress. Applying too much pressure doesn’t improve joints and risks breaking delicate parts or ruining surfaces. To avoid this, always match your clamping force to the material’s specifications and use proper techniques, ensuring your tools last longer and your materials stay intact without damage.
Are There Specific Signs That Indicate Under or Over-Clamping?
Research shows that improper clamping can lead to defects in 30% of projects. You’ll notice signs of under-clamping through loose parts, uneven pressure, or clamp marks, indicating insufficient force. Over-clamping often results in damage like cracked materials or distorted shapes. Keep an eye out for clamp marks or warping, which signal you’re either under or over-clamping. Adjust your pressure accordingly to guarantee ideal results and avoid costly mistakes.
How Does Clamping Pressure Affect the Curing or Bonding Process?
You might notice that clamping pressure directly impacts adhesion strength and curing consistency. Too much pressure can squeeze out excess adhesive, weakening bonds, while too little results in poor contact and weak adhesion. Proper pressure ensures the adhesive cures evenly, maximizing bond strength. By applying ideal clamping pressure, you promote consistent curing and achieve the best adhesion strength, avoiding issues like weak joints or incomplete curing.
What Are the Best Practices for Adjusting Clamping Pressure During Work?
Think of adjusting clamping pressure as fine-tuning your craft. You should start with gentle clamping and gradually increase using proper clamping techniques, always ensuring consistent pressure calibration. Monitor how the material responds and avoid over-tightening, which can cause damage or weak bonds. Regularly check your equipment and make incremental adjustments to find the ideal pressure, balancing strength with material integrity for the best results.
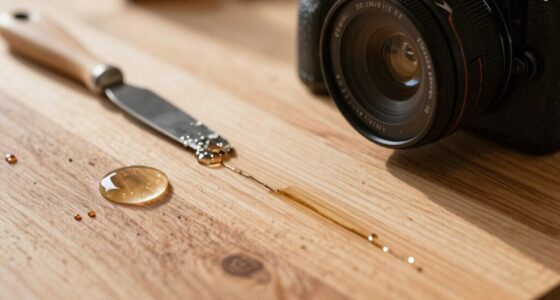
torque wrench for woodworking
As an affiliate, we earn on qualifying purchases.
As an affiliate, we earn on qualifying purchases.
Conclusion
Remember, cranking down harder doesn’t make your project stronger—it’s like trying to hold a delicate glass with a sledgehammer. The real strength lies in understanding how to apply just the right pressure, like a gentle hand guiding a butterfly’s wing. Don’t let myths weigh you down; instead, embrace the truth and master the art of precision. Your craftsmanship will shine brighter when you trust the science, not the myth, to hold everything together.
clamp force measurement tool
As an affiliate, we earn on qualifying purchases.
As an affiliate, we earn on qualifying purchases.
precision clamping tools
As an affiliate, we earn on qualifying purchases.
As an affiliate, we earn on qualifying purchases.