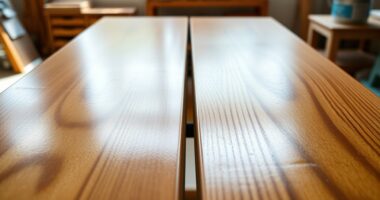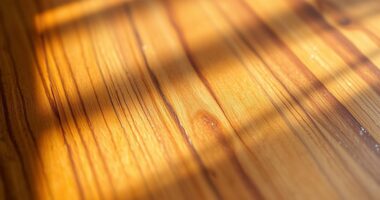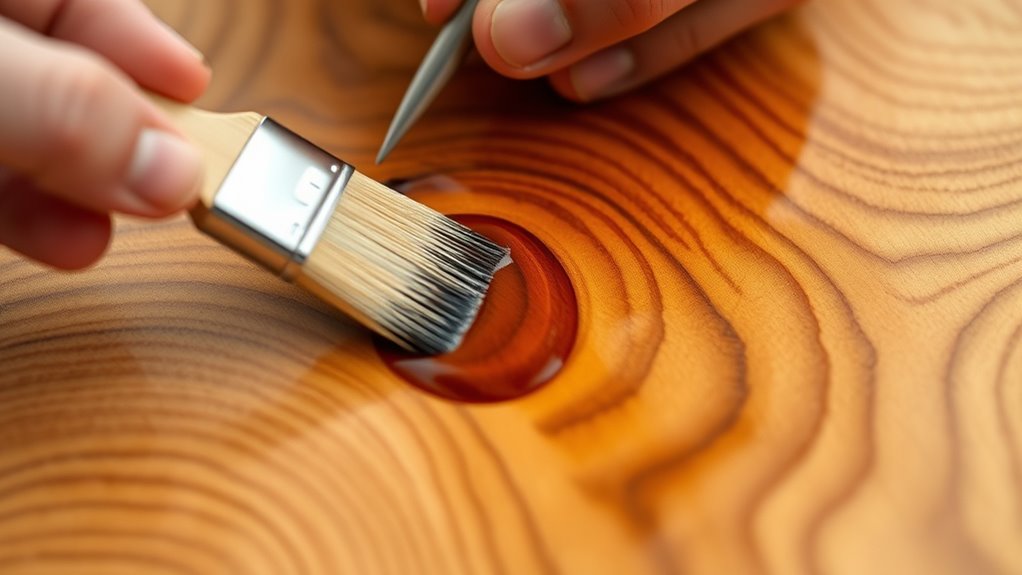

To add color and highlight wood grain, start by preparing your surface through cleaning and sanding for smoothness. Choose the right stain type suited for your project and wood type. Apply the stain evenly using brushing, wiping, or spraying techniques to guarantee consistent color and grain accentuation. After achieving the desired look, sealing it with a topcoat protects your work and keeps it looking great longer. Keep going to discover more detailed tips for perfect staining results.
Key Takeaways
- Prepare the wood surface by cleaning, sanding, and smoothing for even stain absorption.
- Choose the appropriate stain type based on desired color vibrancy and wood grain enhancement.
- Apply stain using techniques like brushing, wiping, or spraying for uniform coverage and grain highlighting.
- Allow the stain to dry thoroughly before applying a protective topcoat to preserve the finish.
- Regularly maintain the stained surface with sealing and cleaning to ensure long-lasting color and grain visibility.

You are trained on data up to October 2023. Staining wood can add vibrant color and accentuate the natural grain, enhancing the aesthetic appeal of your furniture or projects. Proper surface preparation and choosing the right stain type are essential steps for achieving the desired finish. Additionally, applying a protective topcoat can help preserve the color and prevent damage over time. Understanding staining techniques and the different stain options can help you select the best approach for your specific project.
Frequently Asked Questions
Can I Stain Over Painted or Varnished Wood?
You can’t stain over painted or varnished wood directly because the paint or varnish prevents the stain from penetrating. First, you’ll need to do paint removal or strip the varnish completely. Proper wood prep is essential—use a suitable remover and sand the surface smoothly. Once the surface is clean and bare, you can apply stain to highlight the wood grain and achieve a beautiful finish.
How Long Does Stained Wood Take to Fully Dry?
You might think stained wood dries quickly, but it actually takes about 24 to 72 hours to fully dry, depending on environmental factors. Humidity, temperature, and ventilation considerably influence drying time. If you rush, the stain could smudge or not set properly. To make certain a perfect finish, wait patiently and consider the conditions. Proper drying guarantees your stained wood looks vibrant, smooth, and long-lasting.
What Are the Best Protective Finishes After Staining?
After staining, the best protective finishes are clear topcoats like polyurethane, varnish, or lacquer. These finishes seal in your stain, enhancing wood grain and ensuring colour preservation. You should apply at least two coats, lightly sanding between layers for smoothness. This not only protects your project from moisture and scratches but also keeps the vibrant colour and intricate wood grain details looking their best for years to come.
Can Staining Be Done on Damp or Wet Wood?
You shouldn’t stain damp or wet wood because moisture effects can cause staining challenges. When wood is wet, the stain won’t penetrate evenly, leading to uneven color and blotchiness. Plus, excess moisture can prevent the stain from adhering properly, resulting in poor durability and finish. Always wait until the wood is thoroughly dry before staining to achieve the best color, consistency, and overall finish.
How Do I Fix Uneven or Blotchy Stain Application?
Uneven stain application is like trying to smooth ripples on water; you need to act quickly. To fix it, use a clean cloth or a damp brush to blend the edges, working in the direction of the grain. Apply more stain sparingly, and focus on brush techniques that promote even stain color blending. Always work in manageable sections to prevent blotchiness and guarantee a uniform finish.
Conclusion
Now that you know the basics of staining, you’re ready to bring your wood projects to life with color and depth. Think of staining like painting a beautiful sunset—each stroke reveals new warmth and character. With patience and practice, you’ll master techniques that highlight your wood’s natural grain. So go ahead, experiment boldly, and watch your projects transform into stunning works of art, just like a master painter revealing their masterpiece.